You want your wedding day to be one of the most memorable days of your life, but planning a wedding can be overwhelming and expensive. There is an easy solution for creating beautiful and affordable wedding invitations – DIY! In this blog post, we’ll explain the process of making quick and easy wedding invitations that will look beautiful, impress your guests, and save you money. With these straightforward tips, you can put your personal spin on the design, the wording, and the colors – without being a pro. Here’s how to do it easily and affordably with Vistaprint.
Choose Your Design and Theme
HOW: Using customizable templates and adding finishing touches (outlined below)
WHERE: Vistaprint
HOW MUCH: The cost is as low as $0.82 per piece at time of publication (currently on sale, regularly $1.64 each!)
First, you’ll want to consider a design and theme that reflects your personality and your wedding style. Look to seasonal templates, simple minimalist designs, or color palettes that incorporate your favorite shades if you get stuck on what to choose.
One of the best ways of finding inspiration is to browse templates that are ready-to-customize at Vistaprint.
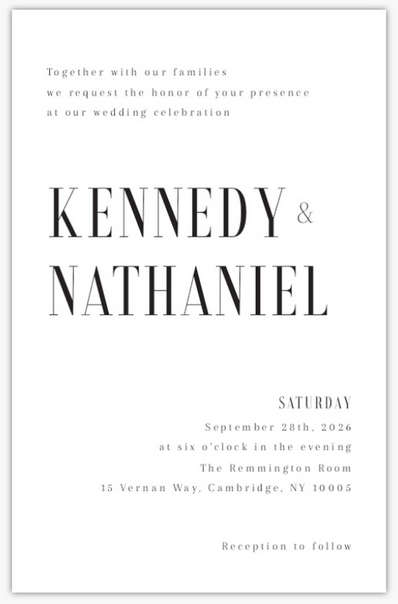
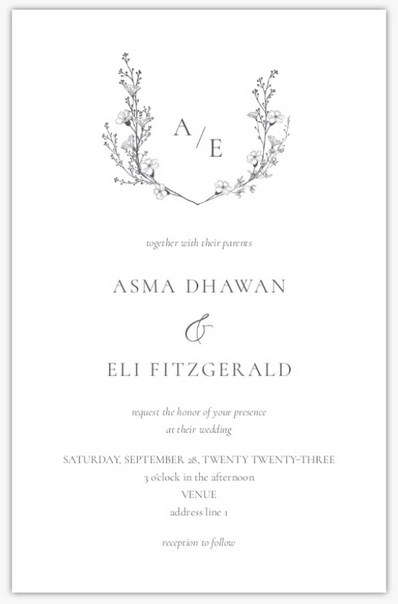
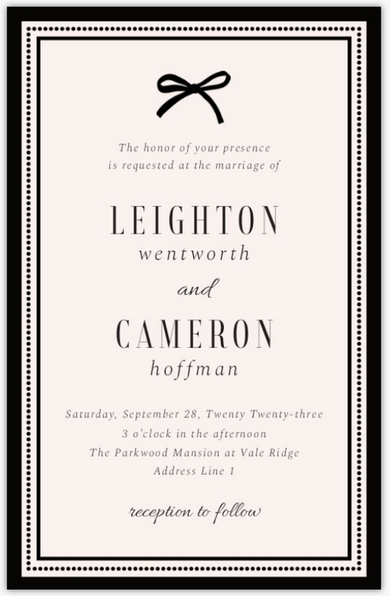
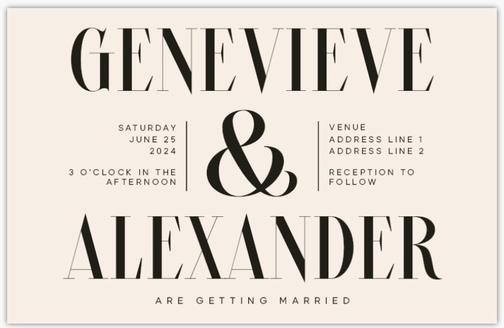
Here are some examples of customizable templates. Edit your names, the wording/details, and your colors. That’s it!
Customize Your Invites
Wedding invitations can add a DIY twist based on the type of cardstock, foil accents, envelopes, addressing style, and addressing style that you select.
For instance, when it’s time to choose the cardstock, select the nicest quality (and thickness) within your budget.
Once you edit the invitation to your liking, click on “Choose print options” to customize even further. From here, you are able to select a wedding trim: the shape of the card and how it is cut. Standard is a basic rectangular shape, or you can select rounded, scalloped, or ticket to give them an edge.
Foil Accents
Next, you can opt for foil embossing for a shiny, shimmery finish. Gold, glitter, silver, or no finish are all perfectly suitable options, depending on the style you’re aiming for. Click “Review the design”. This is where you’ll check, double-check, and approve all spelling and grammar. Once you accept it, those invitations are off to the printer and you will receive a free digital proof to show you the finished product- giving you the confidence that it looks perfect.
Paper Type
Then, you’ll select your paper type. According to their website, “The durability and weight of the paper – thicker stocks tend to feel more substantial and luxurious, while lighter stocks may have a more delicate feel.” This is good advice to keep in mind, so choose a cardstock that is as thick as possible – within your budget. When in doubt, opt for a finish such as matte, pearl, linen, or glossy, as they tend to complement most invitation designs universally.
Custom Envelopes
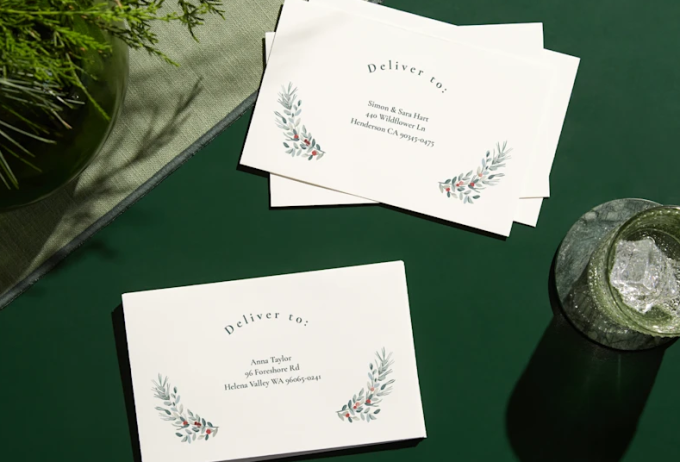
I highly recommend adding custom envelopes to your order. When you do, you’ll receive envelopes that complement your style beautifully. Plus, you’ll get FREE recipient addressing printed on the envelopes – a huge time-saver.
Finally, select your quantity and add your wedding invitations to your cart. The Vistaprint team will take care of it from there!
Gather and Assemble
While your invitations print and ship, you can get busy gathering all the supplies you’ll need for assembly. Here are some of my top recommendations to add DIY to your wedding invitations.
Bone Folder
Your invitations arrive flat, so you’ll need to fold them. To professionally fold invites, I highly recommend a bone folder if you don’t already own one (it’s cheap – around $6). My mom gifted me one while planning my wedding and I use it every time I’m working on stationery. It is a scoring tool that gives paper a nice, crisp, clean fold, every time. Highly recommended.
Quality Pens
If you do not opt for custom envelopes with the free addressing, you’ll need to address the invitations one-by-one upon arrival. To do so, you’ll want to hire a calligrapher or use your own pretty penmanship for the finishing touch. I recommend a flair pen like this, in ultra-fine point, that won’t bleed through or smudge easily. I always buy these in bulk, as I use them all the time (in my day planner, especially).
Return Address Stamp
A return address needs to go on your invitations, but who’s going to hand-write those 100x? Not you, I hope! Unless you’re getting the envelopes pre-addressed, you’ll want to purchase a custom return address stamp, like this. It’s self-inking and makes the process so much easier!
QR Code Stickers
If you’re asking guests to visit your wedding website for more details, to RSVP to your wedding, or a bit of both, you should add a QR code sticker to the invitation. Place the sticker on the RSVP card or enclosure card that asks guests to visit your website.
Copy the URL of your wedding website, then input it here to generate your unique QR code. Once it’s ready, download the file and upload it to Vistaprint here, where you’ll create a QR code sticker to adhere to the card. Easy!
When guests scan the code with their smartphone device, it will automatically direct them to your wedding website – no typing needed. Nice!
Postage Stamps
Don’t forget to purchase postage stamps for your invitations. Order early: the rates are increasing, so the sooner you purchase your stamps you’ll be able to lock in the current lower rate. You can purchase stamps online from USPS here.
Envelope Seals
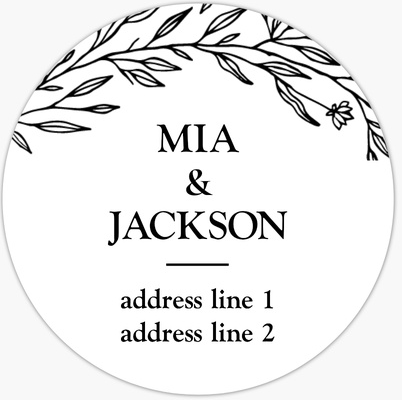
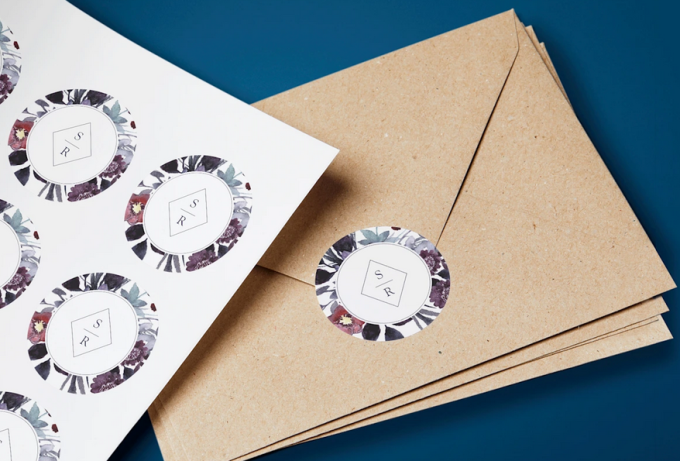
Here’s where you can add some DIY charm! Make custom envelope seals for the backs of your envelopes. These will close envelopes securely and make a nice first impression when they arrive in guest mailboxes.
Save Time with Online Tools
– SHOP NOW Ready to start customizing? Make your own wedding invitations now thanks to these easy-to-use templates. Visit the collection at Vistaprint to choose a design and start customizing today!
ON TO YOU: Are you opting for cost-effective DIY wedding invitations? Why or why not? I hope these tips help to bring your vision to life. If you have additional tips to add, or questions to ask, please let me know in the comment box below.
