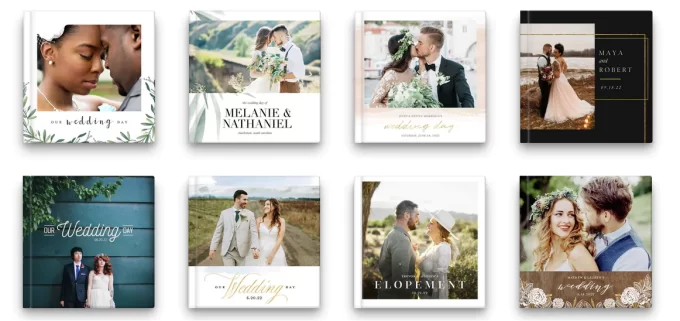
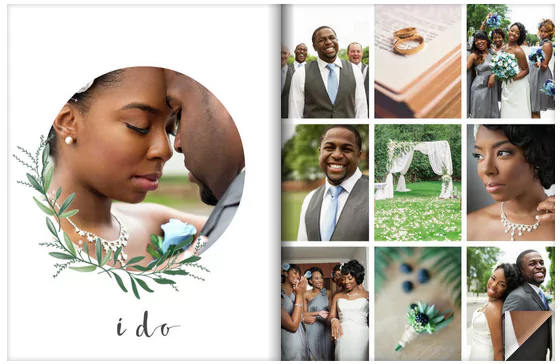
One of the best things you can do as a newlywed is… send thank you cards. Well, that, and make your own wedding album. :)
Many couples excitedly get their wedding photos back from their photographer; they hurry to share them online, tag their besties, and change their profile pics to reflect their new relationship status.
But then… that’s it.
There’s no photo album.
Pictures are left on hard drives and phones.
You don’t ever get around to making your own wedding photo album if you don’t make it a priority. Don’t let it happen to you: the longer you wait to make your own wedding album, the higher the chance it will never actually occur.
If you’d like some suggestions on how to make your wedding photo album, I have some advice! As someone who has made her own album — um, twice, because the first time was an absolute waste — I know plenty about DIY wedding albums and how making them can sometimes be stressful.
If you’re feeling overwhelmed with making your wedding photo album, consider outsourcing the task to a professional wedding retouching company for a stress-free and flawless final product.
I’m cutting through all the things that didn’t work and sharing the best photobooks for weddings so you can skip all the headaches and have fun making the best photo book from phone / computer / etc.
I hope it helps you avoid unnecessary stress along the way. :)
How Do I Make My Own Wedding Album?
It is a lot easier to make a wedding album yourself than you may think. Today’s online photo books are so much easier to use than the ones I tried just a few years back. Instead of telling you which photo books online were a pain to use, I’ll tell you the best photo book online: Mixbook.com!
Here are seven tried-and-true tips on how to make the best photo books for weddings.
Wedding Album Tips + Tricks
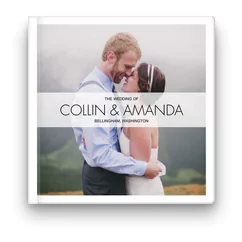
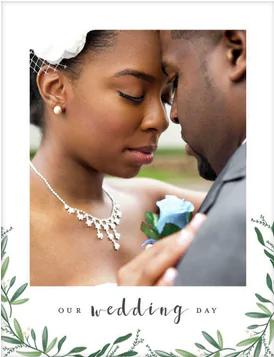
1. Choose a beautiful cover — or start with a blank canvas.
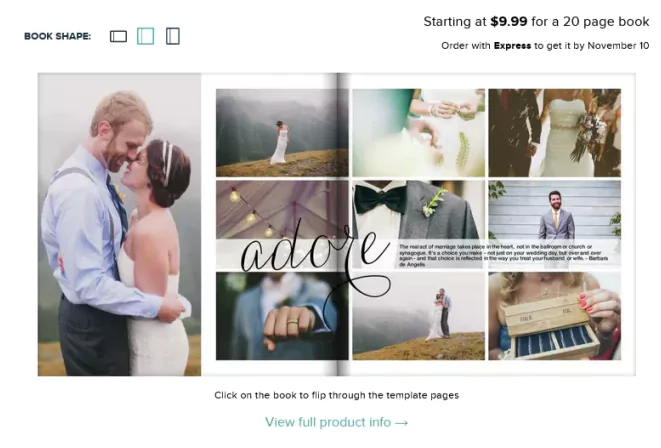
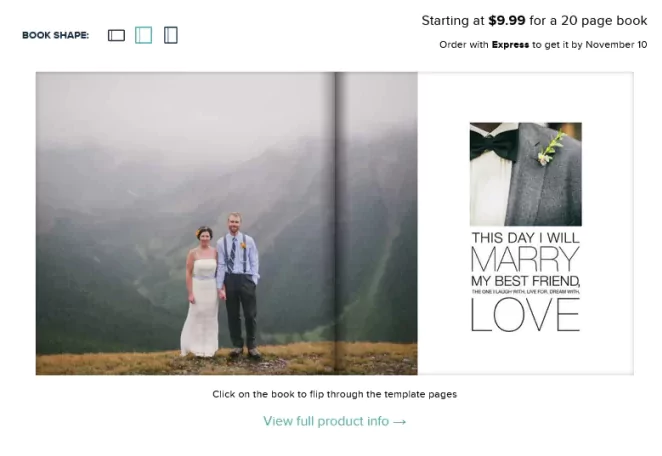
The hardest thing about making a wedding photo album is getting started. Picking out a template at other sites is tough, but at Mixbook, the styles are easy to navigate and customize.
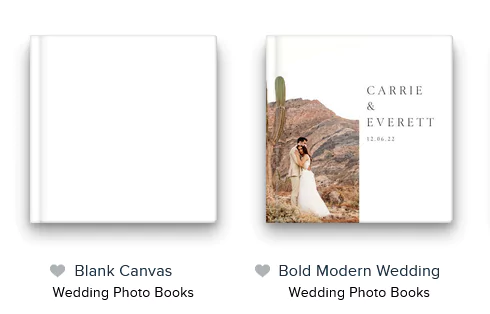
You can even begin with a blank canvas, like this, and get very creative with it.
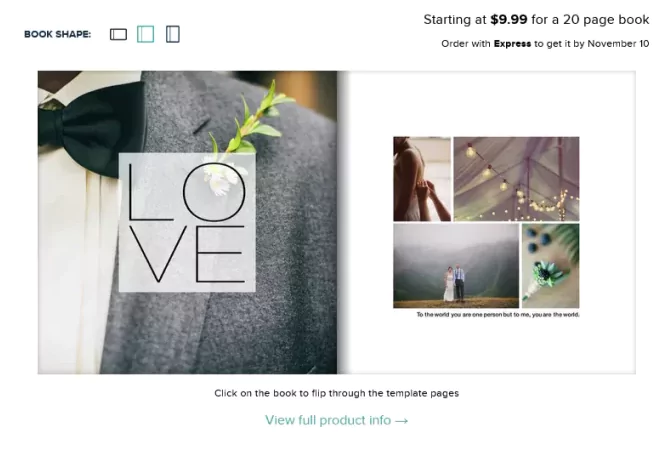
Pick the layout of the book you’d like: landscape? Square? Portrait? Choose the layout you like then decide on how many pages you want inside the book. Most standard photo books for weddings begin with 20 pages and you can add on more as you go.
2. Organize your photos.
My best advice: get organized!
Did your photographer had you over 2,000 photos? Yeah, it’s awesome but that can be stressful when you’re trying to narrow down which photos will go into your book.
Create a special folder on your phone or computer with copies of the photos you love. Select and drag them into a folder and then, together, narrow them down to a number of pictures that will fit into your book.
I recommend putting the photos in order of the day. Begin with the pre-wedding festivities; then add pictures from the morning of the wedding, the ceremony, and finally, the reception. If you put them in chronological order BEFORE you begin uploading them to the book, you’ll have an easier time.
3. Work together on your photo book!
This shouldn’t be a one-sided project: it’s a labor of love! Work together with your spouse on the photo book to create one you’ll enjoy together. It’s a fun opportunity to look through those wedding pictures again. :)
The best part is seeing what pictures your partner loves, versus your favorites. It’s fun to see which images stand out to you or your spouse; what makes a certain image so memorable? These discussions are part of the fun of making the book.
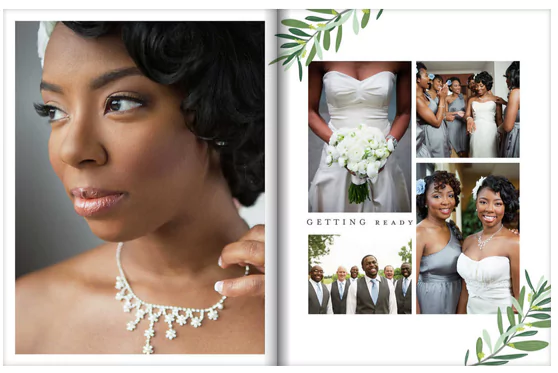
With Mixbook, you can easily drag and drop photos into your book; the templates are beautiful and easy to use. Change the background, add more pictures to a template, create a full-page photo, and so much more.
4. Keep your focus.
It’s easy to start throwing all of your photos into the book and call it a day. It can be time-intensive to pick the best photos for your wedding album, but take your time.
It will look thrown together if that’s how you do it… but if you take time to choose the best pictures that make the cut, you’ll enjoy the end result more. #WorthIt
And if you need to take a break, save your project and come back to it! However, don’t put it off too long… or you may never get to it.
5. Make copies of the originals.
While you’re working on your album, you may need to edit or resize images. You don’t want to touch the original wedding photos, so make sure you’re working on a separate folder with copies of the originals. You should also make a CD backup or put photos on an external server for safe-keeping. You never know when you might need backups.
6. Tell your story.
A wedding album should tell your unique wedding story from start to finish. Don’t forget to include some pre-wedding photos, too, such as the proposal, engagement, bridal shower, and rehearsal dinner, even if you just include a photo or two from each.
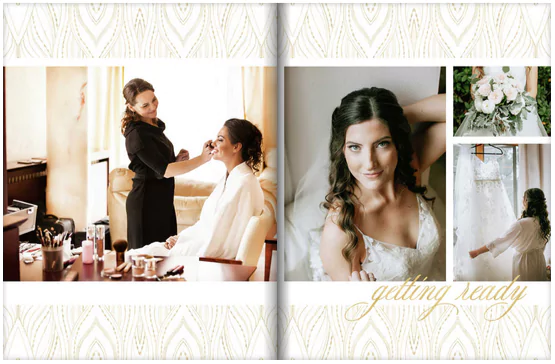
Include memorable moments like Getting Ready…
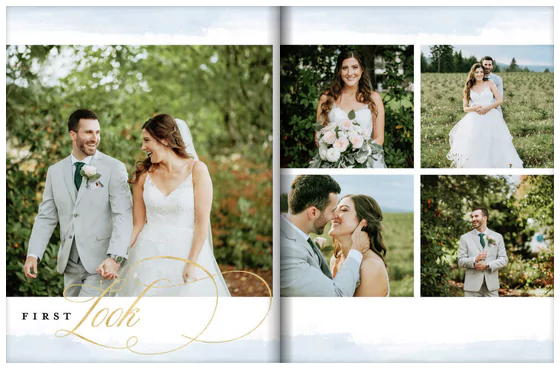
The First Look…
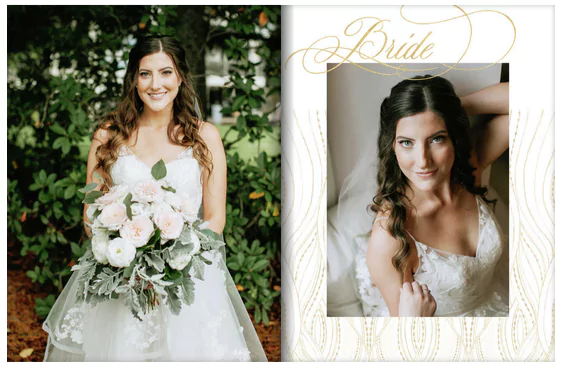
Bridal Portraits…
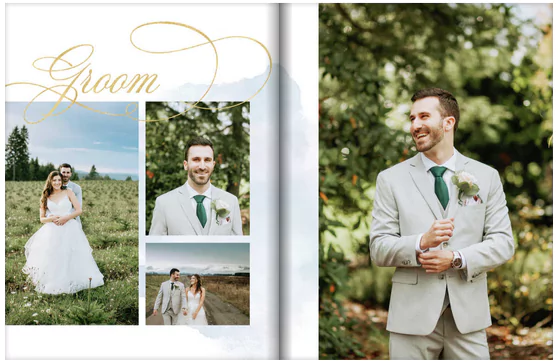
Pictures of the Groom…
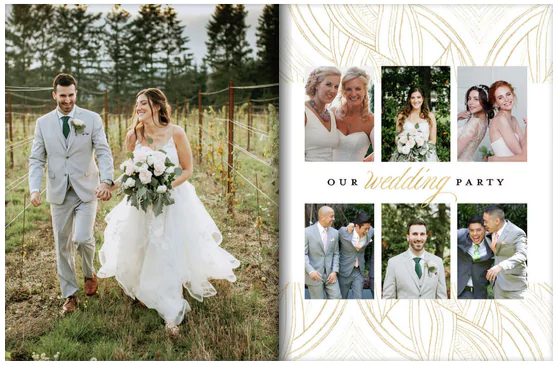
Your Wedding Party…
… and more!
7. Get a discount code when you can!
And last but not least, save money! If you’re not applying a coupon code to your order, you’re doing it wrong! ;)
Make sure you keep an eye out for discounts on your wedding book when you order. There are awesome sales happening all the time at Mixbook.com.
I hope it helps as you make the best photo book online. It’s a great place to buy holiday albums with pictures from the entire year: that’s what I’m working on right now! I’ll report back when it’s done. :)
Ready to make your book? Click here or the button below to get started! It’s fun + easy.
xo
Emma
This is a sponsored post.
