While you’ve been busy picking out the perfect invite and livin’ your best life, we’ve been planning out an easy how-to guide for assembling wedding invitations.
If you haven’t given any thought to where the belly band or enclosures go, don’t worry: we’ll guide you through it.
Before you start stuffing your wedding invitations, read this article to help. We’ve outlined exactly what order to assemble them so your invites look perfect upon arrival to your guests.
Plus, we have some tips on how to make assembling wedding invitations so much easier.
Hope it helps!
How To Assemble Wedding Invitations: DOs and DONTs
1. DO enlist help assembling invitations.
Don’t be afraid to ask for help when you’re assembling invites. Your mom, future MIL, sister, friend, or your bridal party would likely be more than happy to lend a hand at stuffing wedding invitations.
This is more fun if you plan an afternoon that focuses on the assembly, then some beverages, and definitely some food.
I save food for last because you don’t want any crumbs, grease, or food particles anywhere near your perfect invites! So, keep eating and drinking until after the work is done.
2. DONT forget to order extras.
Before you order invitations, make sure you ordered a few extras, just in case. This is especially necessary for the outer envelopes since that is where most errors occur.
Need extra envelopes?
If you’re hand-addressing the outer envelopes, mistakes happen. And you also may run into a problem where you assemble wedding invitations at first, then realize you’re forgetting an enclosure, so you have to open them up again and re-seal them.
Oops. No problem: that’s why you ordered at least 10 extra envelopes, just in case, right? :)
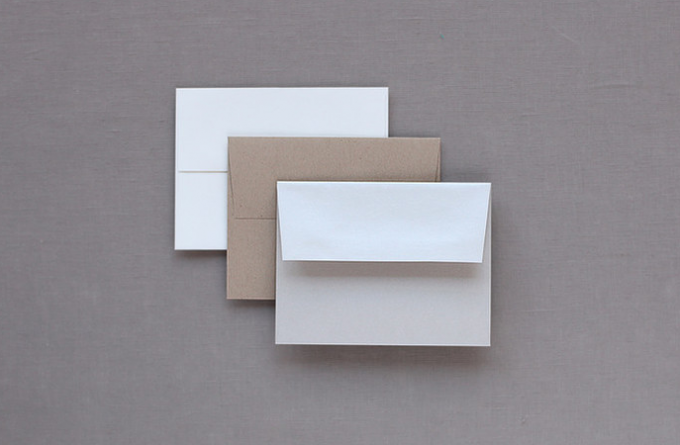
If not, you can usually get the same size envelope in a similar color here in a pinch. (Just be sure to double-check the size of the invitation to make sure it will fit.)
3. DO follow this wedding invitation order.
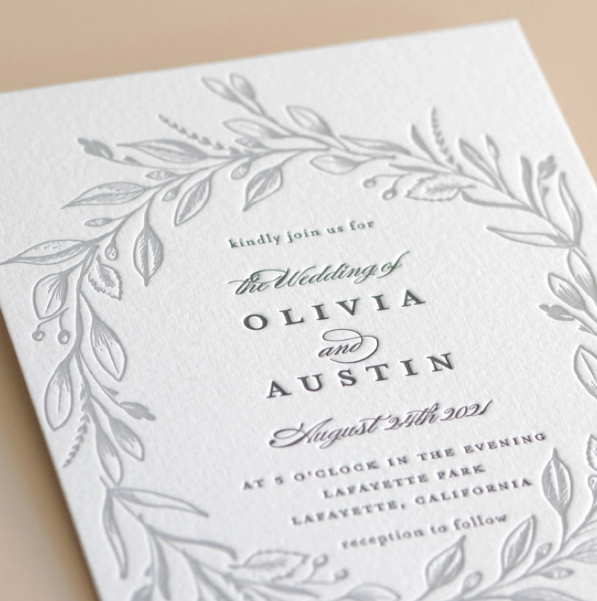
This is the official wedding invitation order for proper etiquette. This is the order you’ll place them on the table, all with wording facing up, in this order (wedding invitation is at the bottom when complete):
Wedding Invitation
Reception Card
Response Card Tucked Under the Coordinating Envelope Flap
Any Extra Enclosure Cards
This includes accommodations, directions, etc., if applicable
Belly Band Placed Over the Entire Stack
Now, take this stack and…
Put Everything Inside Your Inner Envelope
Place Inner Envelope Inside Outer Envelope and Seal
That’s it!
4. DO address the envelopes first.
Before assembly, make sure the envelopes are addressed. This includes your inner and outer envelopes. The reason is so you’re not having to address them after the invitations are assembled, which makes for a not as nice presentation.
Make Addressing Fast + Easy
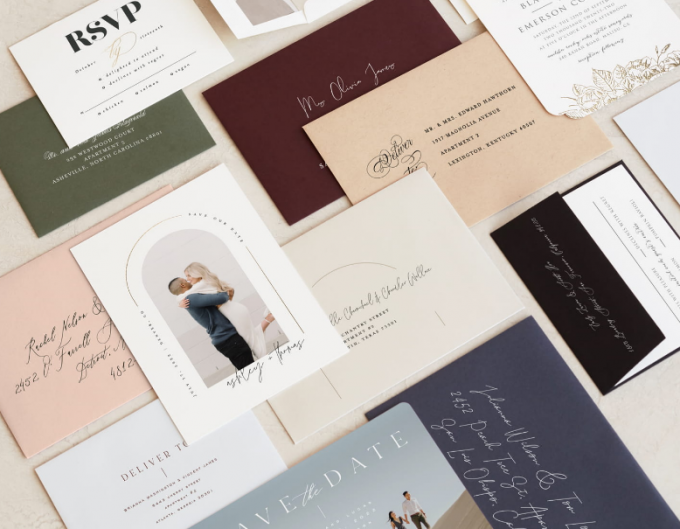
If you want to make addressing a breeze, utilize the FREE envelope addressing at Minted, which comes with your invitation order.
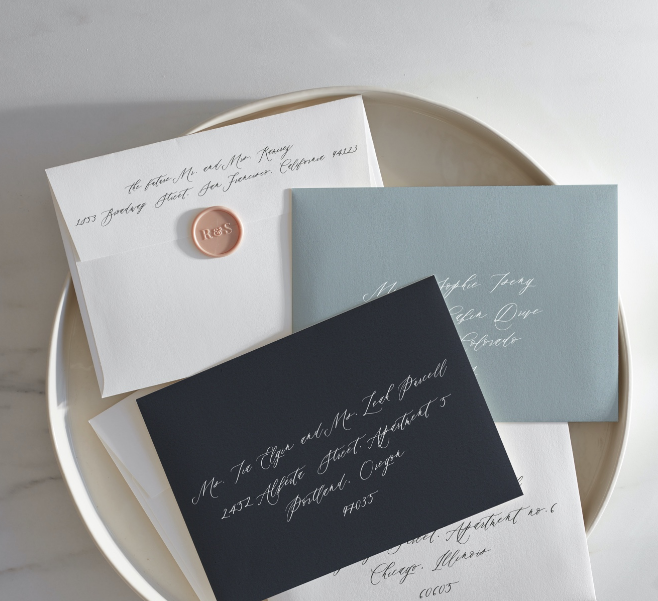
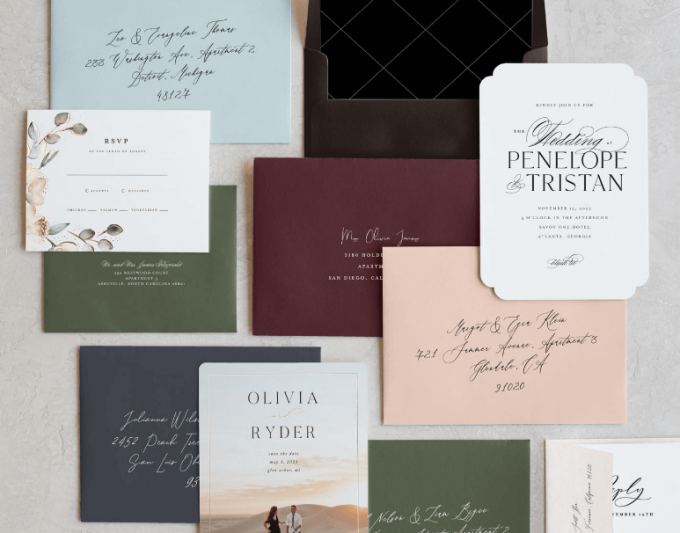
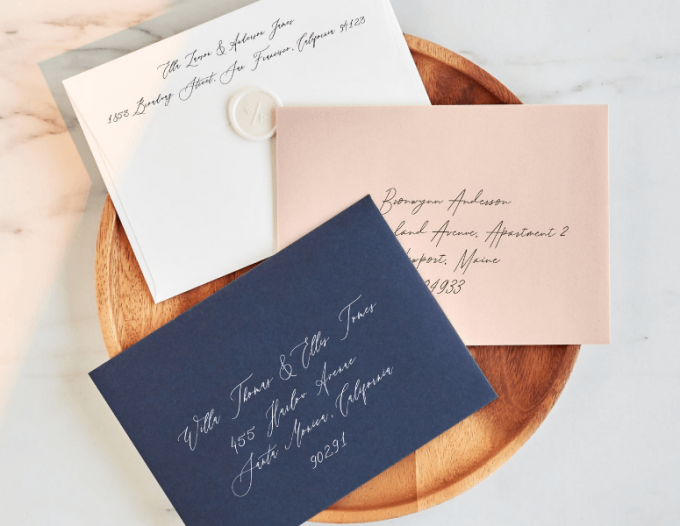
You’ll get FREE custom envelopes and FREE guest addressing that looks this good!
They also just released new colors! These envelopes look beautiful:
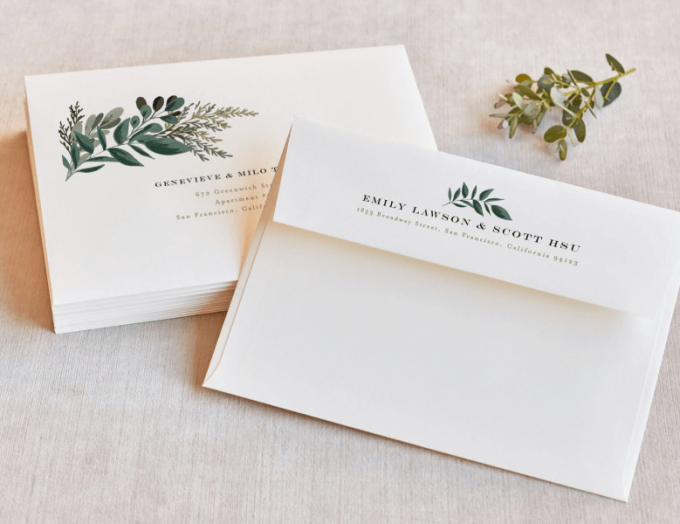
Choose from all-script or pick a design that coordinates with other pieces.
Don’t forget your return address, included, too. This makes wedding invitation assembly a snap!
5. DO a trial run first.
Take one complete invitation, follow the wedding invitation assembly order above, place inside an inner envelope, then an outer envelope.
Take a look at it. Consider:
• Does it seem to fit inside the envelope?
It should fit snugly, but not bend any papers when placed inside.
• Could the invitation use an accent or seal?
Does it need anything extra added to it, such as an envelope seal or a wax seal? If you think it will add to the overall look, now is a great time to try it out.
Once the invitation sample looks perfect, take it to the post office.
You will want to ask a postal worker if they can please weigh the invitation and tell you exactly how much postage you need to mail it. This is crucial.
And here’s why.
Suppose you assemble wedding invitations and complete the entire task. They are all beautiful… they’re addressed, you’ve added seals, and you’ve applied postage.
You bring them into the post office to mail them out.
And then you wait.
You wait… and then, uh-oh, something bad happens.
The invitations start arriving — en masse — to YOUR mailbox.
This is because you didn’t add enough postage. It doesn’t matter if it is one penny off, but that entire shipment is coming back to you and, here’s the kicker: it has a huge red stamp on each one that reads, “Non-sufficient Postage”.
Yikes.
That’s a lot of work you’ll need to do to COMPLETELY assemble your wedding invitations all over again, this time with NEW addressing on the outer envelopes, new postage purchased, the whole nine yards.
So, yeah, don’t be that person. It happens way more than you might think.
Bring in the invitation to the post office. Get it weighed. Apply proper postage. You’ll be glad you did.
6. DO double-check your work.
After assembling wedding invitations, compare the stack of invites with your guest list. Make a small pencil mark next to the names to notate he or she will be receiving an invitation.
This is a good rule of thumb to ensure no one’s invitation accidentally was missed in the mail.
Once you’ve completed it, check the list one last time, just to be sure.
Good! Now you’ll be completely confident no one was missed on the invitation mail-out.
7. DONT forget to get them hand-cancelled.
What the what?! Ah yes, hand-canceling.
Here’s another trip to the post office: once the invitations are all stamped with proper postage, put them in one giant stack and ask them to hand-cancel them.
This prevents your wedding invitations from running through their machine, thus making them look nicer upon delivery.
It’s something many couples overlook, but it’s a great thing to do.
Now that you know the proper order of assembly for invitations, along with some tips, do you have any questions for us?
Have you picked out your invitations yet?
Don’t forget to assemble invitations as soon as possible, as it can sometimes be a daunting task that takes longer than you may think.
It’s always a good idea to have them assembled early, so you can mail invitations out on time.
Hope it helps!
xo
Emma
This is a partnered post with Minted.



1 comment
I am completely satisfied with your article and point of views.
Comments are closed.