Happy Monday, lovelies! We hope you had a wonderful, relaxing weekend. We are ecstatic to kick off this week with a fabulous DIY project featuring vintage spools, buttons, pretty fabric, corkboard, embroidery, and more by Emmaline Bride’s DIY Expert, Lauren! Enjoy!
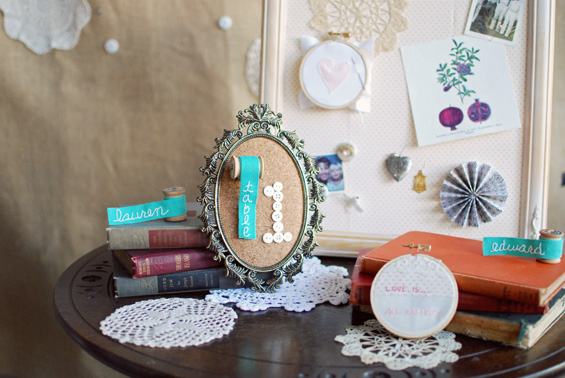

Hello lovely EB readers! It’s Lauren from Lauren Elise Crafted again and this time I am here to share a few projects that involve vintage spools. Emma had mentioned to me that she has a slight spool addiction (a girl after my own heart!) and so this DIY is in honor of her and the vintage lover in all of us. To me, nothing is better than a handmade + vintage combination DIY and that is exactly what I have for you today.
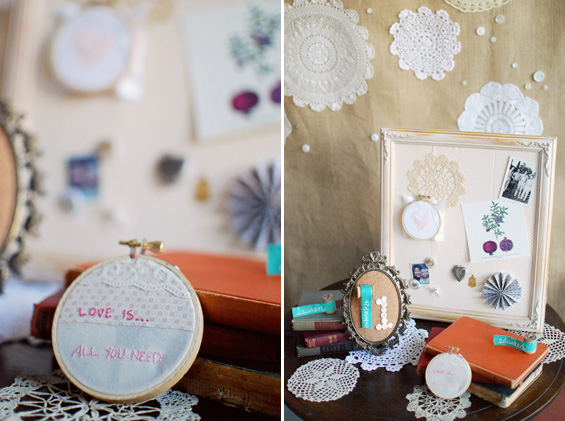
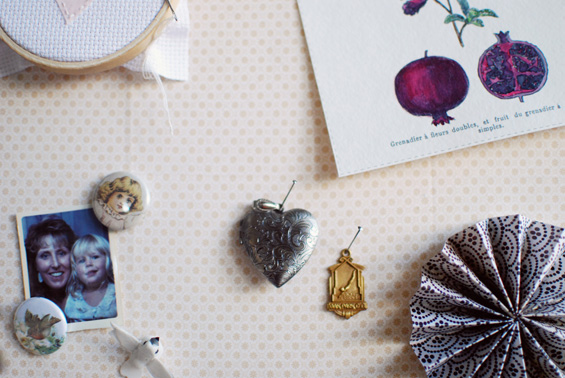
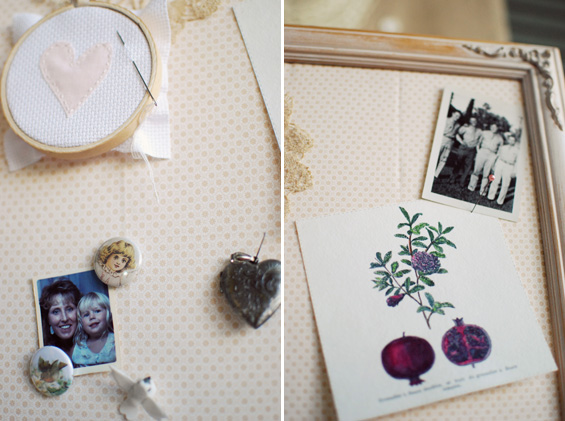
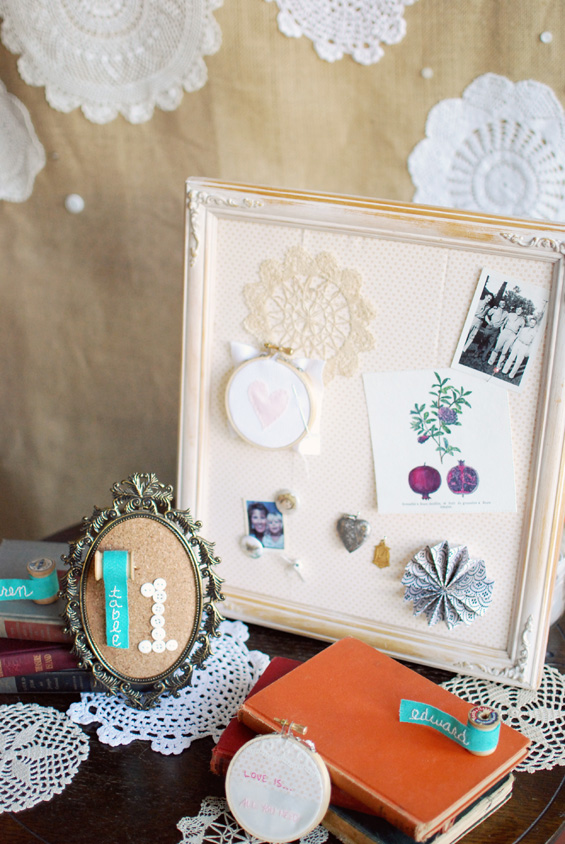
Spools are a perfect detail if you want to create a wedding with a crafty, ‘sew in love’ theme. If you wanted to expand on the ideas seen here, I would definitely recommend incorporating all kinds of stitching details (like hand-sewn paper goods), different fabrics for texture, yarn and yarn balls, and more embroidery. These items pair perfectly with family heirlooms and personal treasures, something that I have tried to highlight in the framed fabric pin board. By bringing in personal items and photographs and scattering them throughout the event, your guests can make a connection with you as a couple and with your families.

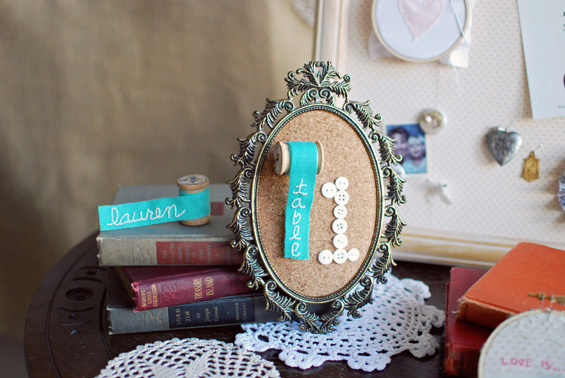
Have we converted you to a vintage spool lover yet? Is it important for you to incorporate family photographs and memorabilia and if so, how are you choosing to do it?
What you’ll need:
-vintage spools
-grosgrain ribbon
-disappearing ink pen
-white embroidery thread
-embroidery needle
-tacky glue
-backless vintage frames
-1/4” thick corkboard
-scissors
-buttons
-thread
-1/4” foam core
-fabric
Directions:
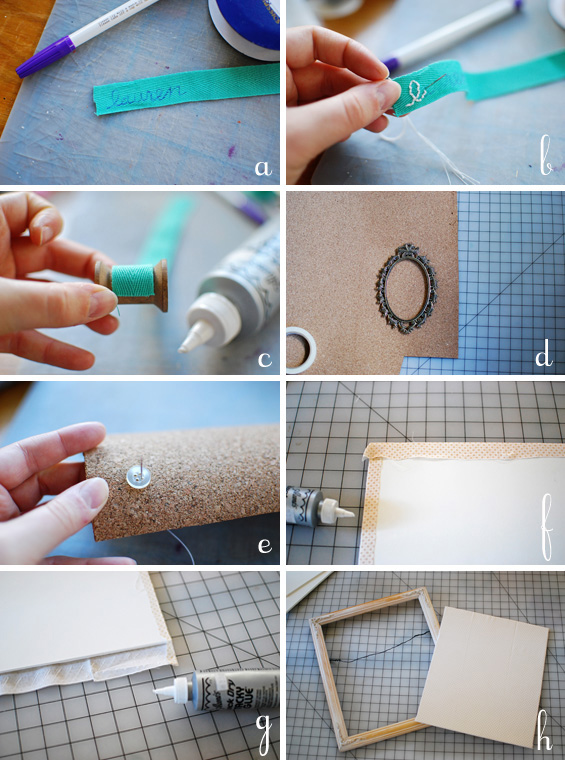
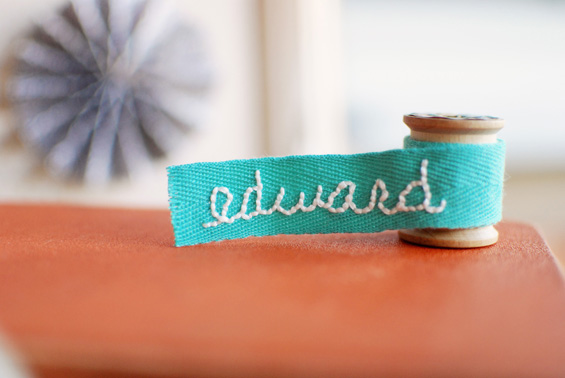
1. To make the spool escort cards, cut your grosgrain ribbon down to about a 10” strip. Use a disappearing ink pen to write out guest’s names onto the ribbon {image a}. Using a simple backstitch, embroider the names with white embroidery floss {image b}. When the embroidery is finished, glue the ribbon to the vintage spool with tacky glue, holding in place for a few seconds {image c}. Wrap the ribbon around the spool, gluing as you go.
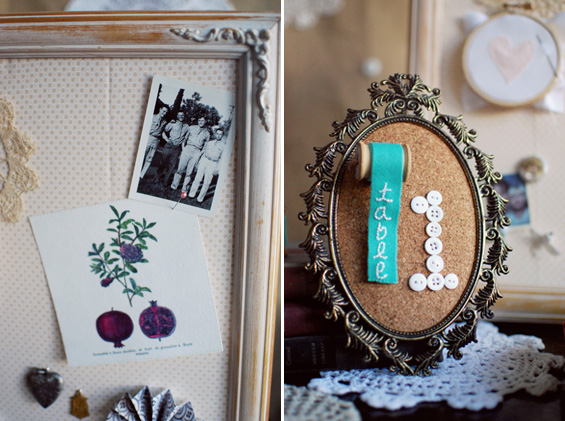
2. To make the framed table number, remove the back from a vintage frame if need be (mine conveniently came without a back). Cut down the corkboard so that it will fit within the frame {image d}. Glue the corkboard to the frame with tacky glue or possibly something a little stronger like crazy glue or super glue adhesive. Make the table number out of buttons. Thread a needle through the cork and stitch each button in place {image e}. You may want to write the number out with pencil beforehand to act as a guide. Follow the directions in step 1 and embroider the ribbon with the word ‘table’ on it. Glue the ribbon to the spool as you did before. Thread a piece of wire through the spool and stick the wire through the cork to hold the spool in place. The spool and ribbon should hang freely next to the table number.
3. To make the fabric pin board, remove the back from a larger vintage frame. Cut a piece of foamcore or foam board down to the size of the frame. The foamcore should be cut so that it will pop right into the back of the frame. Cut a piece of fabric so that it is slightly larger than the foamcore piece. Glue the fabric to the foamcore with tacky glue {image f}. Glue all of the fabric edges, pulling tight as you go {image g}. Pop the fabric covered foamcore into the back of the frame {image h}. Mine fit snuggly enough so I did not need to attach it to the frame but you may need to use glue to adhere together. Pin photographs, crafts, and family heirlooms to your pin board!
It has been a pleasure to be here with you today! If you have any questions about anything I have made, please feel free to contact me through my blog. I am also available to make anything you see. I would love to craft something special for you!
-Lauren
About the Author:
Lauren is part of the DIY Team at Emmaline Bride as our resident DIY Expert. You can find more of her EB exclusive projects here + read her blog here!


11 comments
i cant say this enough but lauren is super talented!
I’m SEW in love with this project! http://ow.ly/3kU27
I’m SEW in love with this project! http://ow.ly/3kU27
Wow! Super creative! Love it!
This project makes me happy! Thank you everyone for the sweet comments. This is definitely a favorite project of mine although I have many faves! So thankful to be a part of the EB team! :)
These are just too adorable! I'm going to have to make this a fun little DIY project for all the ladies during Christmas.
This DIY rocks so much that I tweeted about it. An amazing fresh and new idea for table numbers. Love ii!!
This is beautiful, Lauren! The names stitched onto the ribbon is my very favorite part :) lovely!
These are super cute! It would be perfect for a bridal shower where there are just a handful of guests!
These are all such AMAZING ideas. I don’t know where to start! I think my favorite aspect of this project is the corkboard frame.. what a great idea! Let’s just say I have a weak spot for spools, too.
Comments are closed.