
Your wedding gallery probably has hundreds of photos in it, and most of them live in a folder you open twice a year. If you love making things, there is a better home for your favorite shots: something you made with your own hands, hanging on a wall or sitting on a shelf where you see it every day.
Some of these projects take an afternoon. Others stretch across a few quiet evenings, like a Davincified project where you turn a photo into a paint by numbers kit and paint your own wedding portrait one numbered section at a time. Here are six handmade ideas, from beginner-friendly to a little more ambitious, plus what to do before you start.
1. Protect Your Original Photos First
Before you cut, glue, or transfer anything, decide which photos are off limits. Handmade projects are wonderful, but they are usually irreversible, so work from a copy and keep the original safe. For example, a transfer ornament consumes the print it is made from, and a glued scrapbook page cannot be undone.
Limit how much light your prints are exposed to, and avoid putting adhesives directly on a print whenever you can. In practice that means printing fresh copies for any project that involves glue, paint, or scissors, and tucking your original prints and your photographer’s files somewhere dark and dry.
Order a few extra prints of your favorite five or six shots. Prints are inexpensive, and having spares means you can make mistakes without worrying.
2. Paint Your Favorite Photo, Number by Number
Paint by numbers is a painting method in which a canvas is pre-printed with numbered outlines and each number matches a pot of paint. If you have always wanted a painting of your wedding day but do not trust yourself with a blank canvas, a custom kit is the friendliest place to start. You upload a photo, and the company prints it as a numbered outline on canvas. Then you fill each section with the matching color. It suits anyone who enjoys the process more than the pressure of improvising.
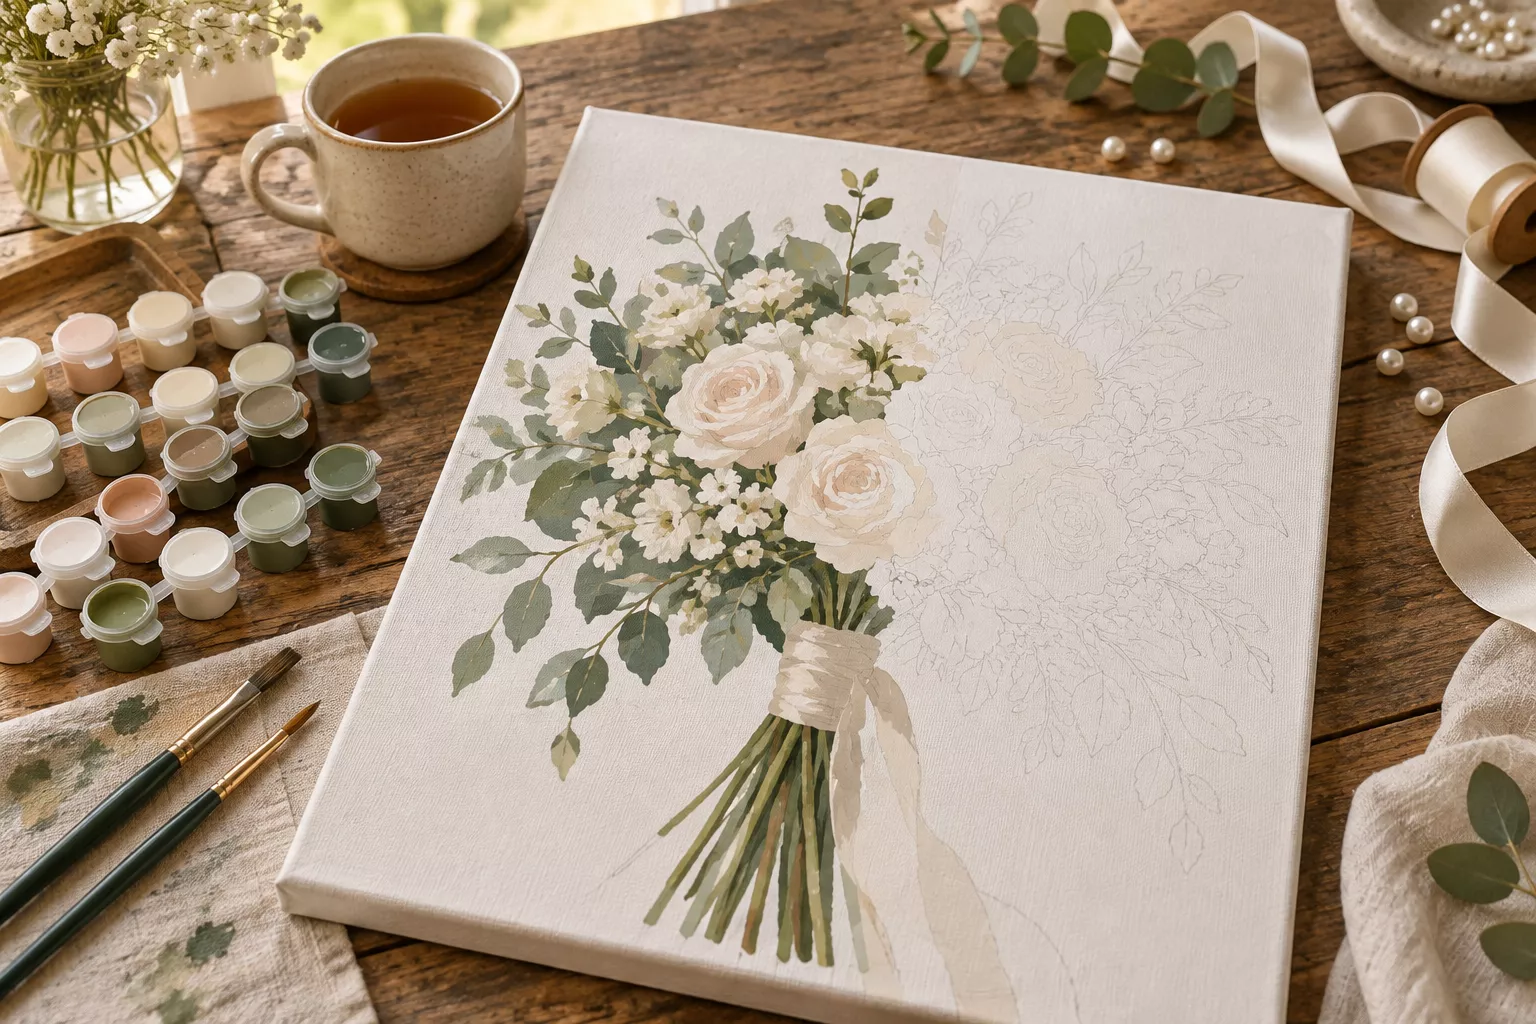 A bouquet painting half finished on a stretched canvas, with numbered paint pots, brushes, and ribbon on a wooden table
If you would rather paint something in your wedding colors than a photo, Davincified’s ready-made designs, from florals to romantic landscapes, work the same way. Every kit comes with numbered, ready-mixed acrylic pots, a set of brushes, and a hanging kit, so there is no color mixing and nothing extra to buy before you begin. That matters if you are a crafter who likes the process but does not want a supply run in the middle of a project. Most kits offer a 24-color option aimed at beginners, with more colors available if you want finer detail and a longer project.
A few choices make the finished painting look better:
- Pick a photo with clear shapes. A portrait with a simple background, good light, and a clear subject paints more cleanly than a crowded group shot.
- Try a detail instead of the whole scene. For instance, your bouquet, your hands with the rings, or the two of you from behind on a path all make striking paintings.
- Choose landscape or portrait to match the photo. Choosing the orientation up front keeps the faces and the bouquet from getting cropped awkwardly.
Best for: Couples who want a one-of-a-kind piece of wall art and a relaxing way to wind down after the busy wedding season.
3. Transfer a Photo Onto a Wood Slice Ornament
This one is a classic of the handmade wedding world, and it makes a lovely first-Christmas-as-a-couple ornament. A photo transfer is a technique that moves an image from paper onto wood, which gives it a soft, slightly worn look that suits rustic and boho weddings.
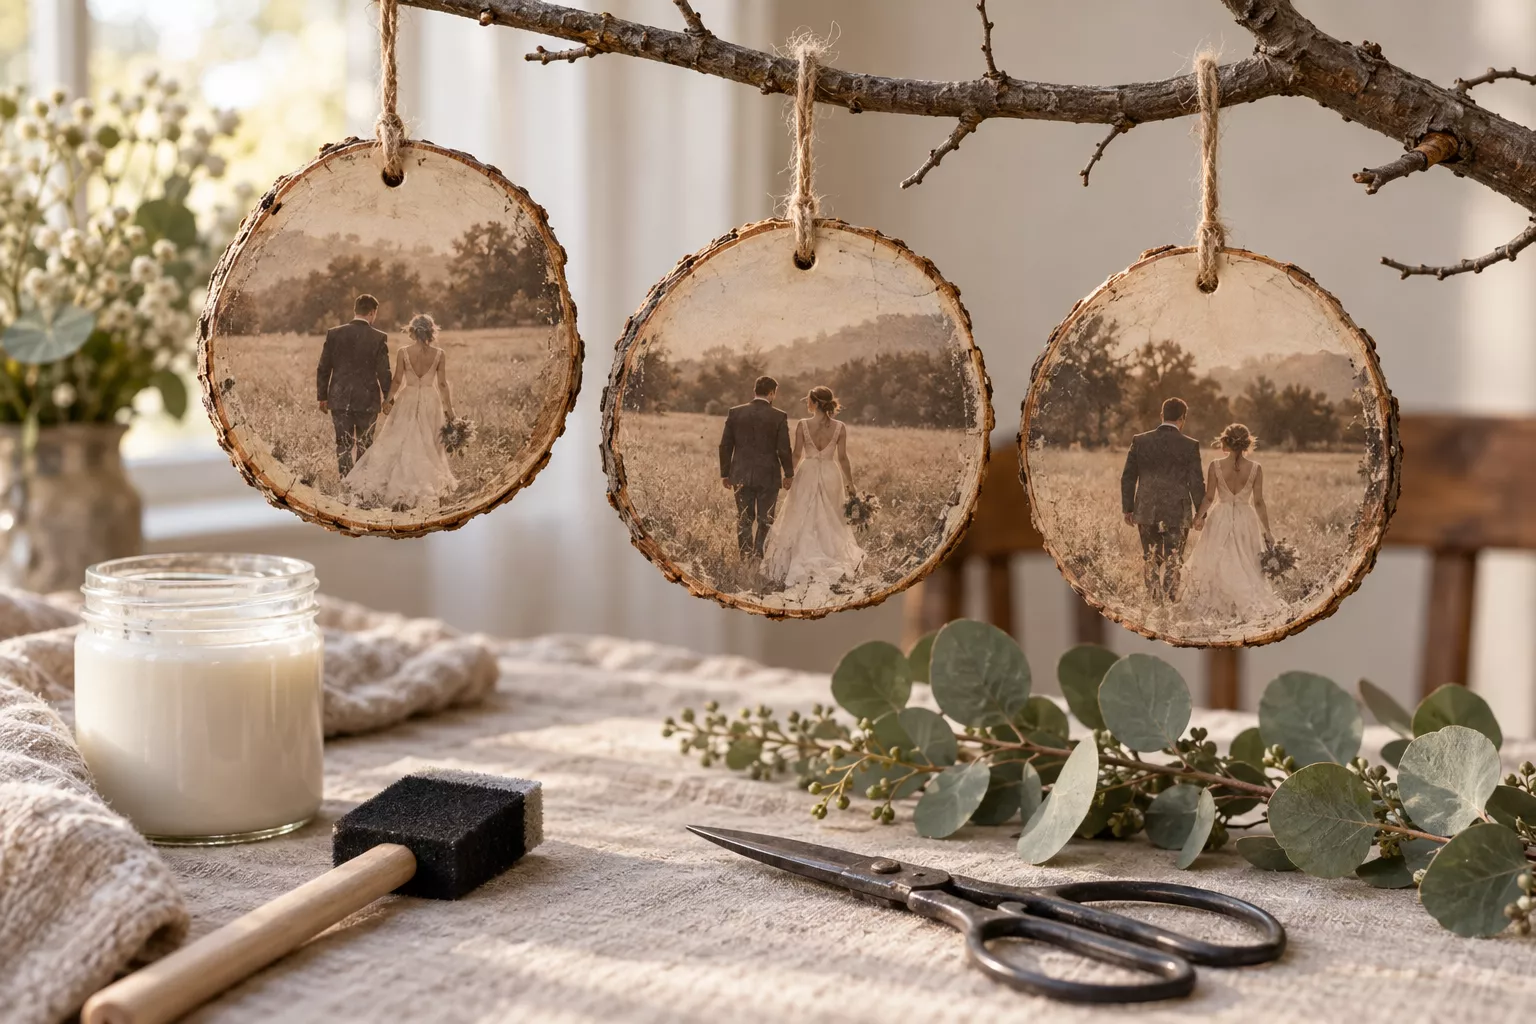
Here is the basic method:
- Print a copy of your photo in reverse (mirror image) so the final image reads correctly. A laser print generally works best for gel medium transfers.
- Coat the face of the print with a thin, even layer of gel medium and press it face down onto a sanded wood slice.
- Smooth out air bubbles, then let it dry completely, ideally overnight.
- Dampen the paper and gently rub it away with your fingertips until only the image remains.
- Seal the slice with a light coat of clear sealer and add twine or ribbon for hanging.
Test the process on a scrap of wood first. After a couple of attempts you notice that smoother, sanded wood holds fine detail better than rough bark, and that a trial run is what saves your good photo.
Best for: Crafters who like quick projects, and anyone making several matching ornaments as gifts.
4. Stitch or Crochet a Keepsake From Your Bouquet Colors
If your hands are happiest holding yarn or thread, a stitched keepsake lets you preserve your wedding in your own medium. You are not copying a photo exactly here. You are borrowing its palette and its shapes.
Pull the colors straight from your wedding photos: the blush of the roses, the sage of the greenery, the cream of the ribbon. Then choose a format that suits your skill level:
- An embroidery hoop with a small floral spray stitched from your bouquet blooms, framed in the hoop itself.
- A crocheted flower bouquet in your wedding colors that never wilts and can sit in a vase.
- A cross-stitch of your wedding date and initials, backed with a bridesmaid dress swatch or a dress sash if you have one to spare.
Keep the scale deliberately modest, because a project that finishes within a few weeks usually gets displayed, whereas an ambitious piece that drags on for a year tends to end up tucked away in a drawer.
Best for: Crocheters, knitters, and embroiderers who want something that feels personal rather than printed.
5. Build a Year-One Memory Box
Not everything from your wedding belongs in a frame. The pressed flower, the champagne cork, the handwritten vow cards, and the first dance playlist printed on a card all deserve a home too.
A memory box gathers them in one place. Choose a sturdy box with a lid, line it with acid-free tissue, and sort your keepsakes into small groups. Add a handwritten label to the lid with your wedding date.
Here is what to include:
- A few of your favorite prints, with the date and a short caption on the back in pencil
- Pressed petals from your bouquet, flat between sheets of tissue
- The ribbon from your bouquet wrap
- Your vows, your invitation, and your ceremony program
- A short letter to each other, to be opened on your first anniversary
Plan to open it together on your anniversary and add one new thing each year. It becomes a small family tradition.
Best for: Sentimental couples who want a home for the small things that do not fit on a wall.
6. Give a Handmade Photo Gift to the People Who Helped
Your parents, your wedding party, and a friend who helped with the handmade details, such as the one who stayed up late stitching table runners, are often the people who would treasure a gift made from a wedding photo most. A personal gift lands differently from a store-bought one because the effort, the thought, and the personal history behind the chosen photograph are all visible in the finished piece.
Some ideas that work well:
- For your parents: a framed print of them from the day, or a paint by numbers kit made from a favorite candid shot of the three of you. It doubles as a quiet activity they can enjoy together.
- For your bridesmaids: a small wood slice ornament with the group photo on it, or a hand-stitched bookmark in your wedding colors.
- For a grandparent: a memory box of their own with a few prints, a copy of the ceremony program, and a note.
If you order a custom kit as a gift, it is reassuring to know that Davincified accepts returns within 30 days, even if the kit has been opened. That takes the pressure off choosing a photo and a size for someone else.
Best for: Brides who want to say thank you with something that took real care.
How to Choose Your Project
You do not have to do all six, and the quickest way to decide is to compare them by the time you have and the skills you already own. Use this as a starting point, and remember that every estimate stretches if you stop to enjoy yourself.
| Project | Time needed | Skill level | Best use |
|---|---|---|---|
| Original prints, protected | An hour | None | Preserving what you cannot replace |
| Paint by numbers from a photo | Several evenings | Beginner | A statement piece for the wall |
| Wood slice photo transfer | A weekend afternoon, plus drying time | Beginner | Ornaments and small gifts |
| Stitched or crocheted keepsake | A few weeks | Some stitching | A personal piece in your own medium |
| Year-one memory box | An afternoon, then yearly additions | None | Small objects that do not frame well |
| Handmade gifts for family | Varies | Varies | Thank-you gifts that feel personal |
Pick the one that fits the time and the supplies you already have, and begin with a photo you could look at every day for the next ten years, because the best handmade keepsakes are the ones that actually end up on a wall, in a box, or on a tree where you will see them.
If you finish one, come back and tell the rest of us what you made. Handmade brides are always looking for their next project.
This is a partnered post.