It’s time to make a photobooth save the date! We’ll tell you everything you need to know to make the process a breeze. Read on for more + subscribe for the latest to your inbox.
More than ever before, couples are putting engagement photos on save-the-dates and the results are significant. Sure, a standard card will do… but one with your smiling face on it is 100x cooler.
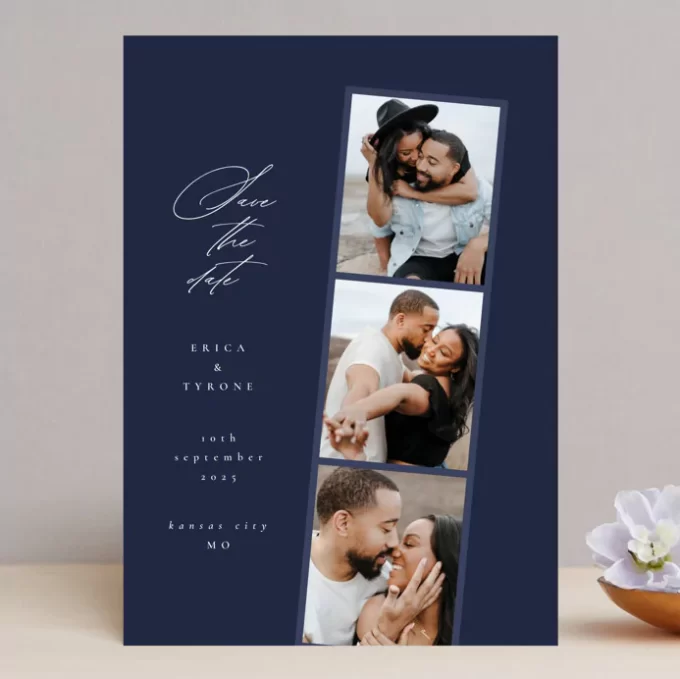
And when you get to put your photos in a photo strip style save the date, the results are even more momentous!
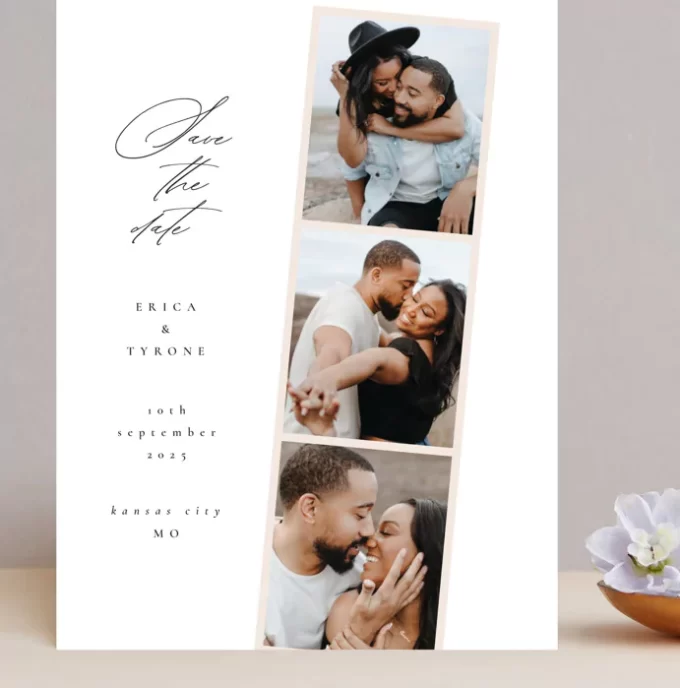
I have trouble picking out one photo to use on nearly any project. If you have the same issue, you don’t have to limit yours to just one: the Photobooth Save the Date allows you to choose three favorite photos to look like they’re printed together on a cute photo strip, like when you took one together at the photobooth at the mall on your first date… or at the boardwalk after celebrating that anniversary dinner.
What is a Photobooth Save the Date?
A photobooth save the date is a save-the-date card with pictures in a photo-strip design. It is a trending design because it’s adorable; in addition, if you’re having a hard time choosing just one engagement picture to use, you’ll appreciate the variety on this option.
How to Make Photo Strip Save the Date Cards
If you’re ready to make your own, roll up your sleeves! But wait… do you actually have to print out the photo strips? Glue them to the page? Make a digital copy and print your own? No!
There’s an easier way.
Instead, here’s the DIY way to make photobooth save-the-date cards that look beautiful.
1. Pick your design.
One of my favorite cards is this style by Corinne Malesic for Minted and affectionately known as Moments. Isn’t it cute? It features three spaces for photos on a strip with modern and elegant typography on the right side of the vertical card.
You can make your photo strip save the dates in three possible formats:
| Photobooth Save the Date Card Formats | Price |
| Grand: 6″x8″ | 100 for $193 or $1.93 each |
| Classic: 5″x7″ | 100 for $162 or $1.62 each |
| Magnet: 4.25″x6″ | 100 for $218 or $2.18 each |
| Petite: 4.25″x6″ | 100 for $147 or $1.47 each |
Save the Date Sizes and Types
• Grand: If you want to go big (and your photos are high-resolution enough to tackle it), go with the Grand card. It has a huge presentation.
• Petite: If you want to save money, choose the petite size! It will cut costs just enough and still provide you with an elegant layout and text.
• Classic: If you want a standard card, classic is the way to go; 5″x7″ is the typical size of most save the dates.
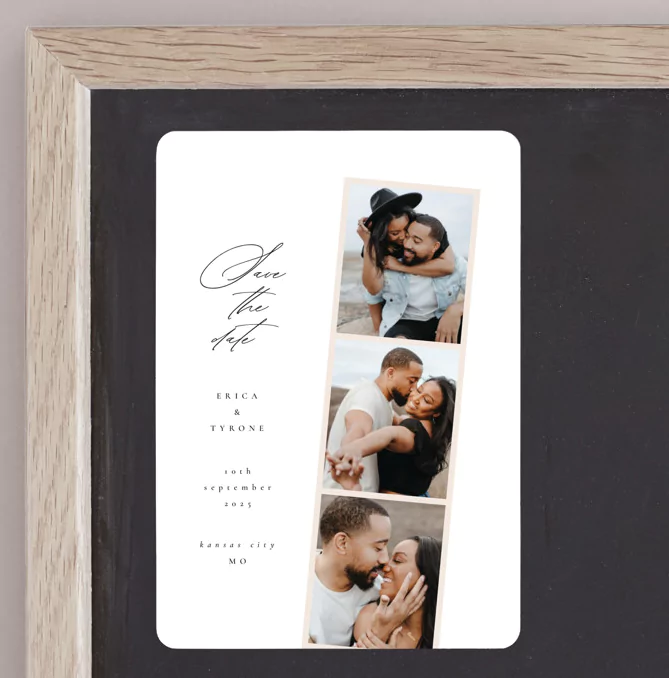
• Magnets: And last but not least, if you want guests to never forget the date, put it on their fridge right where they can see it with a magnet save the date. It doesn’t cost much more than the standard card options and they’ll have a cool fridge magnet out of the deal. :)
2. Upload your pictures.
Use the customizer to edit the design and upload your photos from your computer or Smartphone device.
3. Add to Cart!
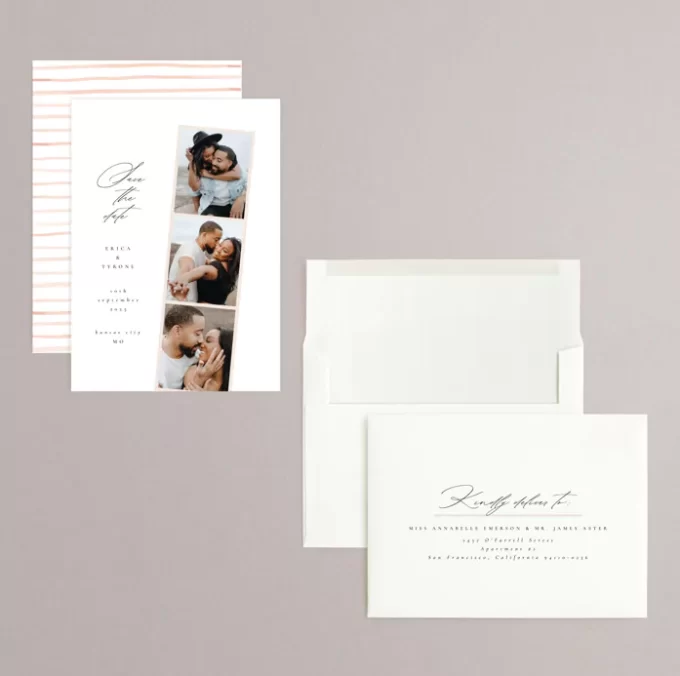
Then just sit back and wait for those beautiful cards to be printed and packaged, shipped right to your doorstep. As a bonus, if you order them from here, you’ll also get FREE envelopes that are addressed for your guests.
Tips for Creating a Photobooth Save-the-Date
When you’re choosing the photos, keep in mind the photobooth style: images that have the same background but you’re striking a different pose in each one. If you pick out this card before the engagement photos are taken — or you take your own! — format it in the way of a photo strip for the best results.
When in doubt, just pick three photos you love the most. Your wedding guests will love to see your top three picks from the engagement shoot; you really can’t go wrong with your faces on the front!
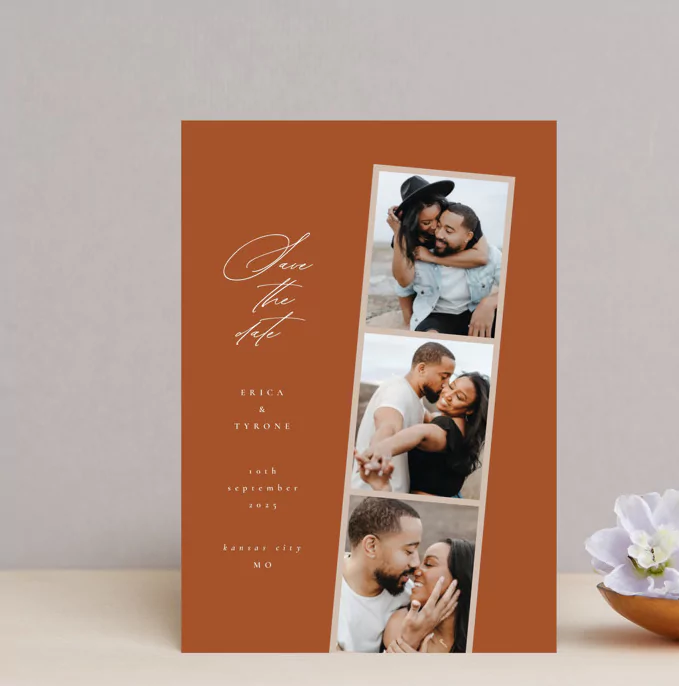
If you like, you can edit the color of the card. The examples above feature a standard white background, but I think these colors will look nice, too! You can choose a color palette to coordinate with your wedding colors… but it is not mandatory.
Where to Buy Photo Booth Save the Dates
To buy a photobooth card, you can purchase them here. It’s easy to customize the text to your liking, add your photos (upload from your computer or smartphone), and choose your printing options.
And if you want to add even more photos or wording, you can utilize the back of the card: it allows for additional pictures, text, or even just a cool solid pattern design that you like.
You can get started here.
So, what do you think? Are you going to go with the photobooth card?
Happy Planning!
xo
Emma
This is a sponsored post.
