Hi, lovelies! Today we’re sharing a super-easy DIY save the date using plain kraft cards, matching envelopes, and stylish custom save the date stamps by Letter2Love. With just a few easy supplies, you can make these for guests and add your own personal touches (fun custom postage, a ribbon or piece of jute twine, washi tape — or leave it as-is!) Take a look!
DIY Save the Date Cards
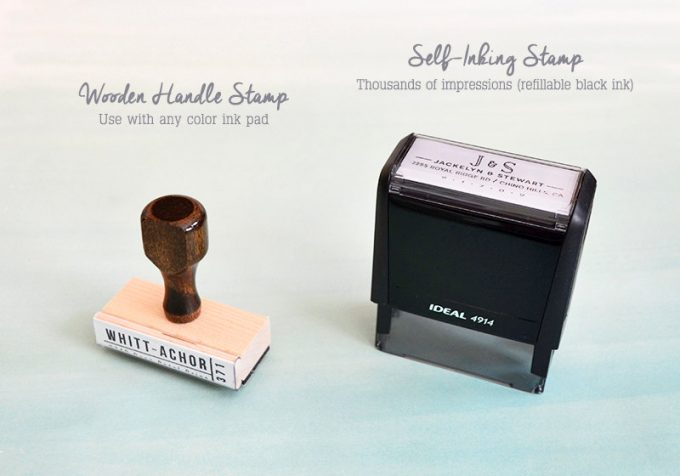
Samantha and Angie at Letter2Love make save the dates so much easier with these custom stamps. With a pretty design, your names, and the wedding date, everything you need is on one wooden handle or self-inking stamp.
Forget fussing with printer ink, paper, and pulling your hair our over how the heck do I print these save the dates onto a template with printable save the dates. Instead, just use a simple custom wedding stamp to make the process a breeze! Here’s what you need to bring these DIY save the date cards to life.
DIY Save the Date with Stamp
Gather up your supplies. First, you’ll need a personalized wedding stamp for your DIY save the dates from here.
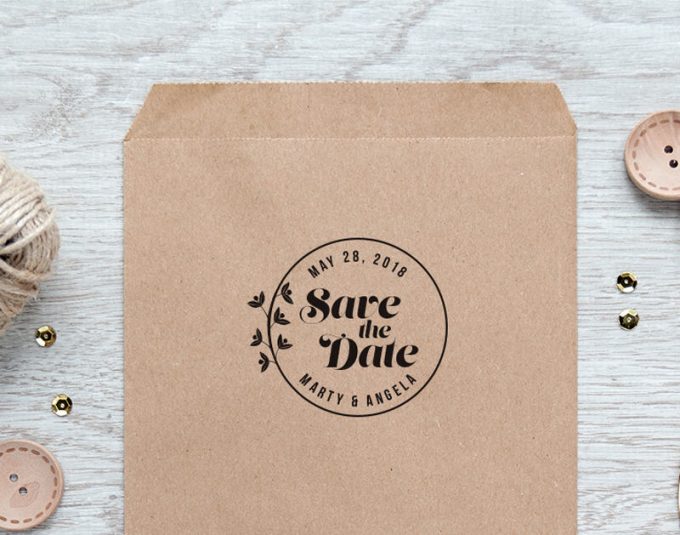
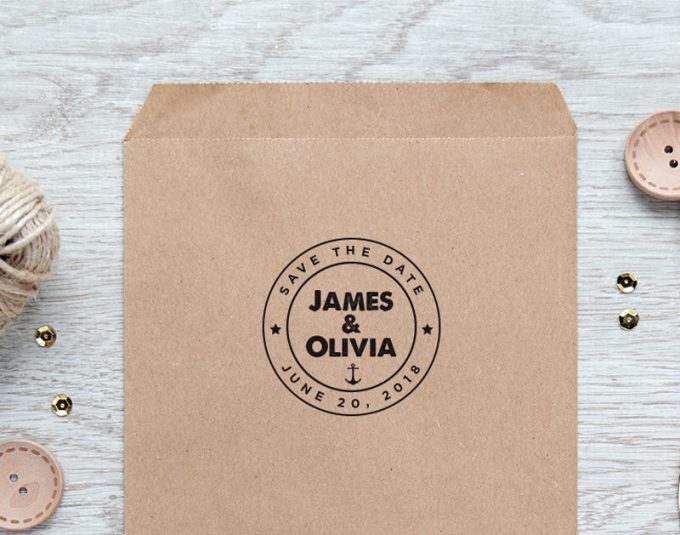
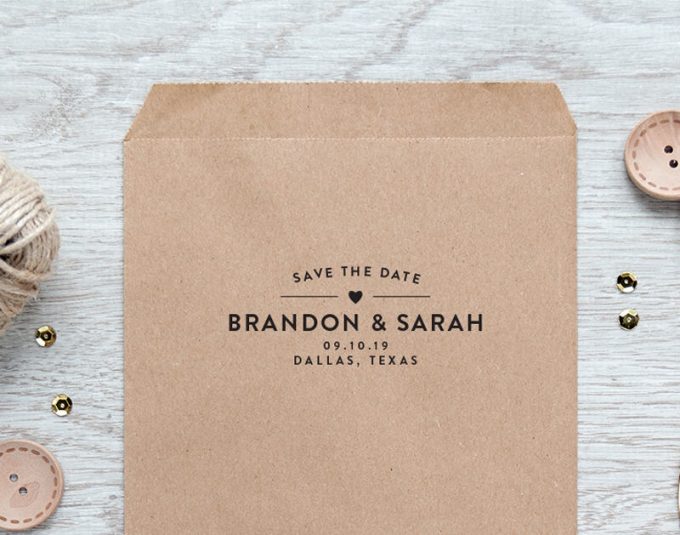
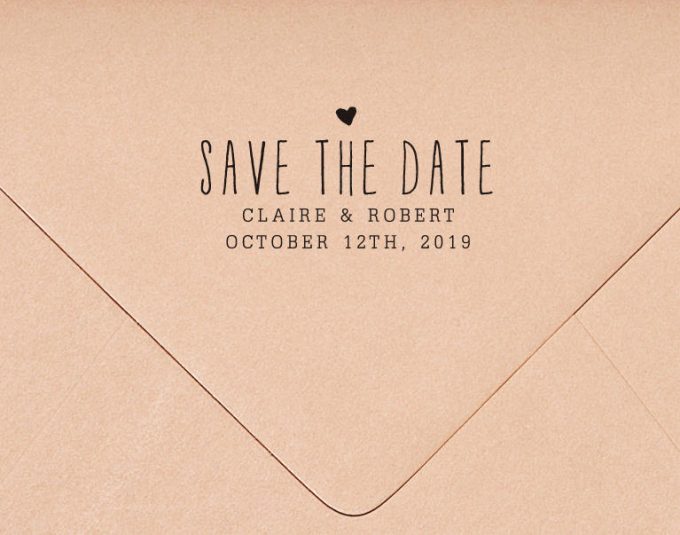
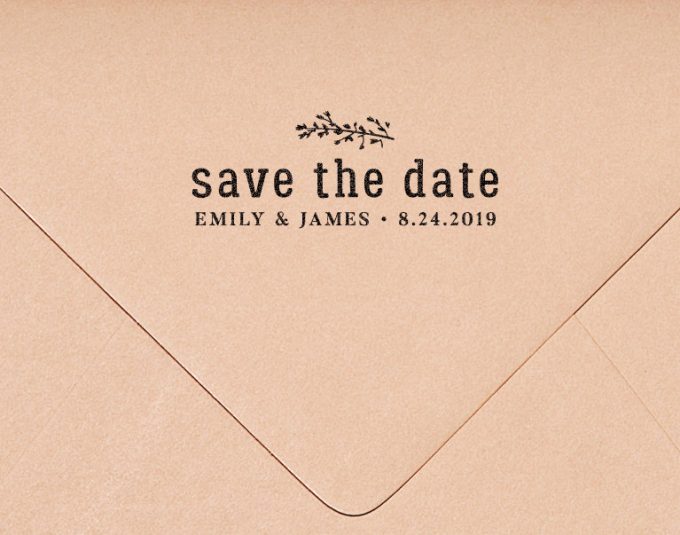
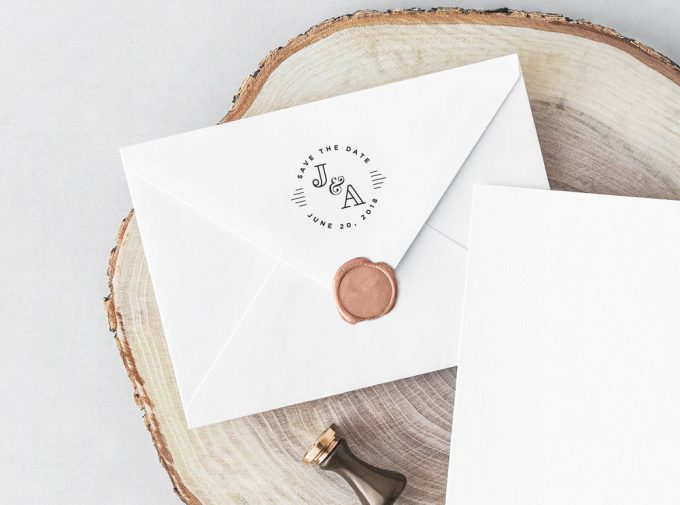
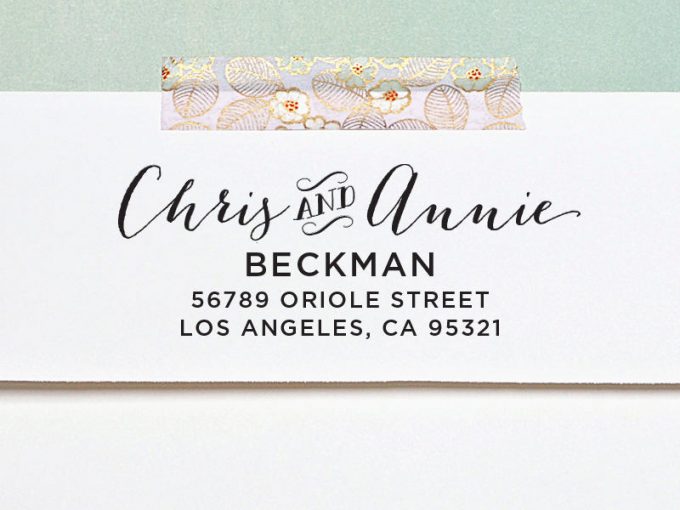
To inspire you, here’s a couple custom save the date stamps they’ve designed for couples.
Wedding Stamp for DIY Save the Date
You can choose from two stamp styles: wood rubber stamp or self-inking. For this project, we recommend the wood rubber stamp, as you can choose the ink you’ll be using (and we recommend this ink so it won’t smudge easily).
You can buy your stamp here.
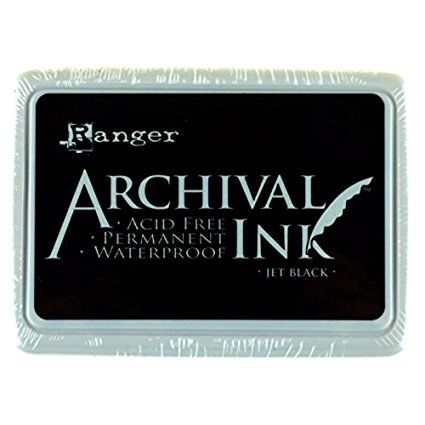
Next, ink.
Ink Pad
If using the wooden rubber stamp, you’ll want to grab an ink pad. We recommend this kind because it’s waterproof and permanent.
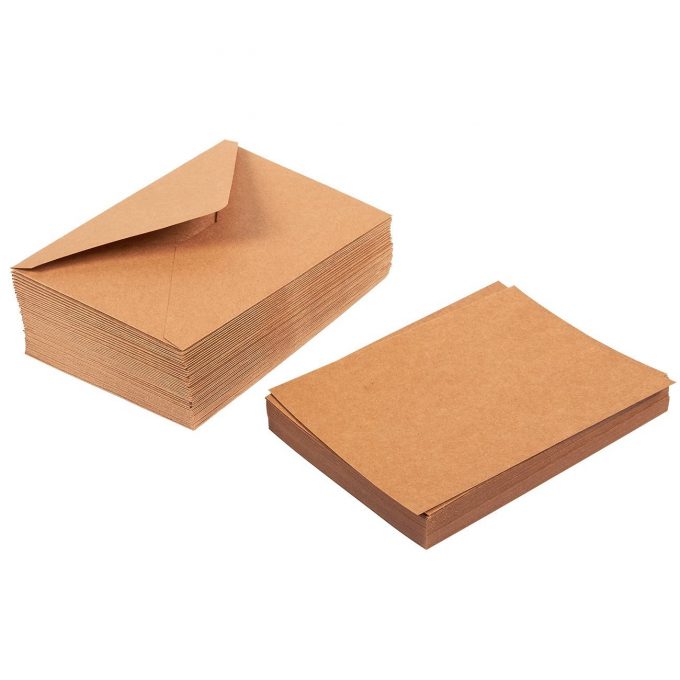
Kraft Paper Cards and Envelopes for DIY Save the Date
Next, grab your kraft paper cards and envelopes. We found these online for a great deal (50 cards and envelopes for $10.99 + free shipping!) — and boast great reviews. Many commented on how they were impressed by the quality, despite its price, and used them for greeting cards. These kraft cards are one of the smaller sizes that look great with the stamps and they come with matching envelopes, which is a win. (Surprisingly, other kraft paper cards and envelope sets we found lacked one or the other.)
Once you have your supplies, simply stamp your kraft cards with your custom stamp and ink pad, place inside an envelope, and mail to your guests. Add custom postage like this for fun personalization. These save the date cards are easy to make, affordable, and won’t hold you to any particular theme. If you aren’t decided yet on theme or colors, these make a great neutral tone. You can send out these DIY save the date cards on time (4 to 6 months before the wedding) even if you’re not fully decided yet on theme, tone, or color.
Decorate Your Save the Dates (optional)
Personally, I like the simple design as-is. But you can add personalization with custom postage (a monogram, your photo, or a hint at your wedding theme / colors), ribbon or jute twine, or even washi tape to add a little color.
Don’t forget to use these markers when addressing the front of your envelopes. Now is a good time to secure your return address stamp from the same shop. Angie and Samantha have amazing return address stamps!
And that’s it! DIY Save the Date cards, done!
More coming up next. :)
Are you making your own diy save the dates?
Are you sending your own save the dates? Ordering online? Skipping save the date cards altogether? Tell us in the comment box below! We’d love to hear from you.
P.S. If you’re wondering more about save the date etiquette, read: Save The Date Wording.
Happy Planning!
xo
Emma
