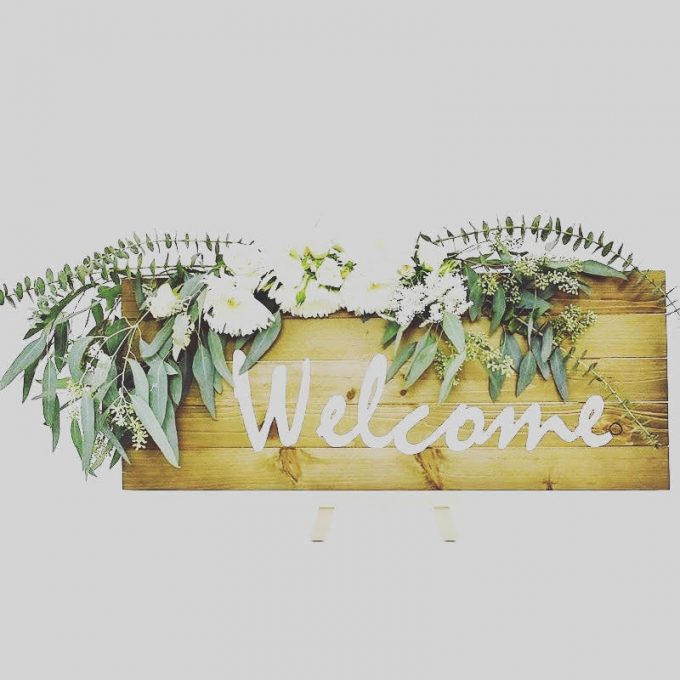
We’re back with our sponsors from Blooms By The Box to share a fun new tutorial: how to make a DIY welcome sign for your wedding! A welcome sign is a great way to add a personal touch to your ceremony or reception space. It also gives your guests a warm welcome as they enter, grab their seating card, and make their way to their seats.
For this DIY tutorial, you only need a few easy-to-source supplies to get started. Everything can be found on their website via the links below. This tutorial was created exclusively for Emmaline Bride by Danielle. Take it away!
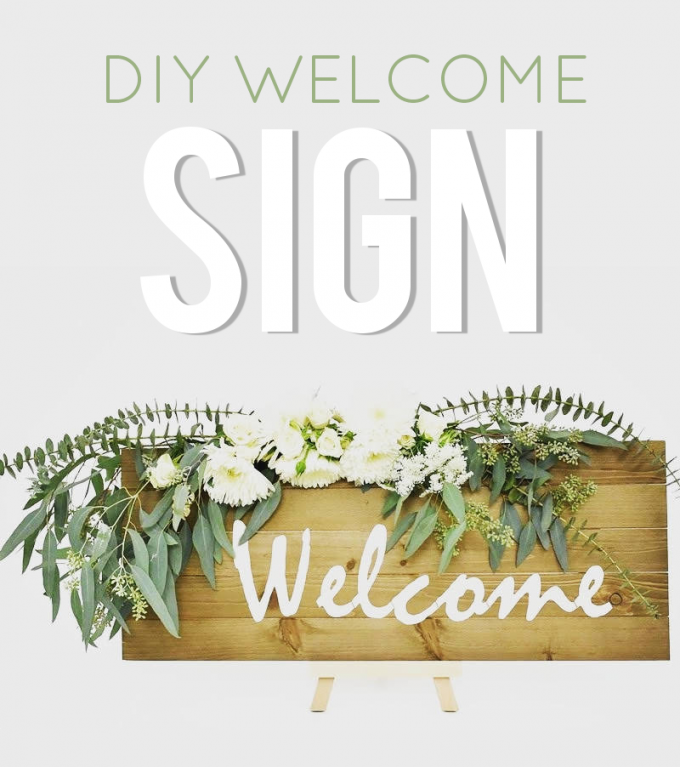
DIY Welcome Sign
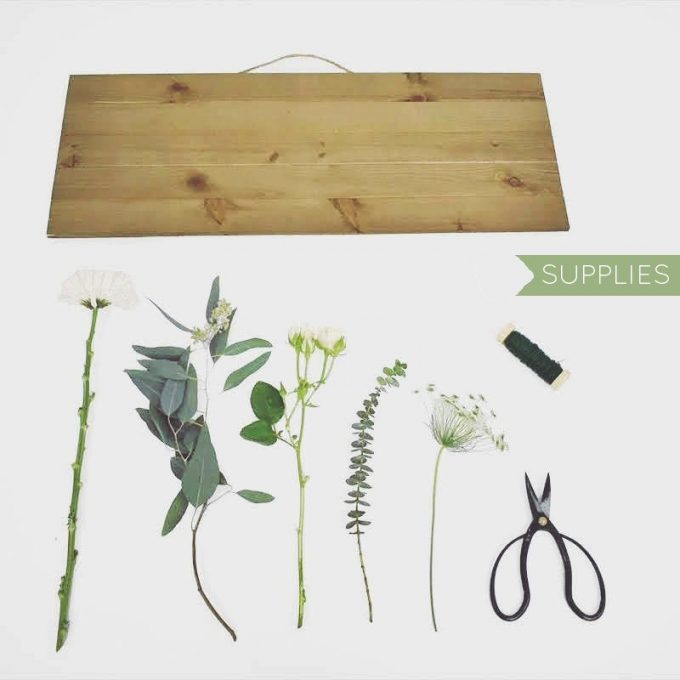
Supplies
• White Football Mums
• White Spray Roses
• Queen Anne’s Lace
• Baby Blue Eucalyptus
• Seeded Eucalyptus
• Wooden Sign (find a similar one at a craft store like here)
• Floral Scissors
• Floral Wire
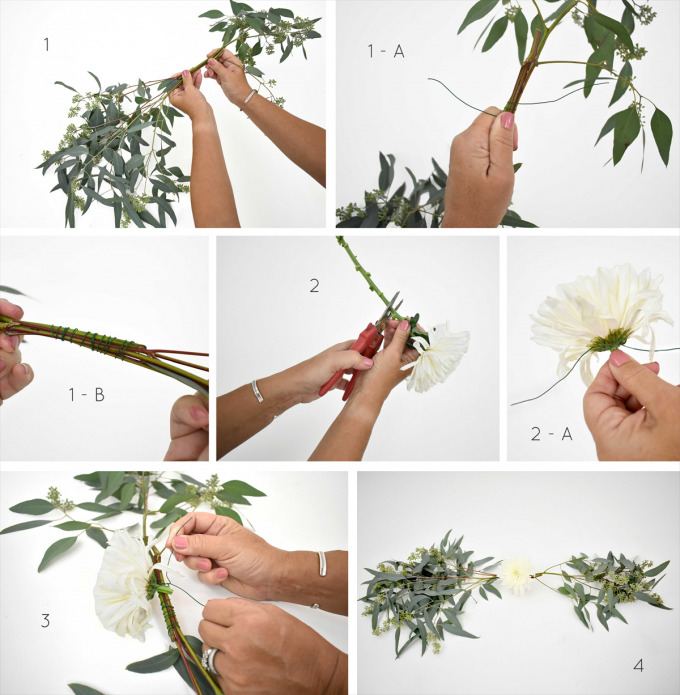
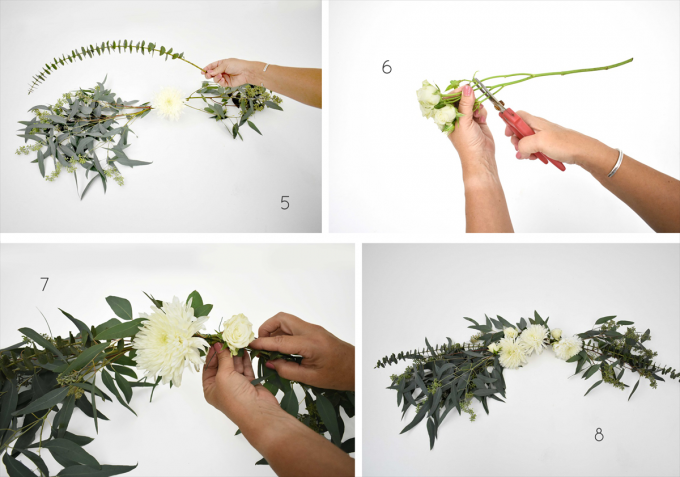
How to Make a Welcome Sign
1. Start by wiring two stems of Seeded Eucalyptus together from either side.
2. Trim the stem of a Football Mum down to less than an inch. Poke a wire through the base and use that wire to wrap the bloom around the Seeded Eucalyptus.
3. You can make your mini garland thicker by wiring in stems of Baby Blue Eucalyptus.
4. Trim the stem of the Spray Roses down and wire them next to the Football Mum. Add in Queen Anne’s Lace for texture.
5. Once you’re happy with the garland, mount it onto a wooden board for a decorative welcome sign!
Doesn’t it look beautiful?
To get more inspiration, check out the tutorials here.
Happy Planning!
xo
Emma
This is a sponsored post in collaboration with BloomsByTheBox.



2 comments
[…] See the full step-by-step feature over on Emmaline Bride! […]
[…] Are you ready to learn how to DIY more flower arrangements for your wedding? Learn How To: DIY Wedding Welcome Sign. […]
Comments are closed.