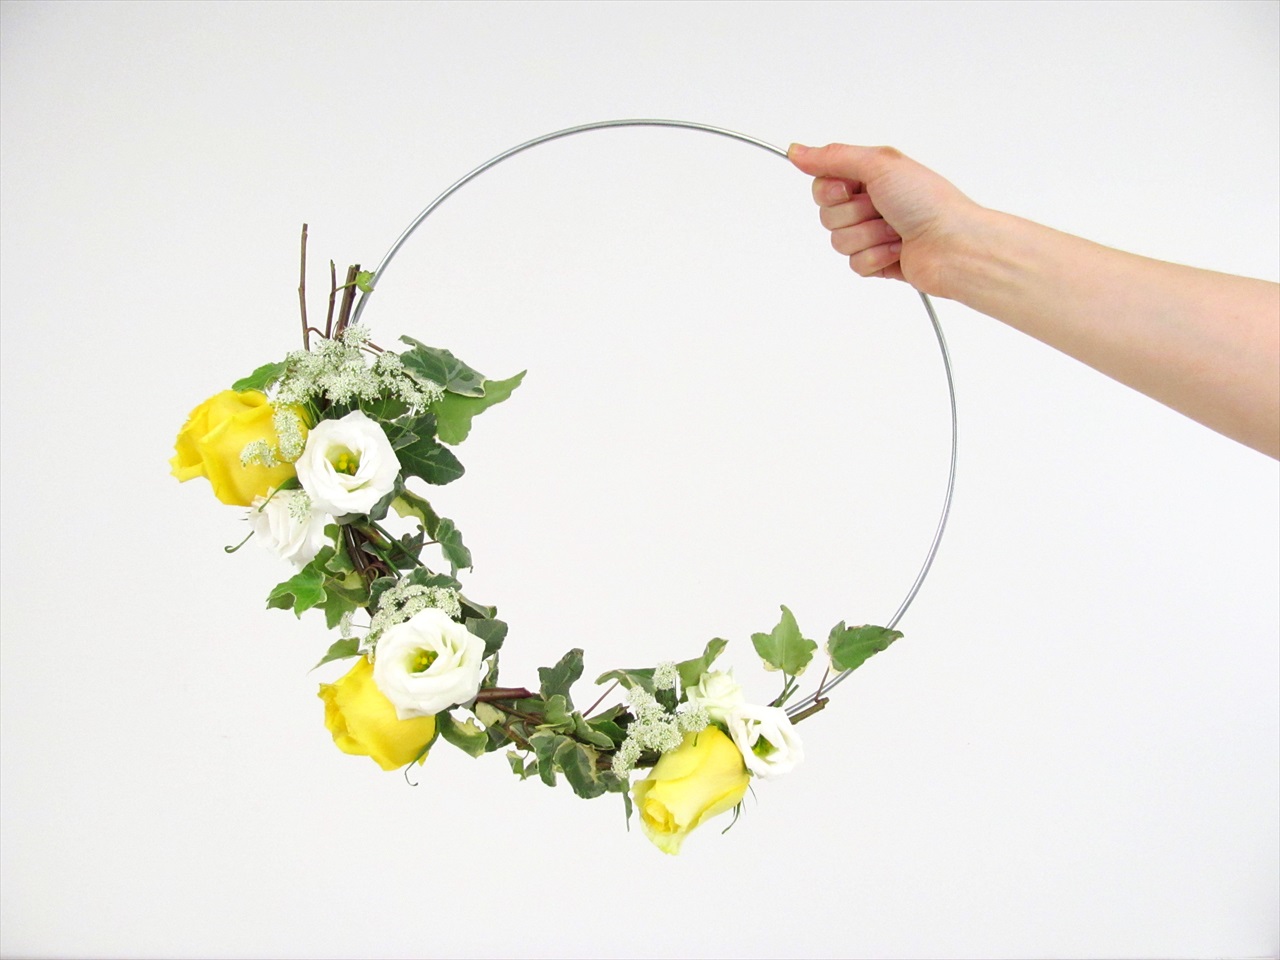
It’s time to get crafty! Today we’re showing you how to make a DIY floral hoop with an easy-to-follow tutorial from Danielle at Blooms By The Box! You may remember Danielle’s crafty skills when she made this creative DIY Moss Letter. Today she’s showing everyone how to make a chic spring-ready floral hoop with a few easy to find supplies. Gather up the prettiest ivy, roses, Queen Anne’s lace, and a few additional supplies from their shop to design a beautiful DIY floral hoop for wedding or bridal shower decor.
This floral hoop looks elegant as a wall decoration at your reception, as a chic display piece behind your cake table, hanging from the ceiling, or as part of your backdrop. In addition to using as decor anywhere you see fit, you can make a pair of these hoops to use in lieu of chair signs at your reception for your sweetheart table. And honestly, this floral hoop is so lovely and easy to make, you’ll want to design an additional hoop for your home. Take it away, Danielle!
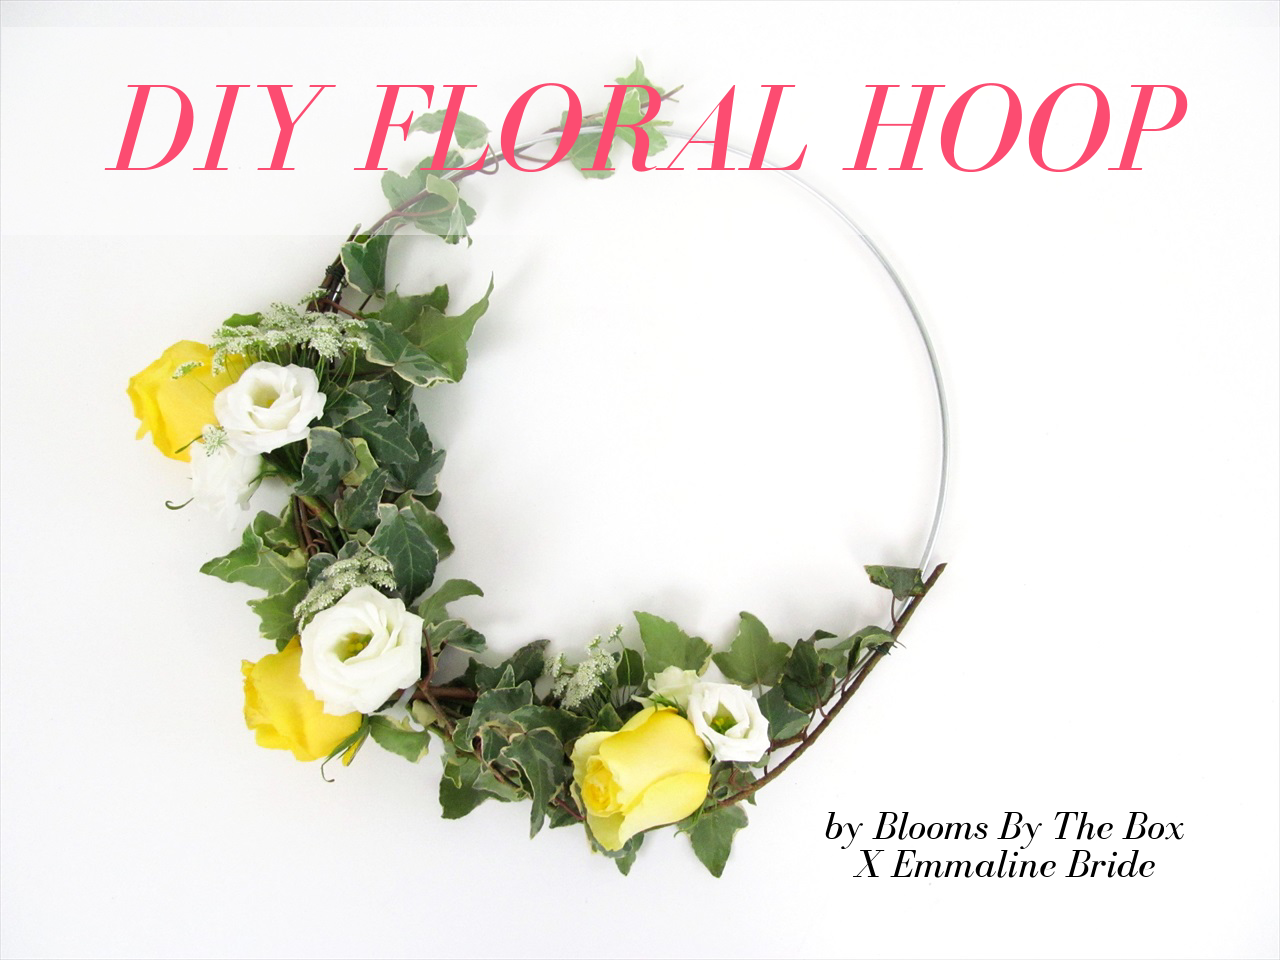
DIY Floral Hoop Tutorial
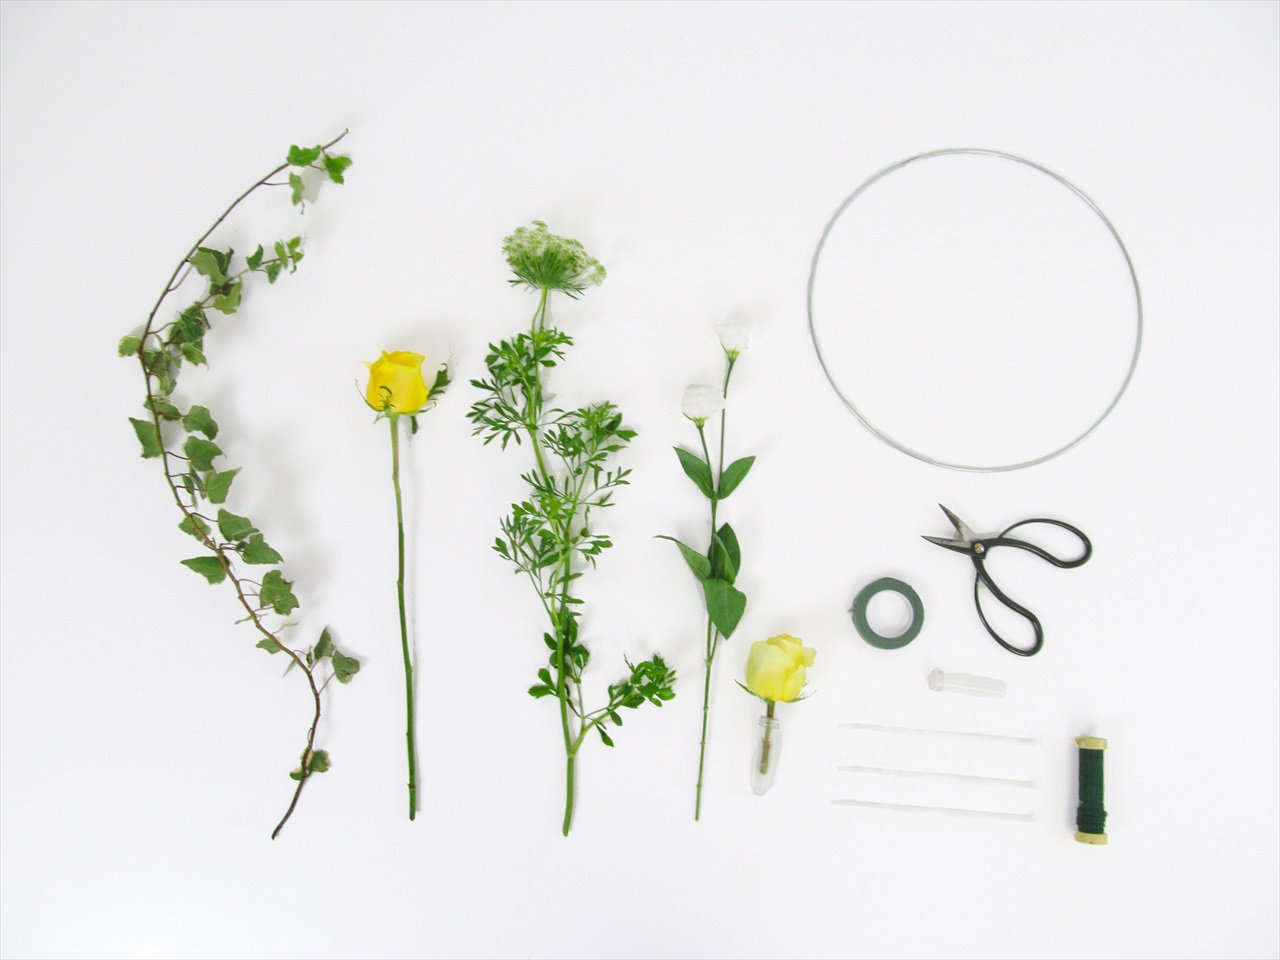
First of all, gather up your supplies. Here is everything you need to make your own DIY floral hoop.
Supplies
• Varigated Ivy
• Tara Roses
• Queen Anne’s Lace
• White Lisanthus
• Floral Hoop
• Zip Ties
• Floral Wire
• Floral Scissors
• Floral Water Tubes (optional)
• Floral Tape (optional)
Steps
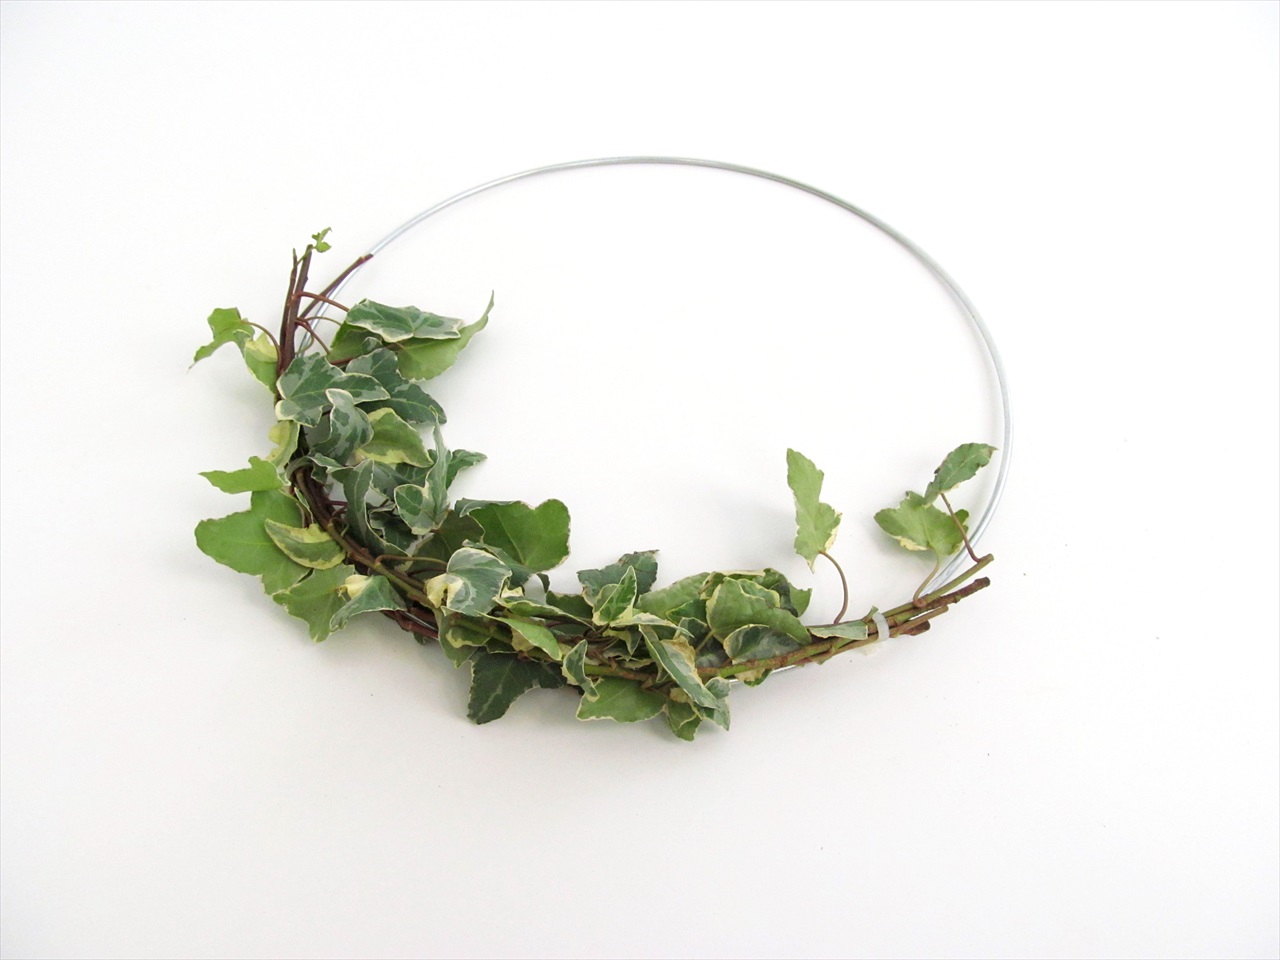
1. Grab a few stems of Ivy and place them along the hoop, determine how much coverage you want and trim accordingly
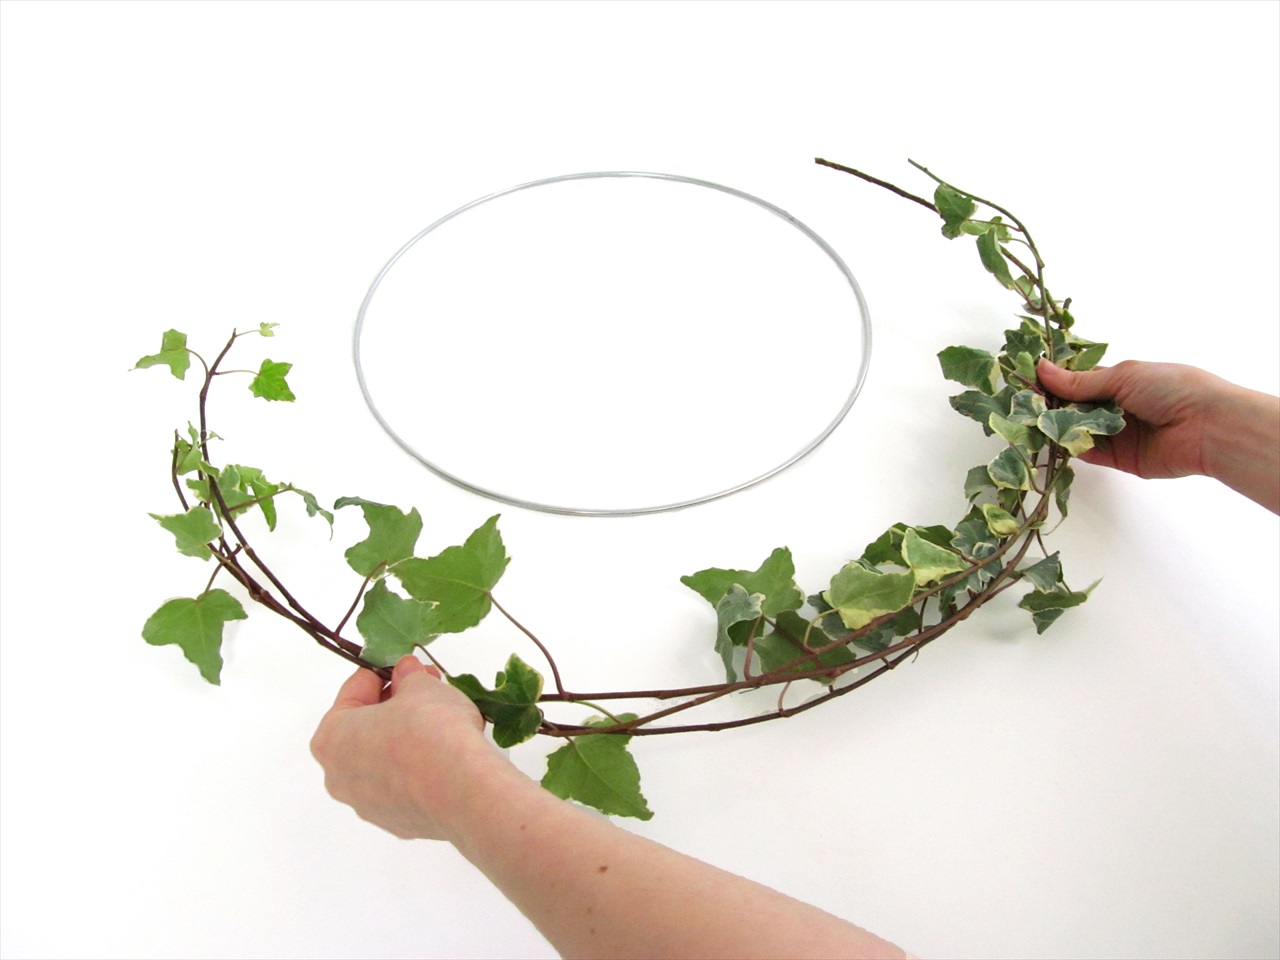
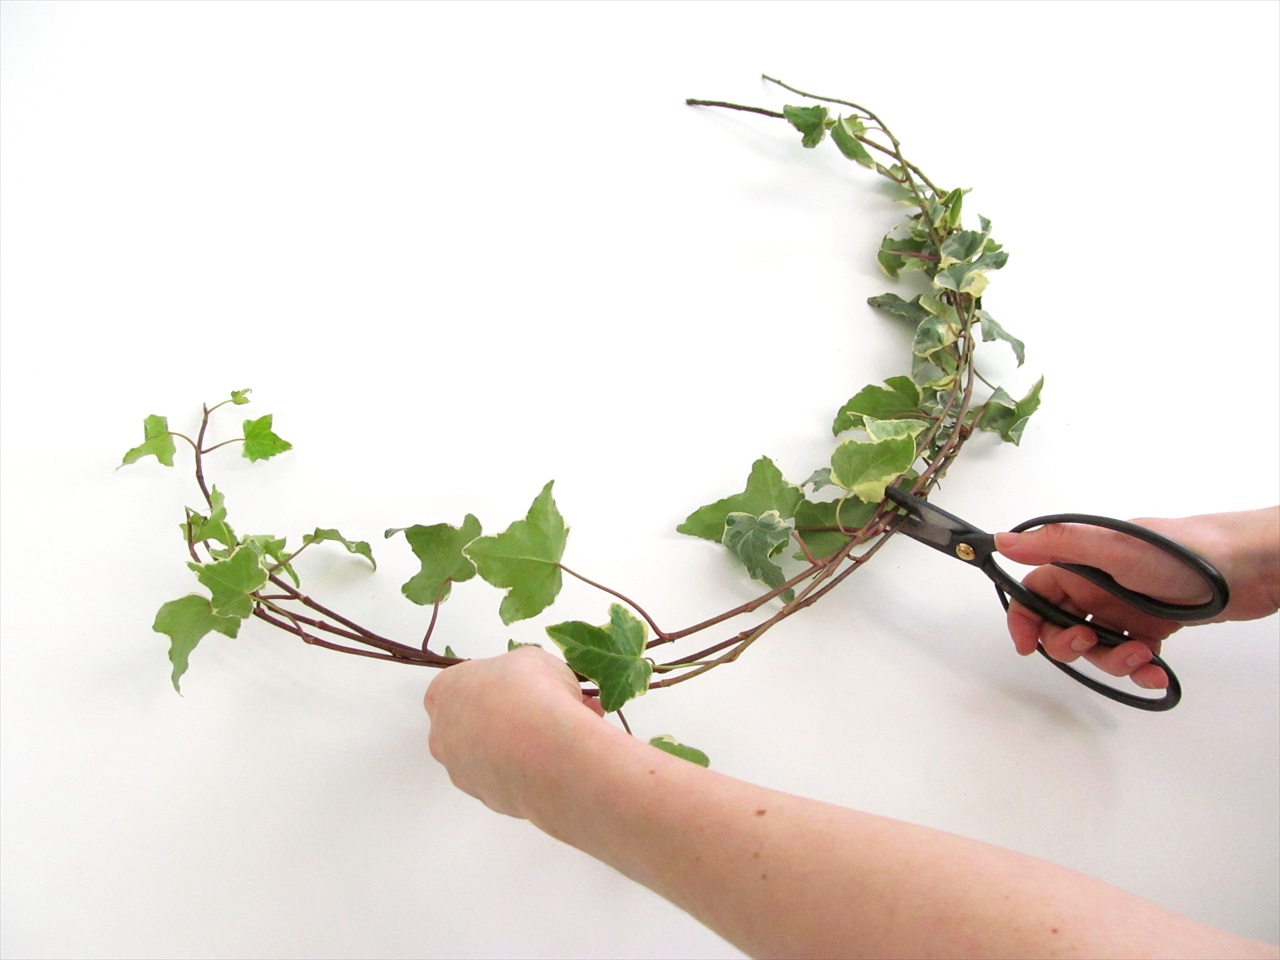
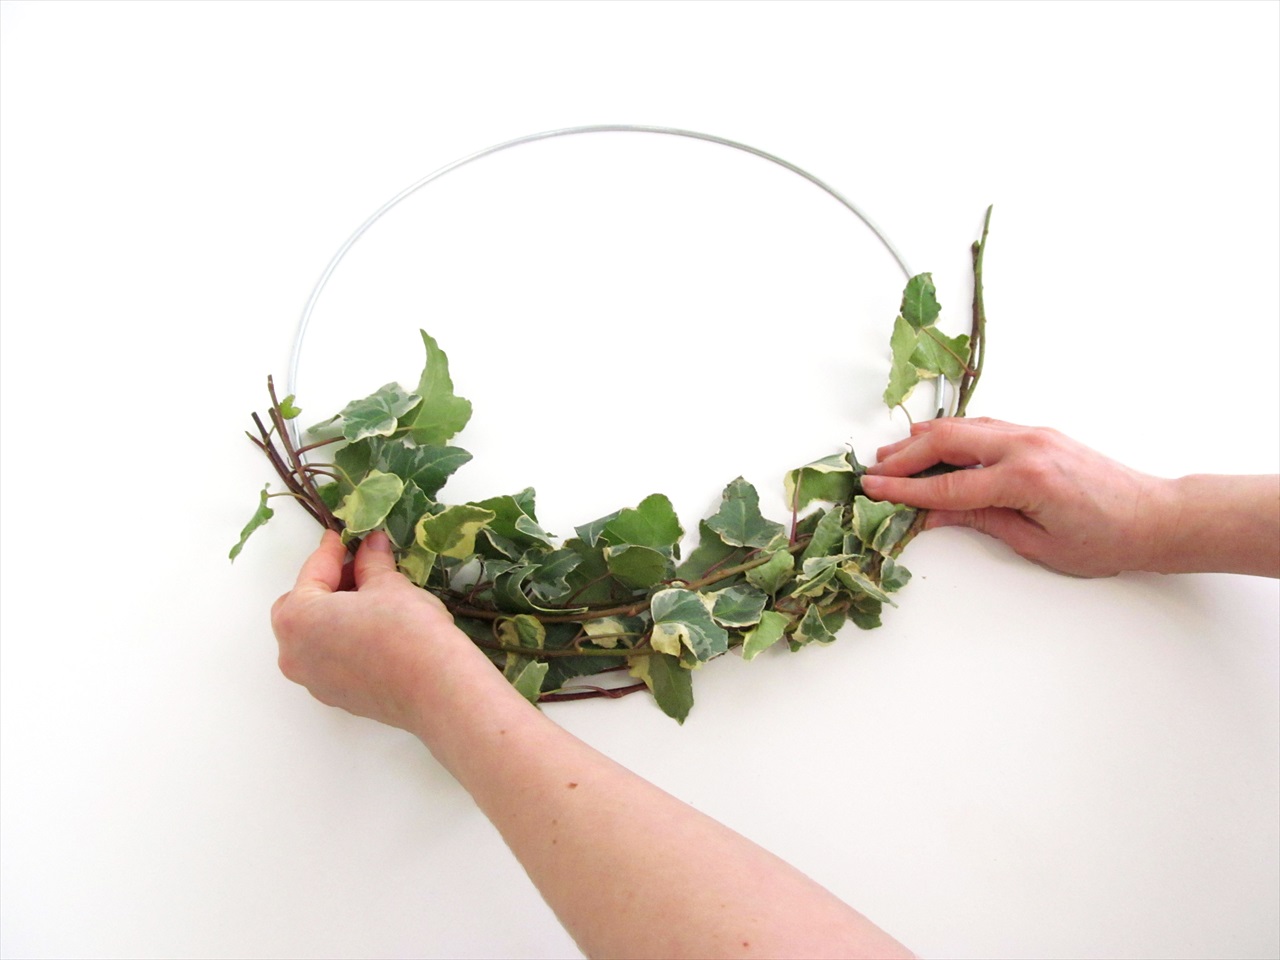
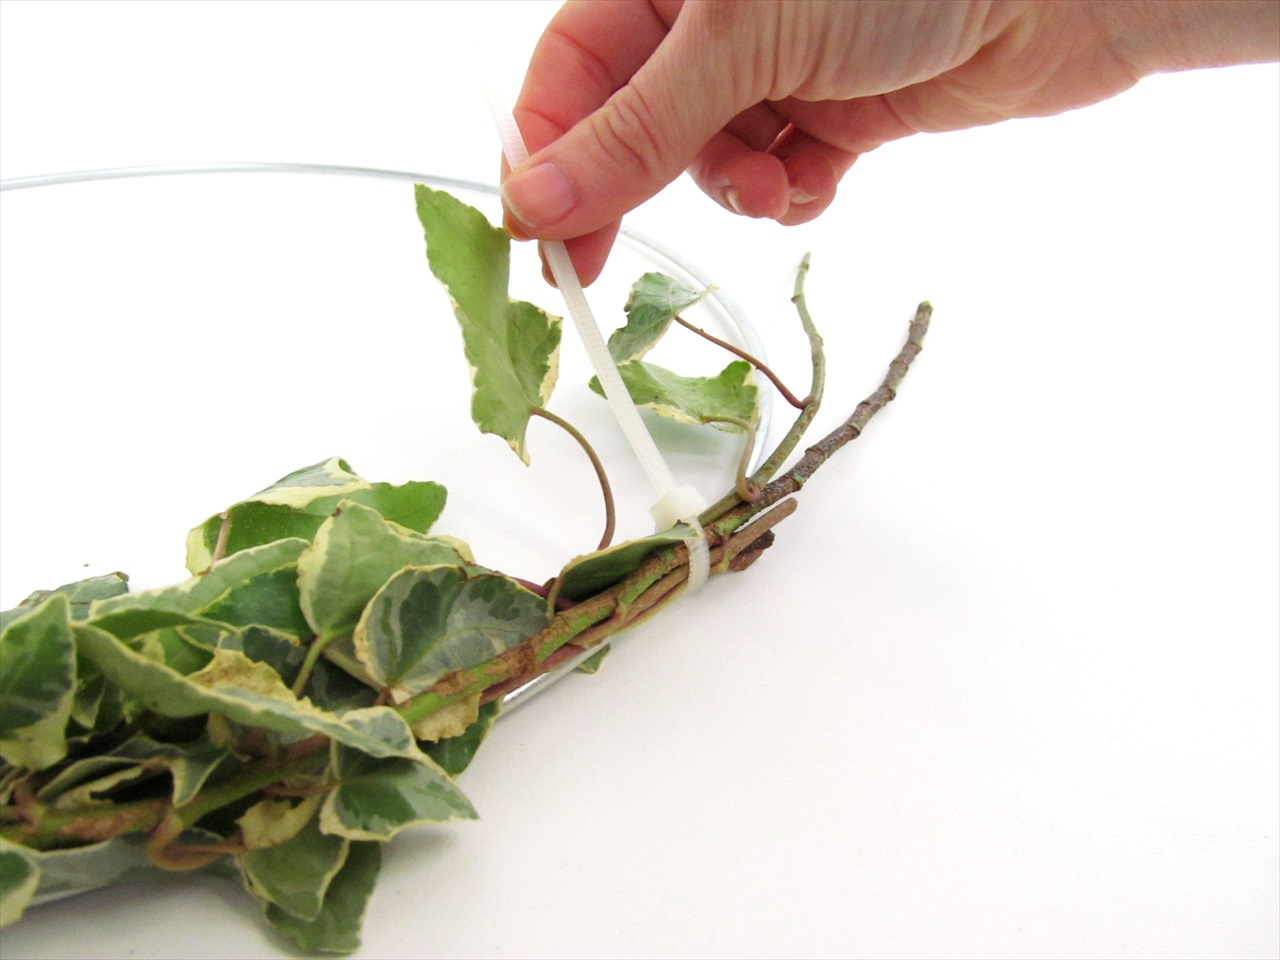
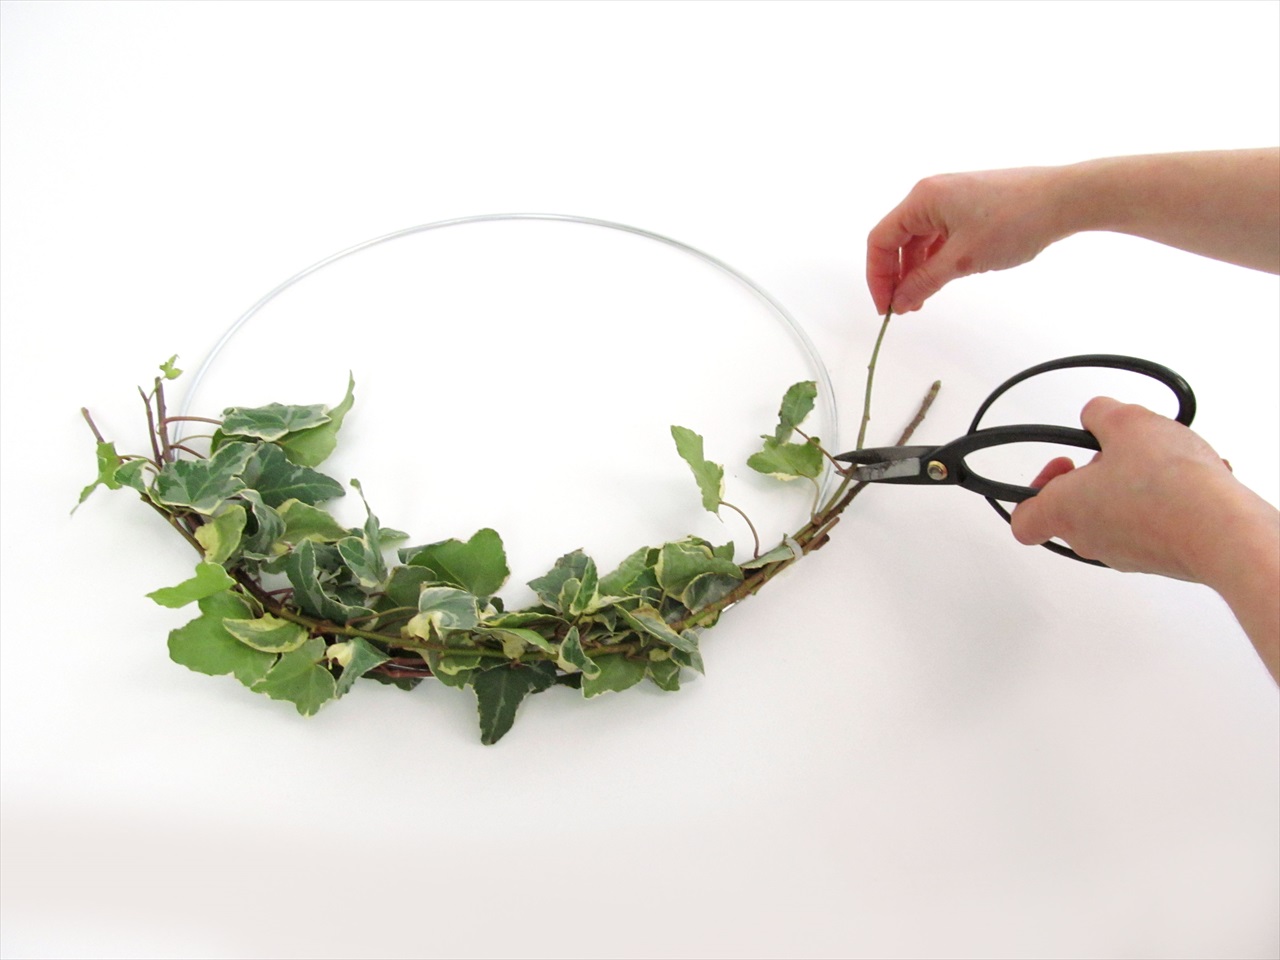
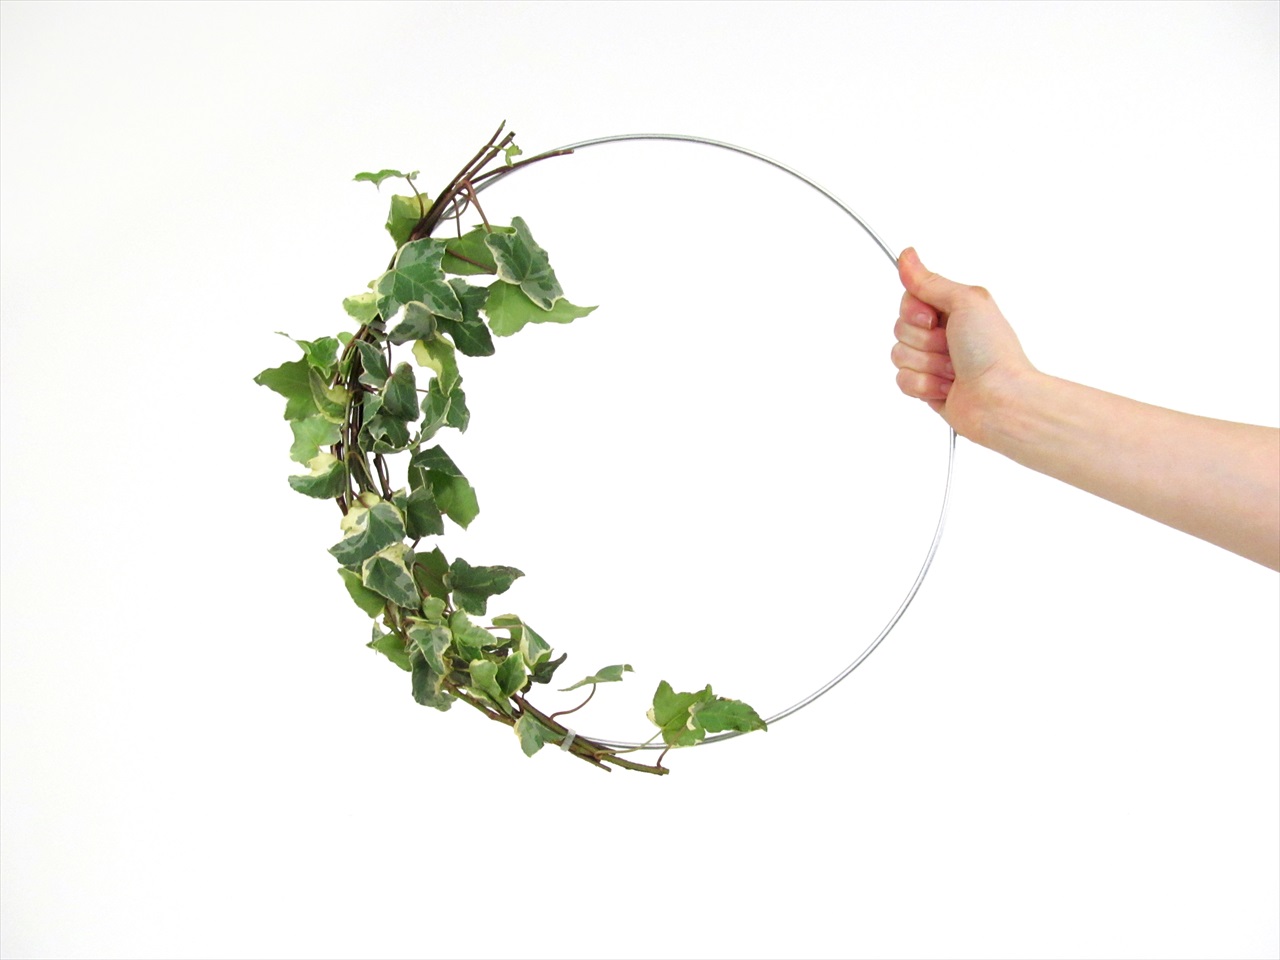
2. Fasten the greenery to the hoop with a zip tie on both ends, cut any excess.
3. Pick a focal flower, smaller secondary flower, and delicate filler to decorate your hoop. We chose roses, lisanthus and queen anne’s lace, and cut the stems down to 2 inches.
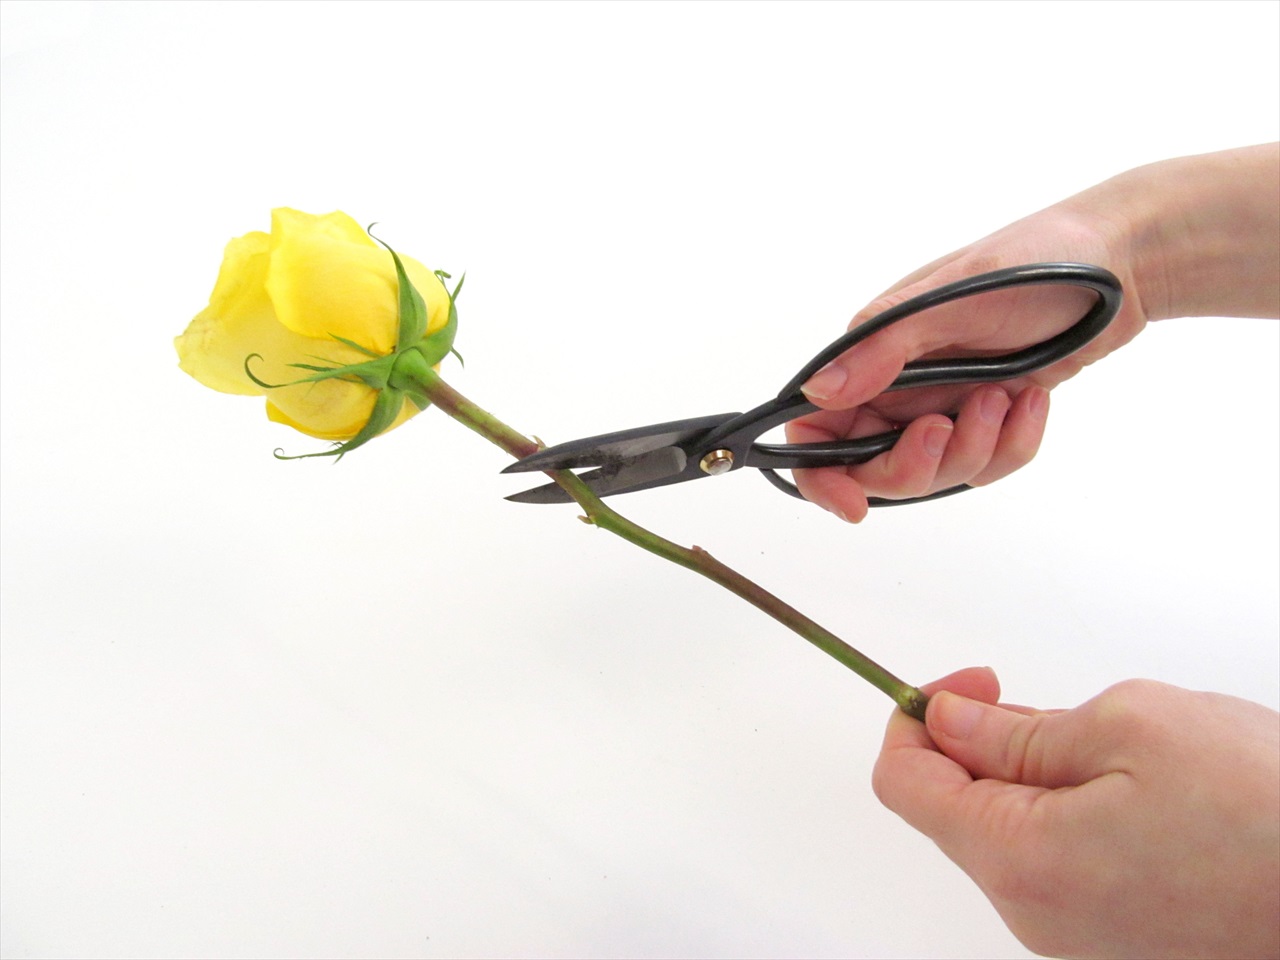
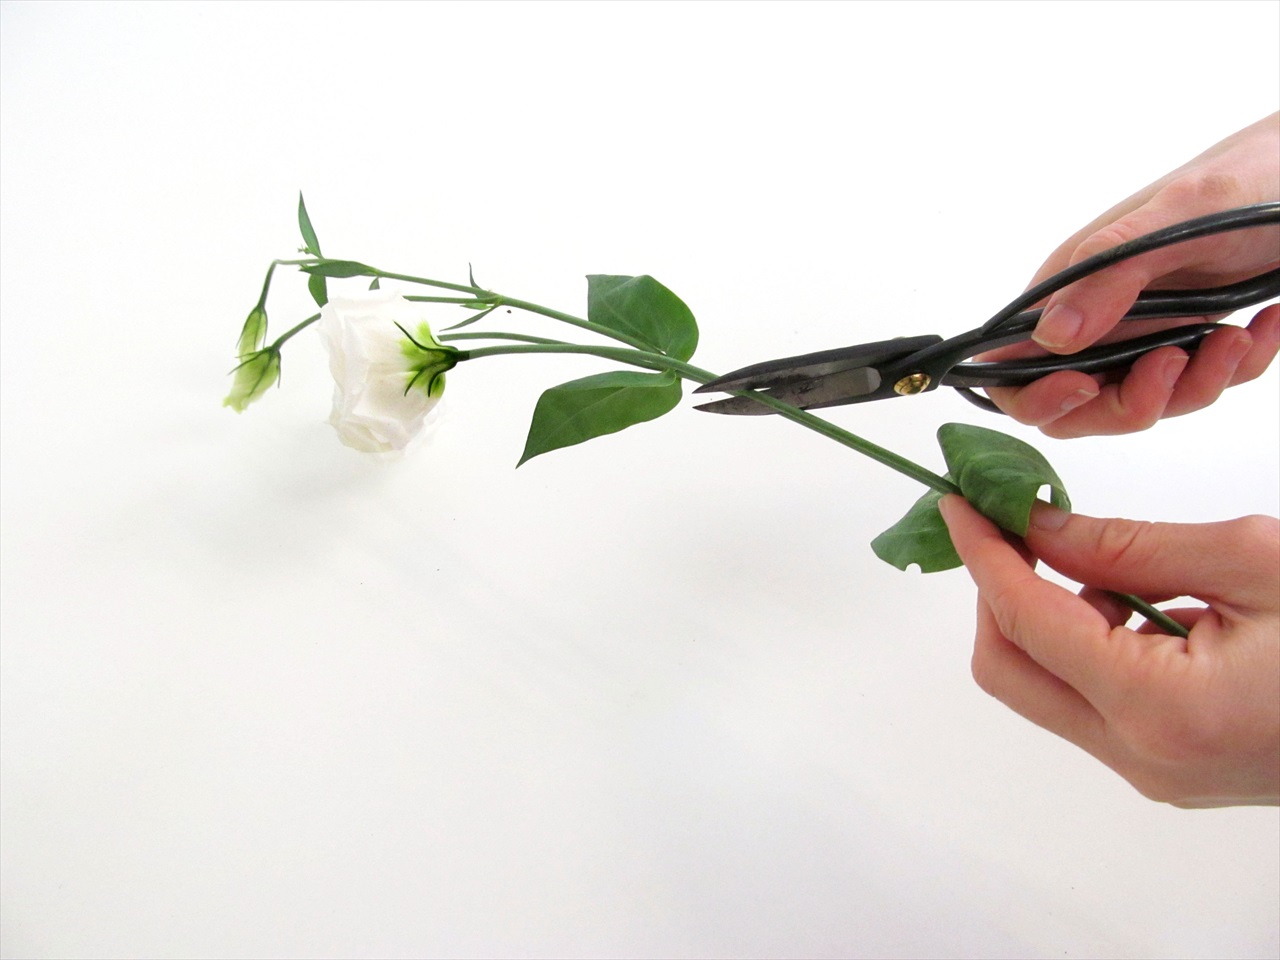
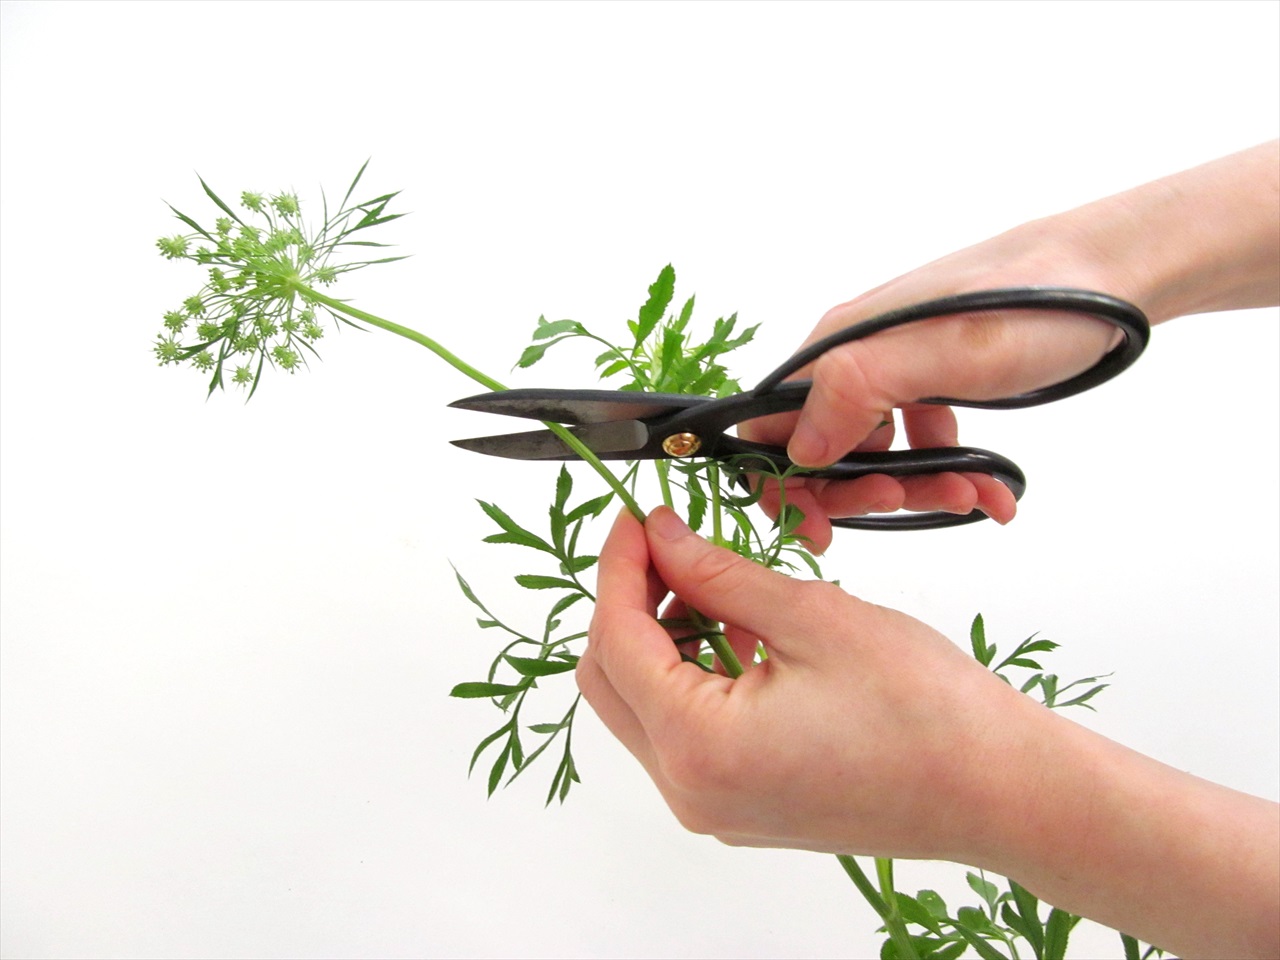
4. Bundle the three flowers together, secure them to the hoop with a zip tie, and cut any excess. If you’re having trouble keeping the flowers positioned properly you might want to wrap the stems together with floral tape before you zip tie them to the hoop.
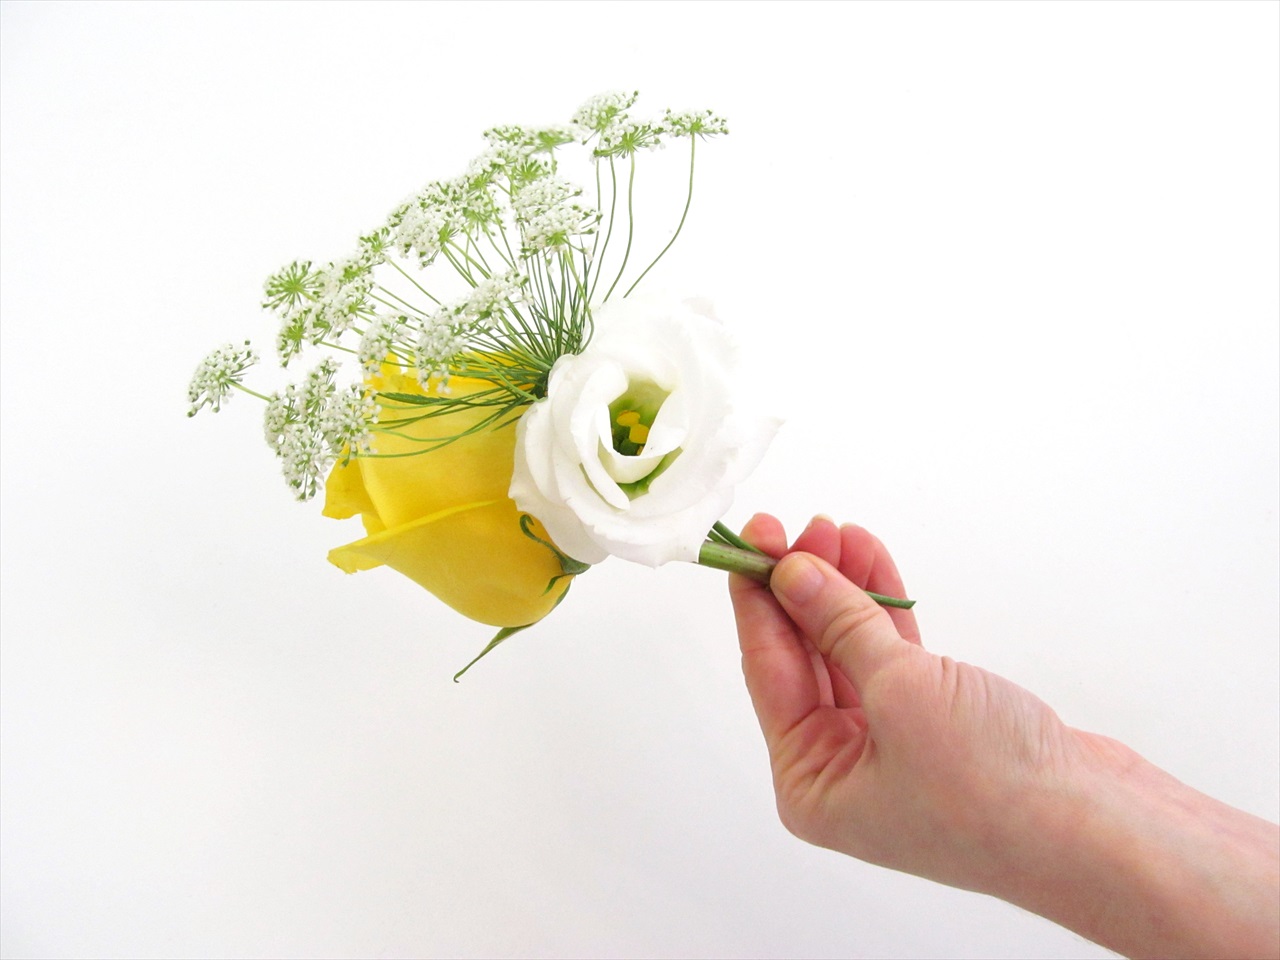
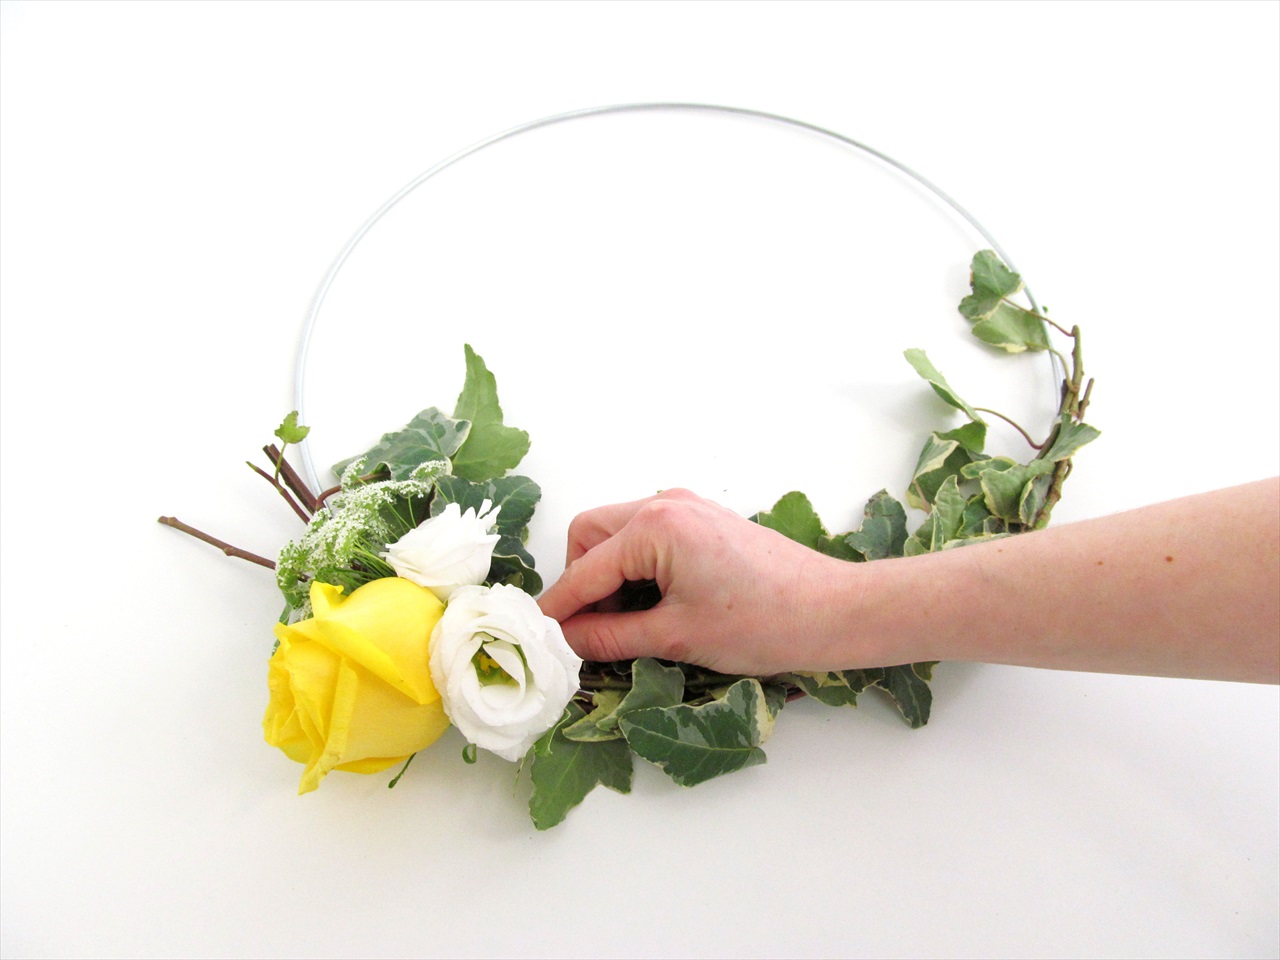
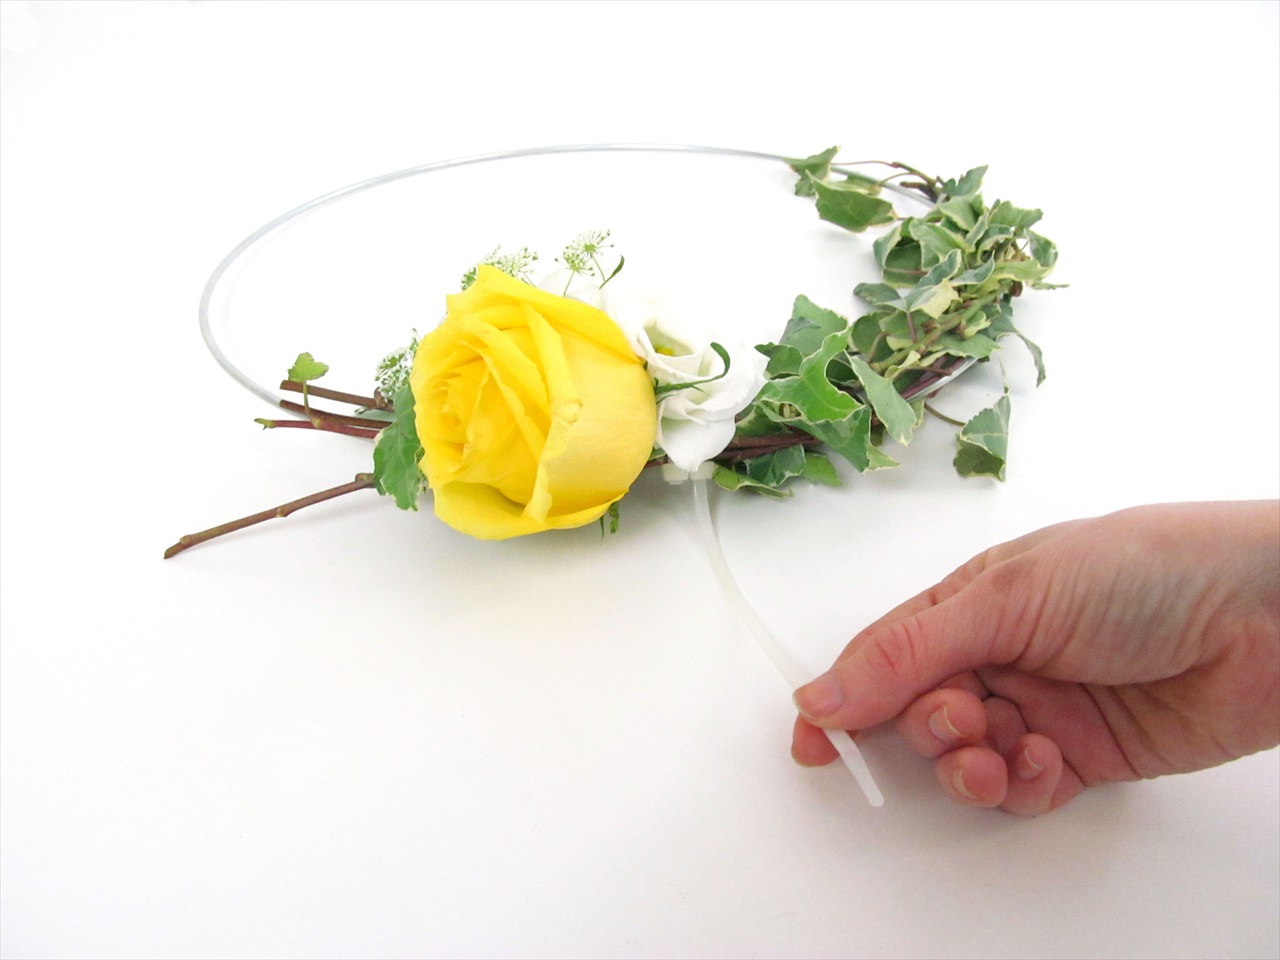
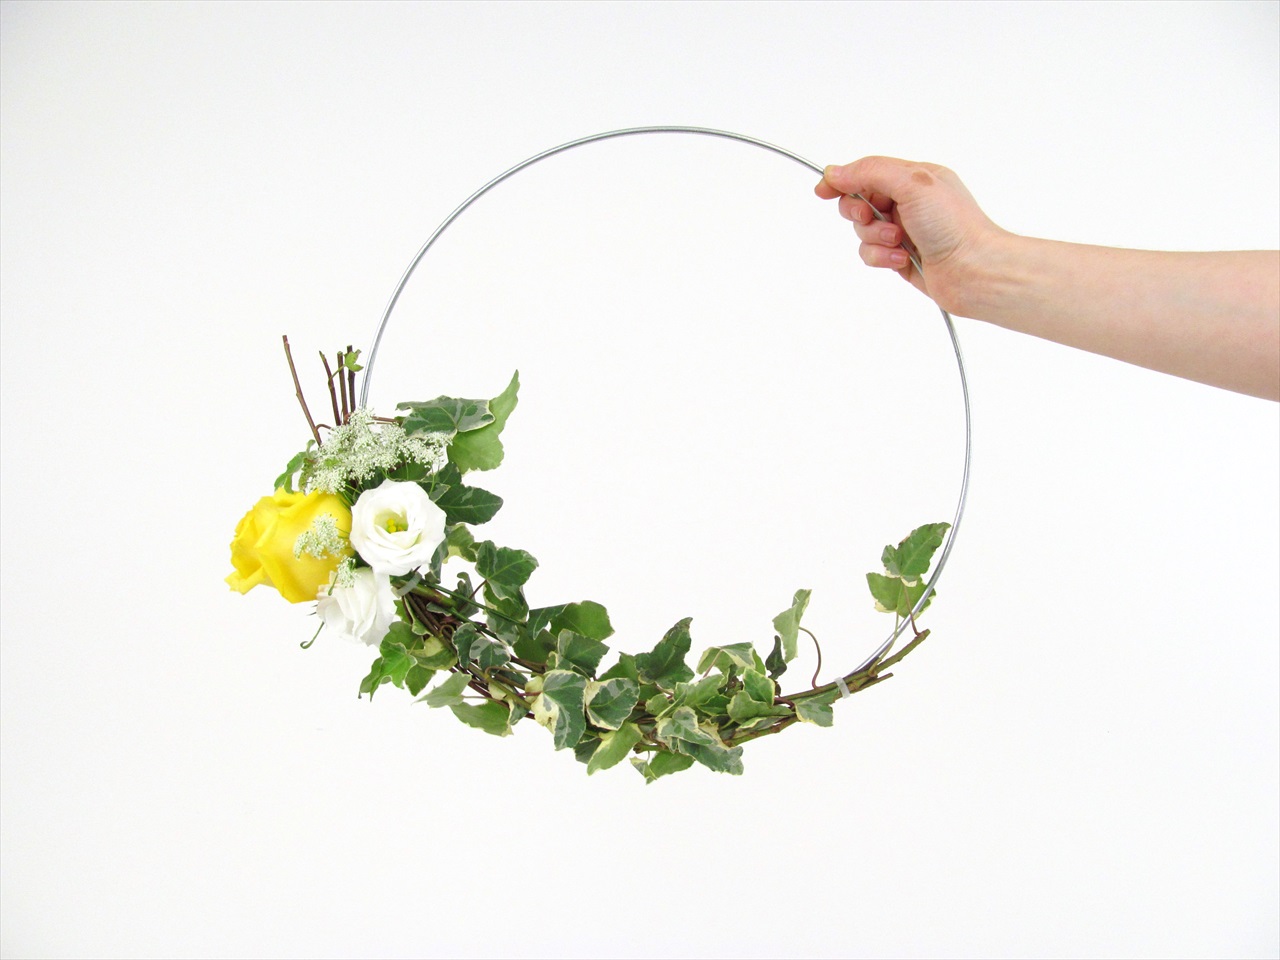
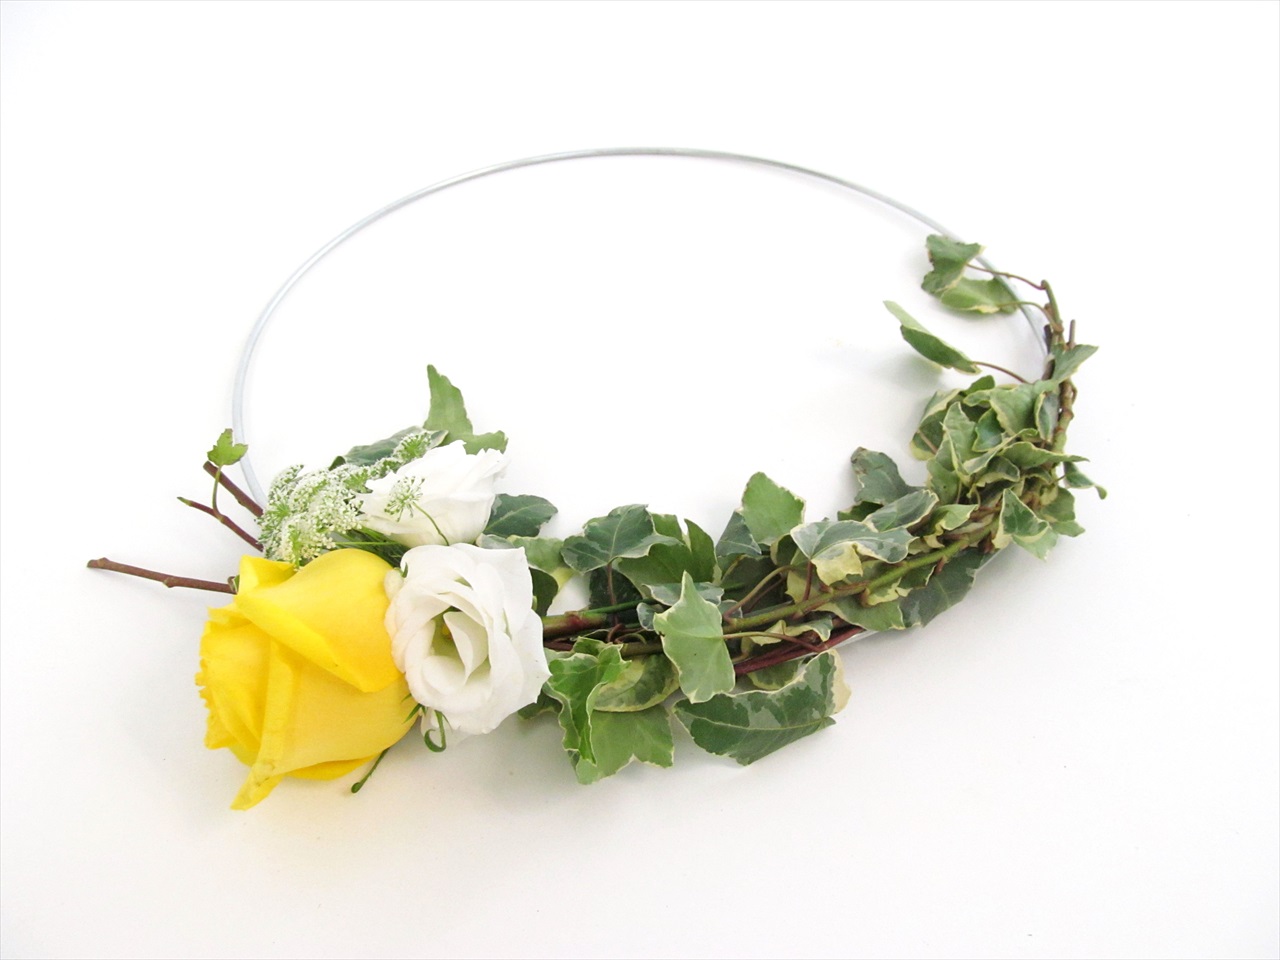
5. Repeat and tie another flower cluster a few inches down from the first cluster on the hoop. Repeat a third time, but perhaps with slightly smaller blooms
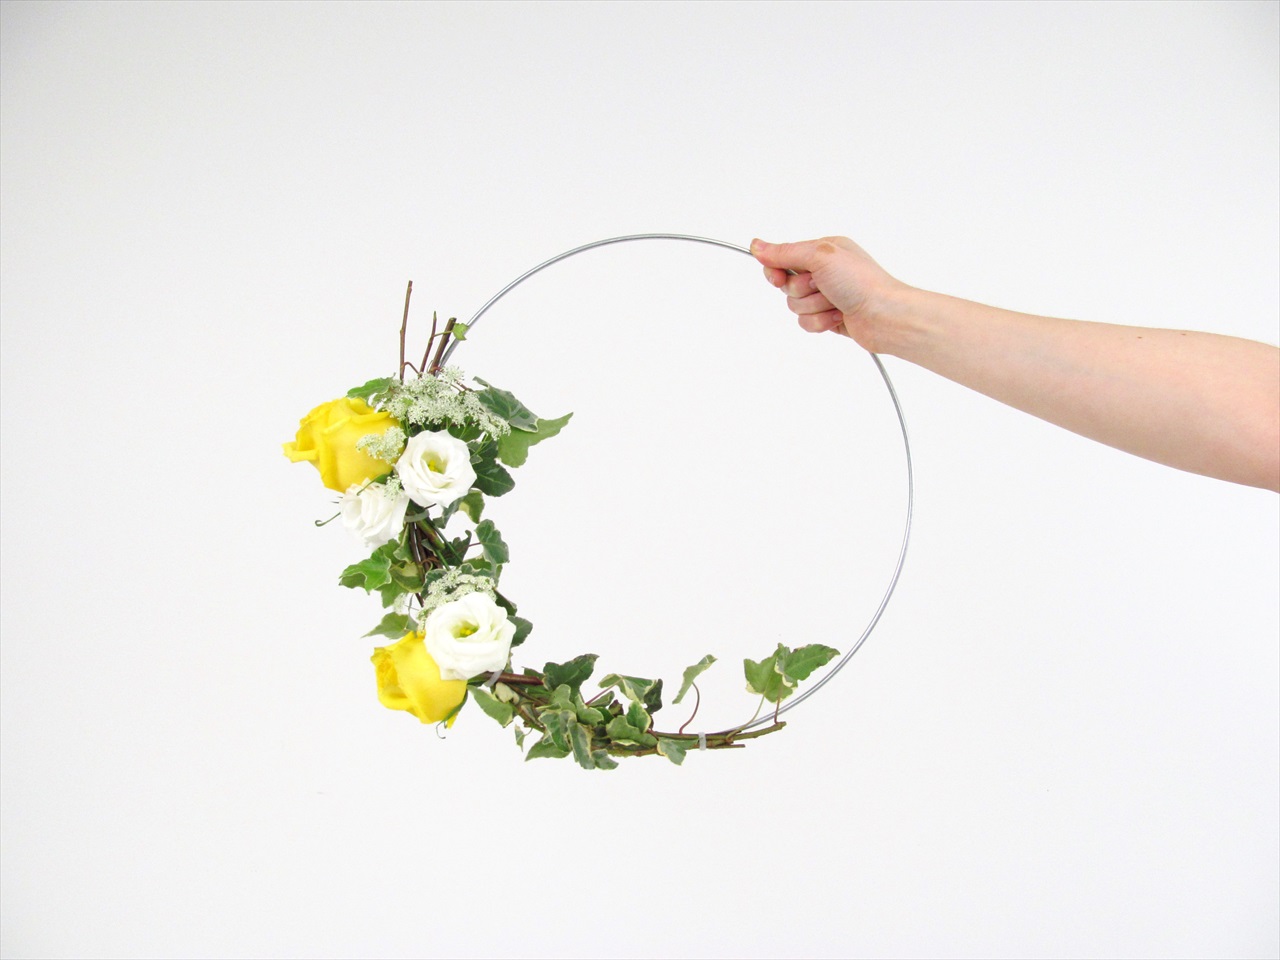
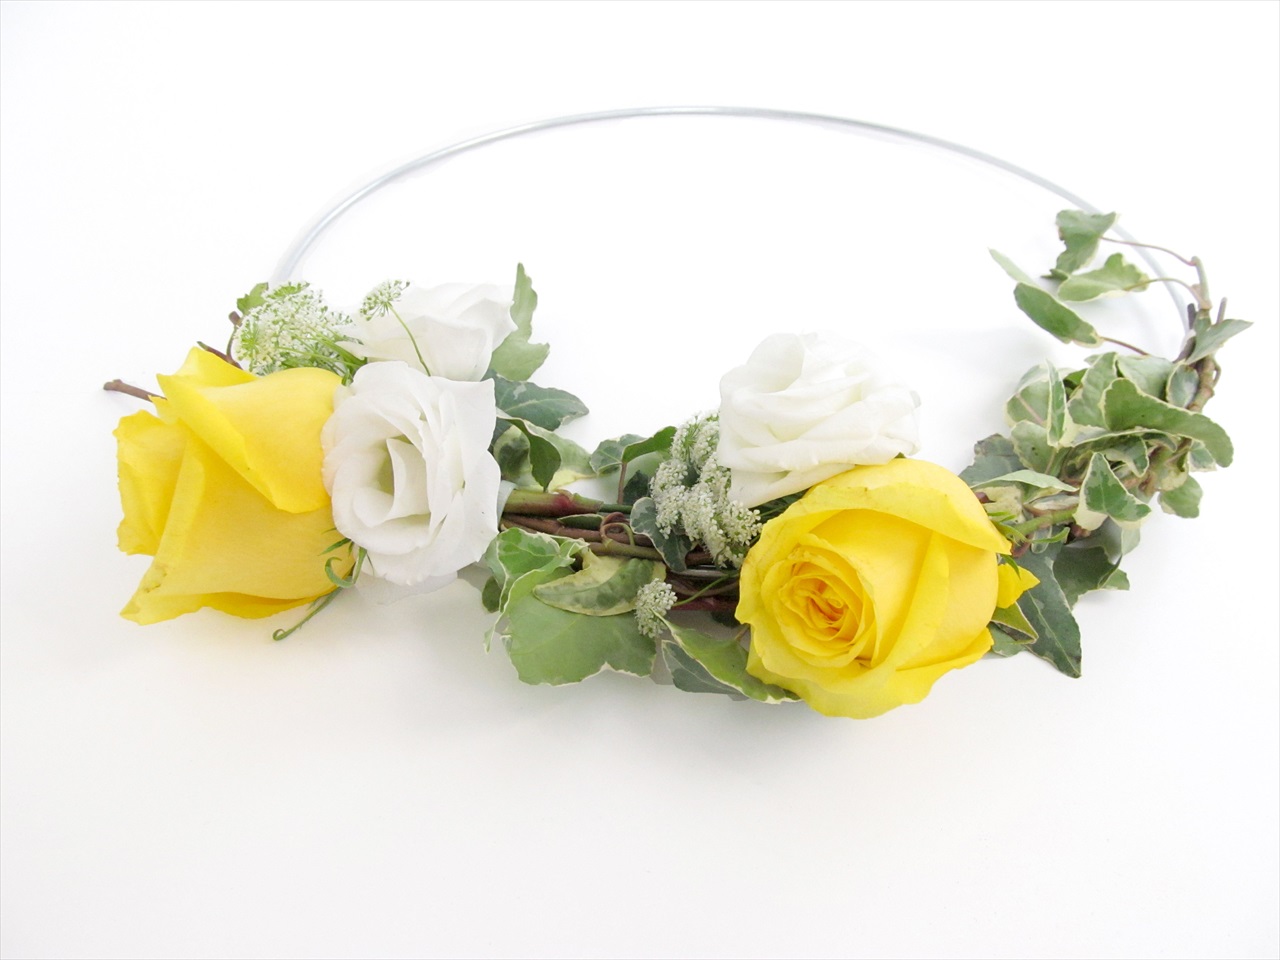
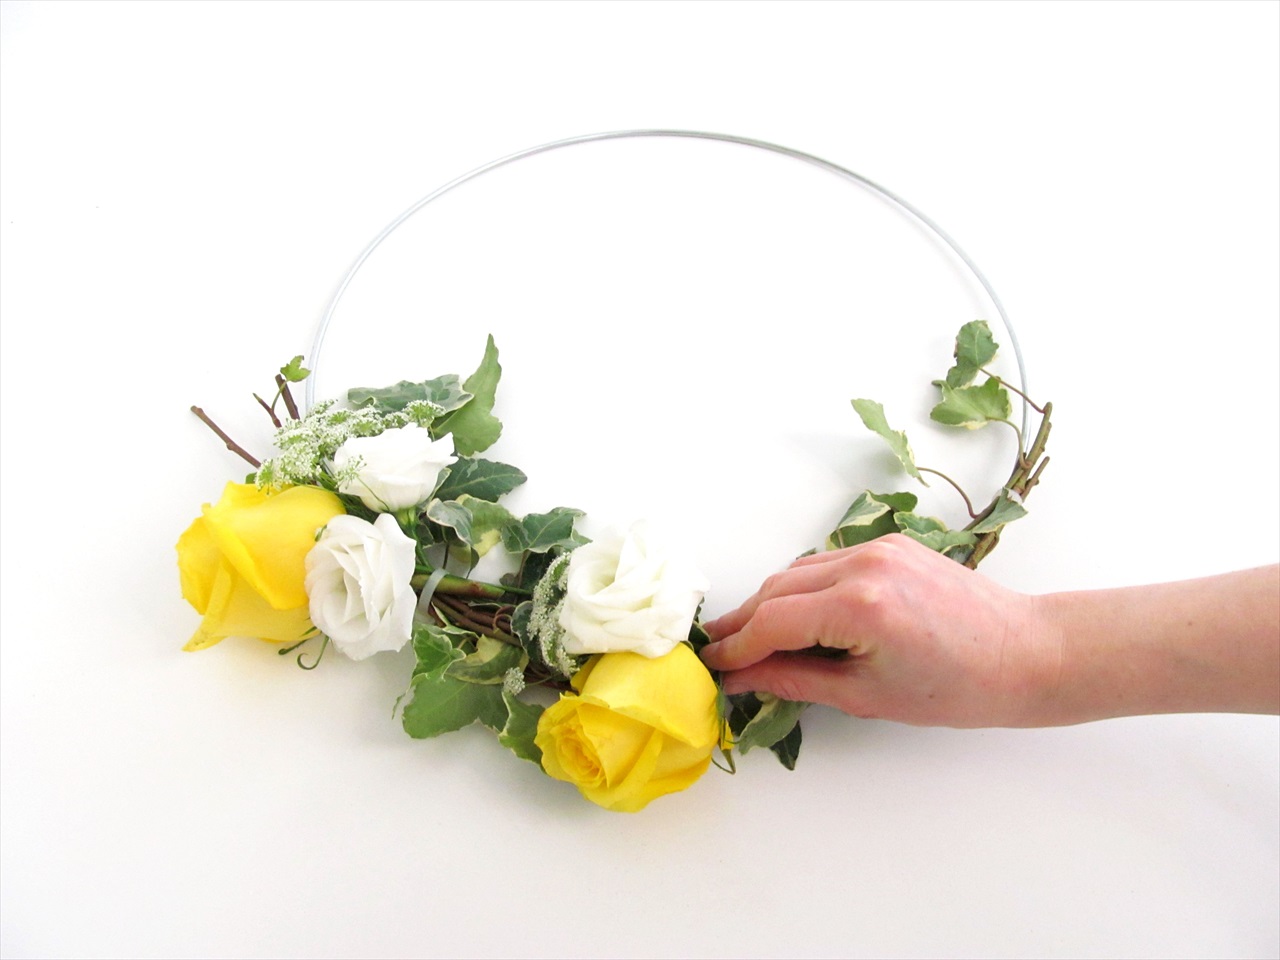
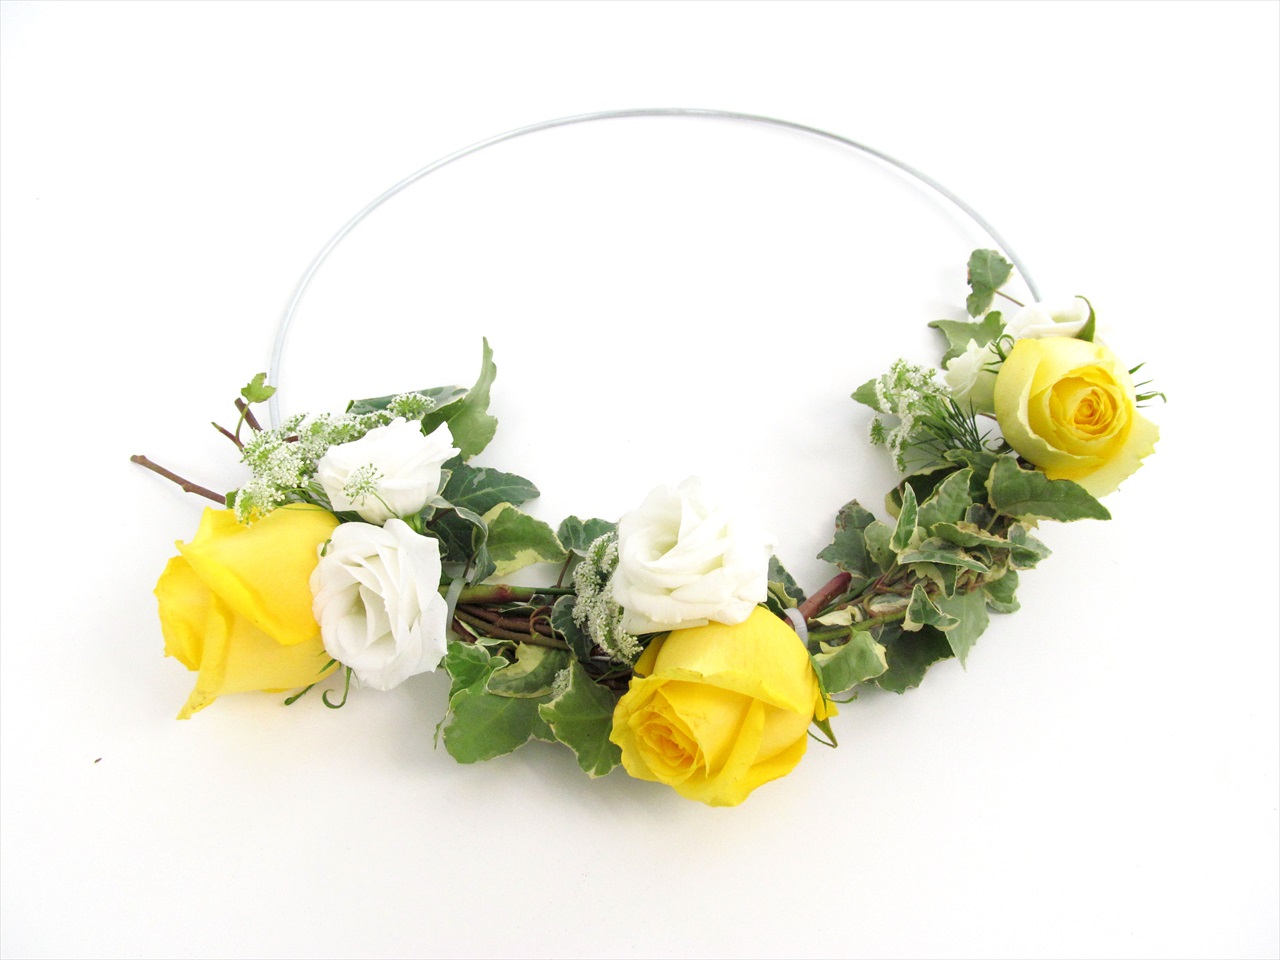
6. Grab another piece of Ivy, or your greenery of choice, and wrap it around the hoop. Be careful not to cover the blooms but just the sparse spots or where you can see the zip ties. Secure each end of greenery with a small piece or floral wire.
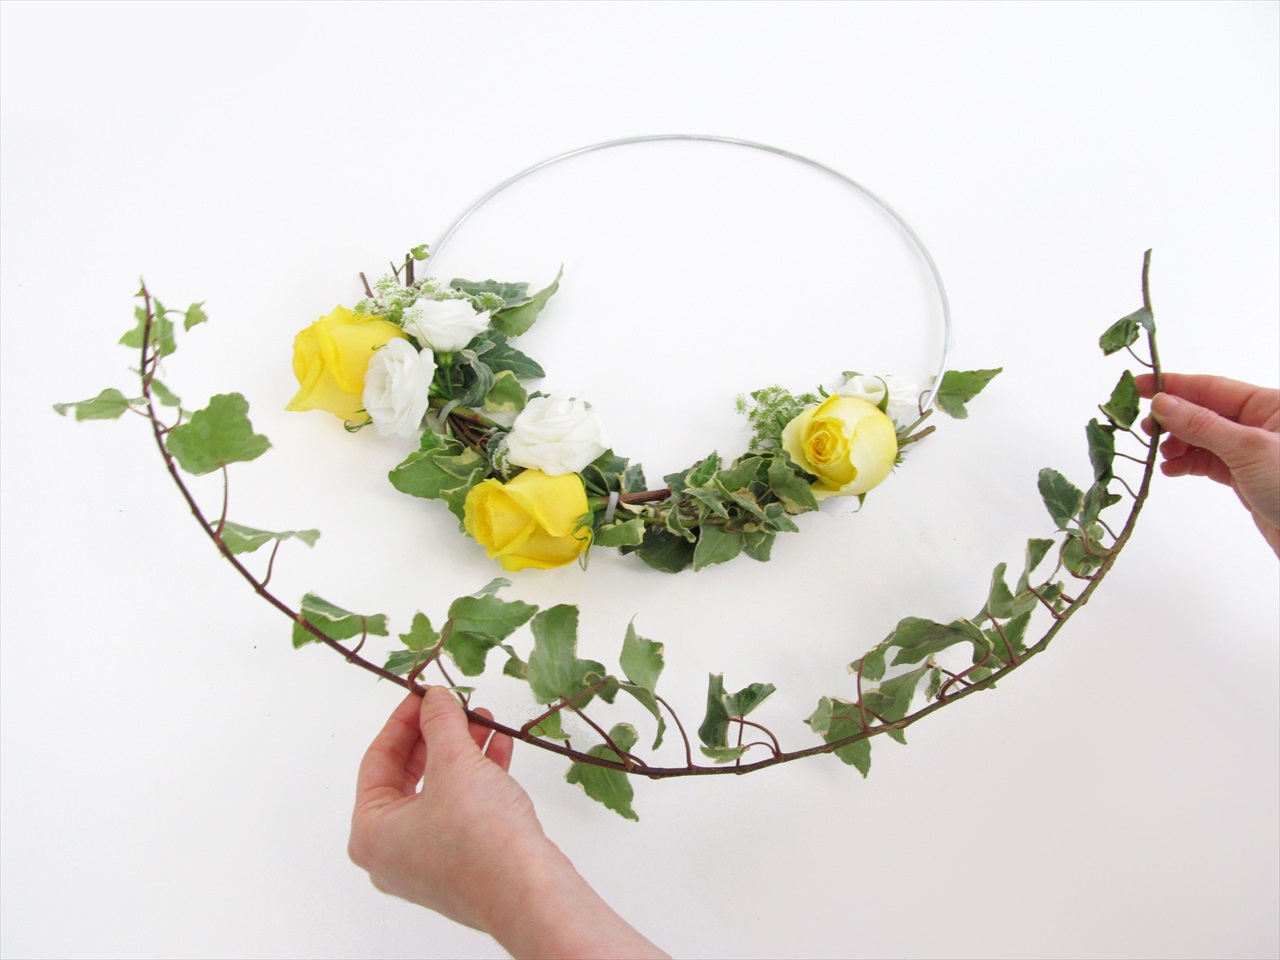
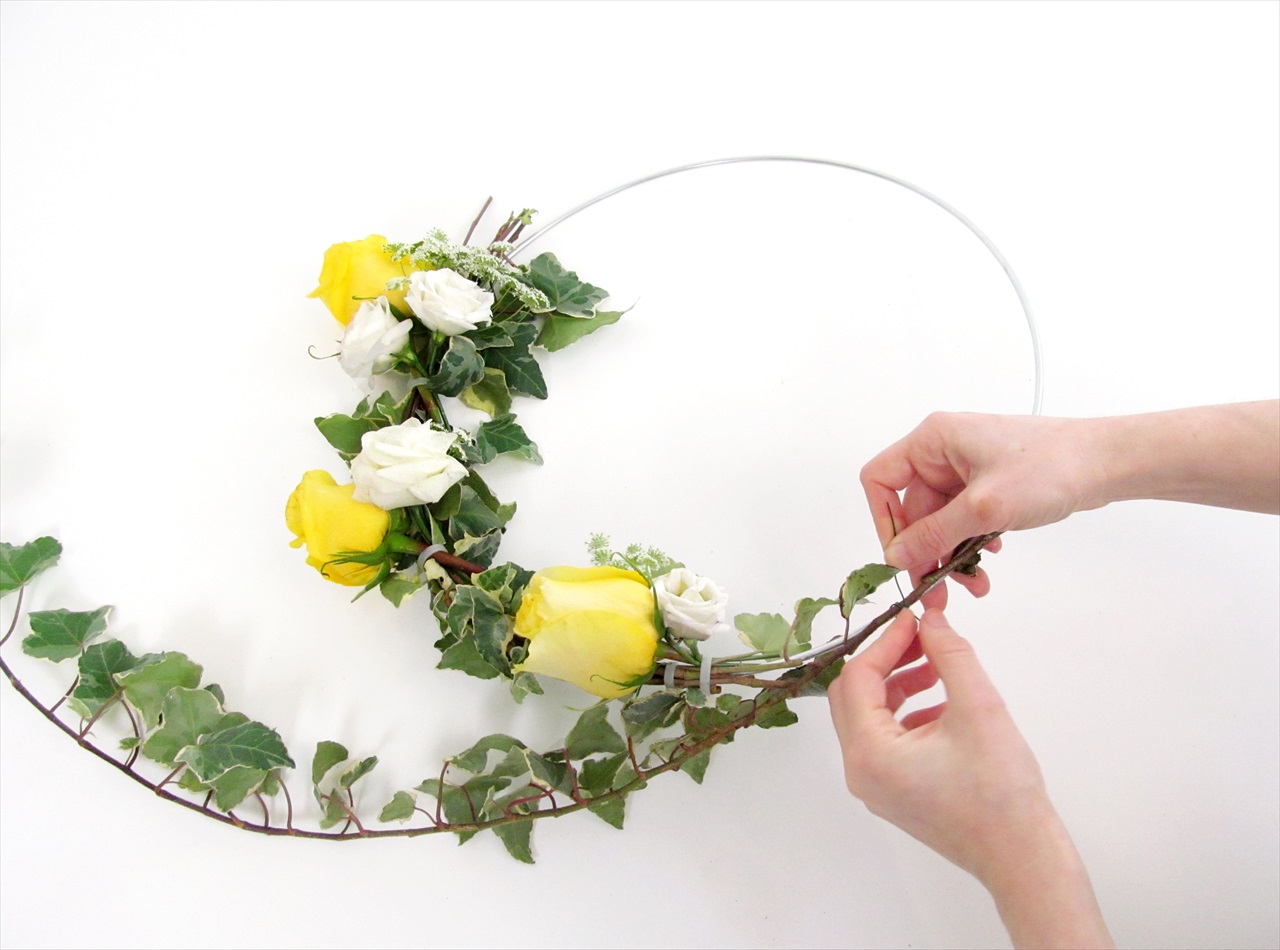
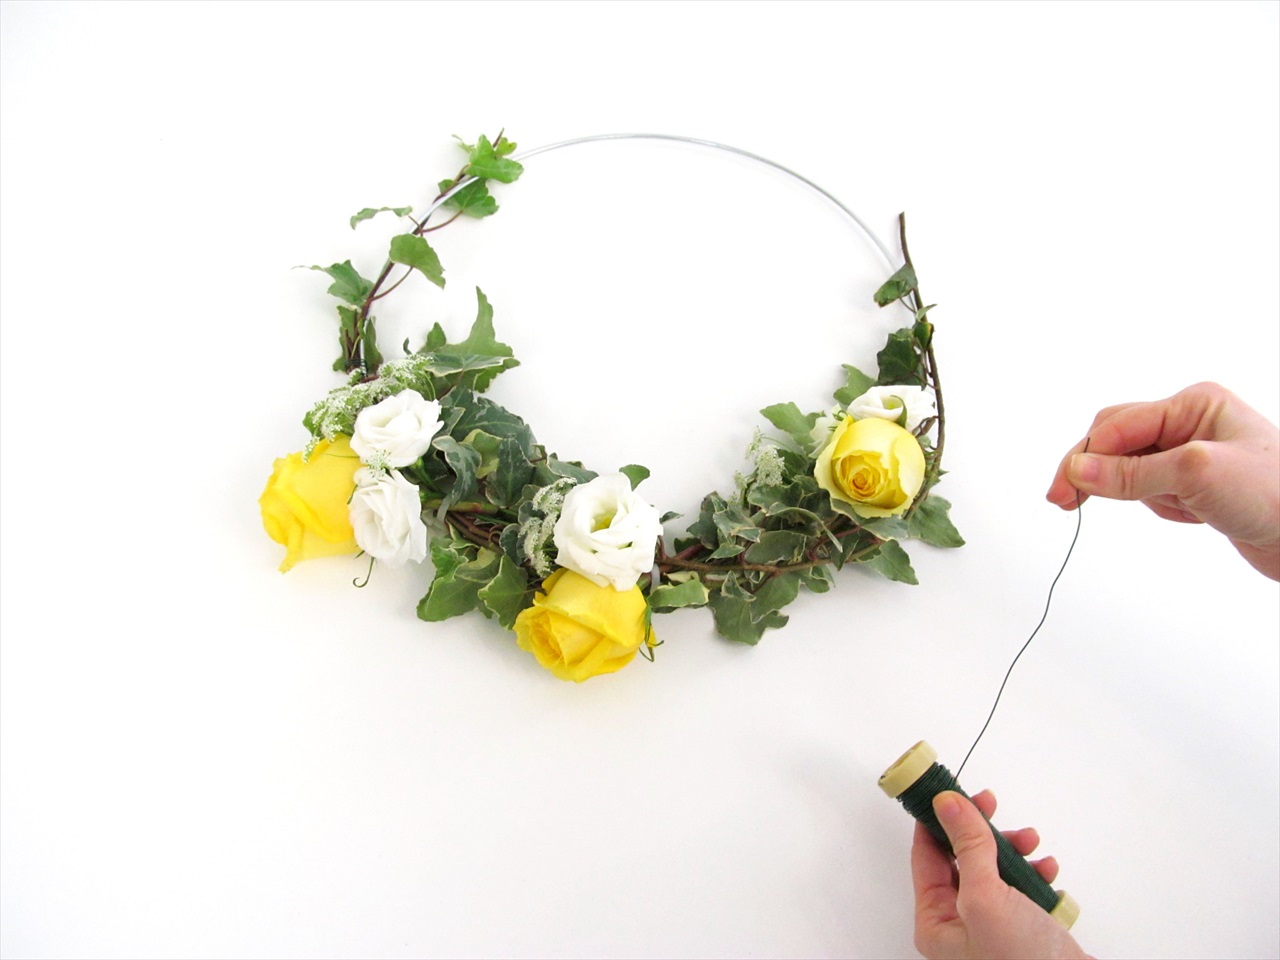
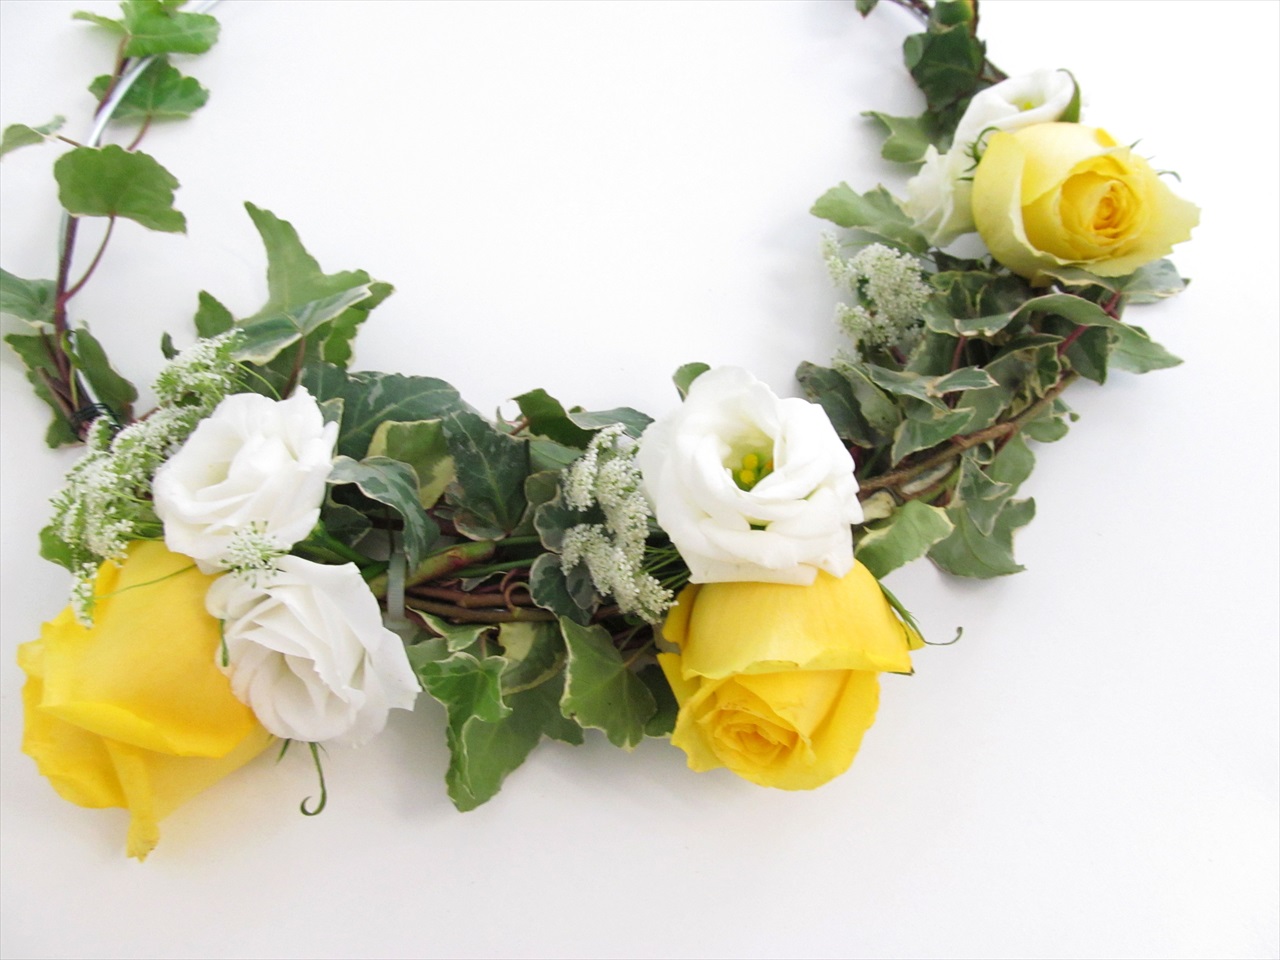
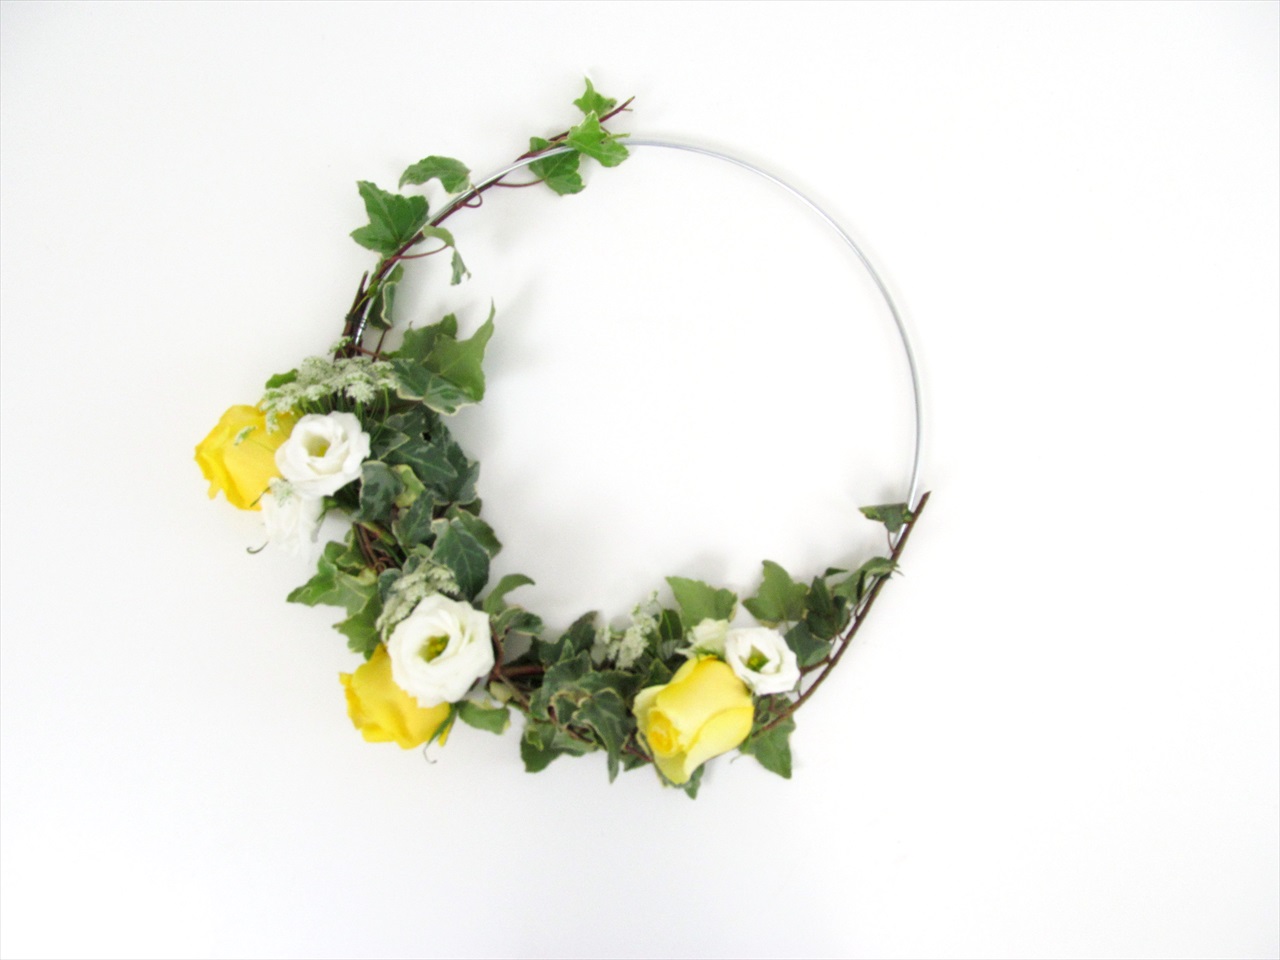
7. If you plan on making these flower hoops the day before your event, you might want to use floral tubes to keep the flowers hydrated until you’re ready to use the hoops, at which point you can take off the tubes.
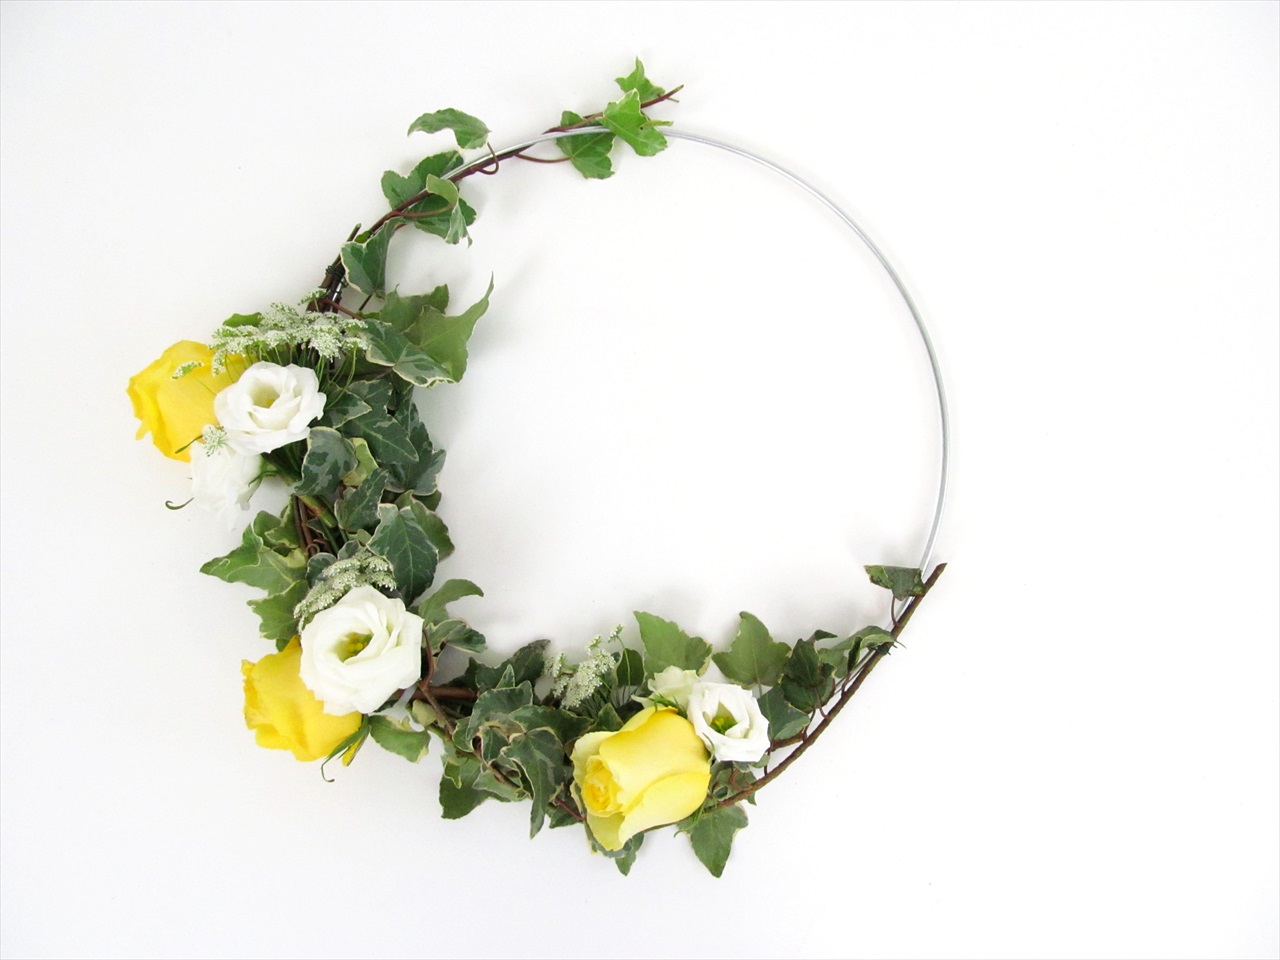
Ta-da!
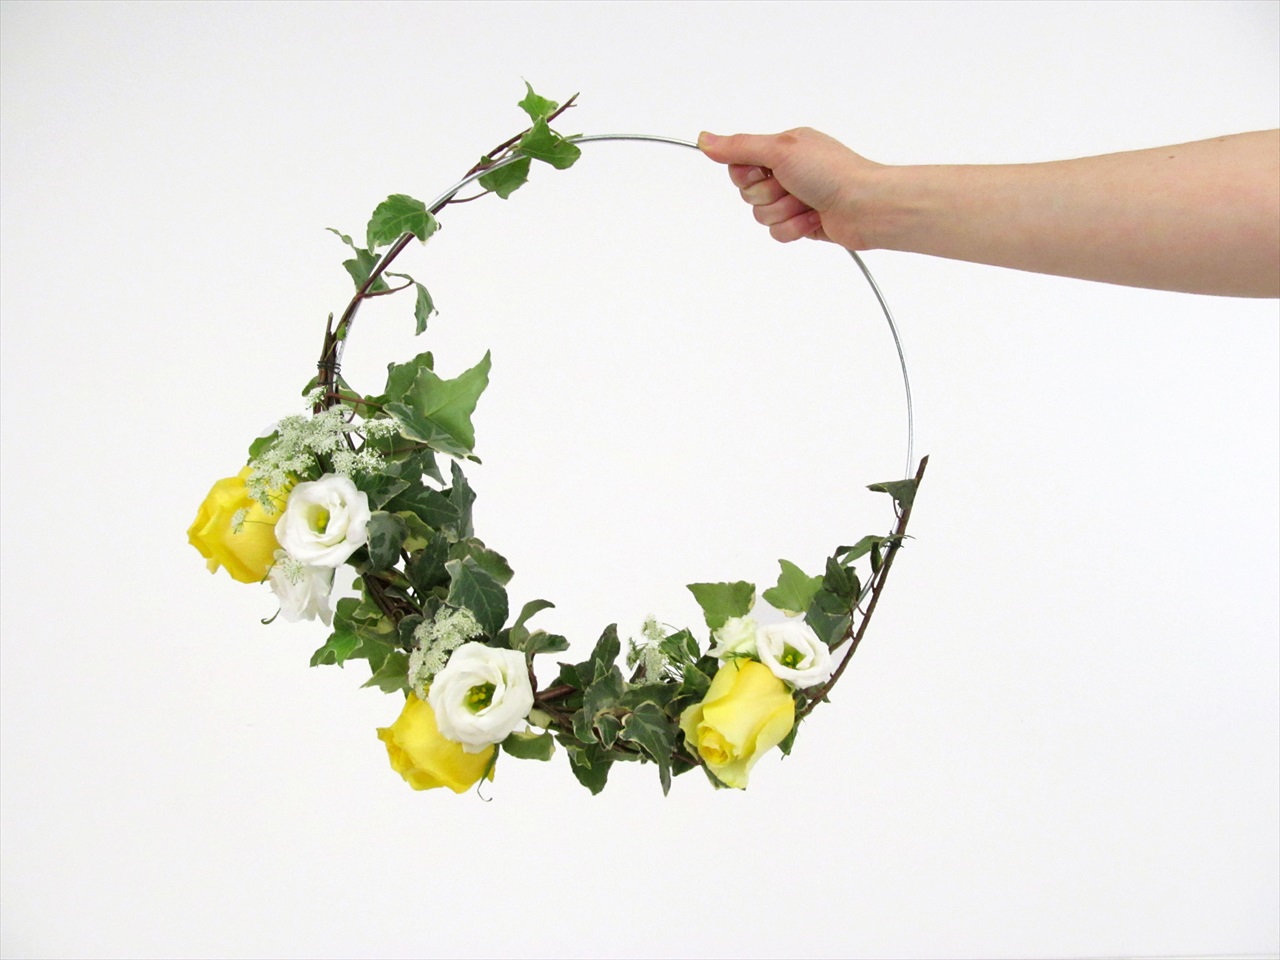
Isn’t it beautiful? Danielle did a fantastic job! If you like this tutorial, check out her past how-to here: DIY Moss Letter Tutorial.
Buy Supplies for your DIY Floral Hoop
To order everything you see here to make your own, shop Blooms By The Box! They also offer tons of flowers for your big day. They’re amazing to work with and offer quality product.
♥
Happy Planning!
xo
Emma



1 comment
[…] had so much fun working on the DIY Floral Hoop with our friends over at Emmaline Bride! This hoop can be used as decor for your reception, either mounted on a wall or hanging from the […]
Comments are closed.