Get ready to be inspired! It’s the holiday season and we’re thrilled to offer you a new DIY project from our friends at Blooms By The Box! If you’re planning a Christmas wedding or you’re hosting guests for a holiday dinner, you’ll love this DIY Christmas floral centerpiece.
This Christmas centerpiece is simple to make and the floral supplies are easy to find, thanks to the guidance and supply list by Tina, our DIY pro! Here’s everything you need to buy for supplies plus all the tips for an easy project to put on your list this season. Take it away, Tina!
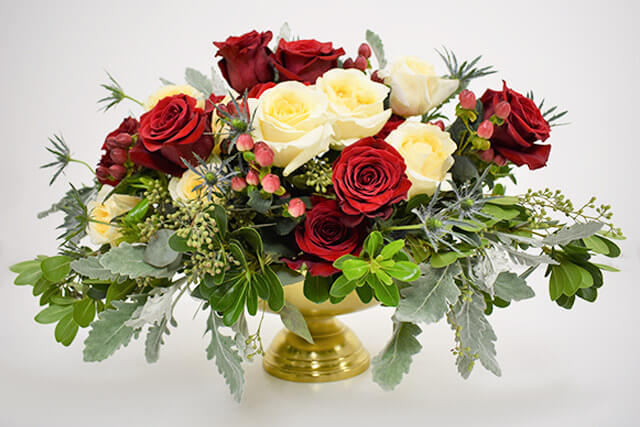
How to Make Christmas Floral Centerpiece
First, gather up your supplies for your centerpiece.
Christmas Floral Centerpiece: Supplies
Here’s what you need:
-14-16 stems of Red Rose Freedom
-12-14 stems of Crème de La Crème Rose
-10 stems of Red Hypericum
-14-16 Thistle Eryngium
-6-8 stems of Dusty Miller
-10-12 stems of Seeded Eucalyptus (cut stems to size)
-14-16 stems of Pittosporum
–Gold Pedestal Vase (11 ½ diameter)
-Aquafoam or Oasis floral foam
-Floral Scissors
–Paring Knife
–Waterproof Floral Tape

Prep the Flowers
Remove all flowers and greenery from all packaging. With sharp floral shears, cut at least 1″ -1 ½” from stem on a sharp 45-degree angle.
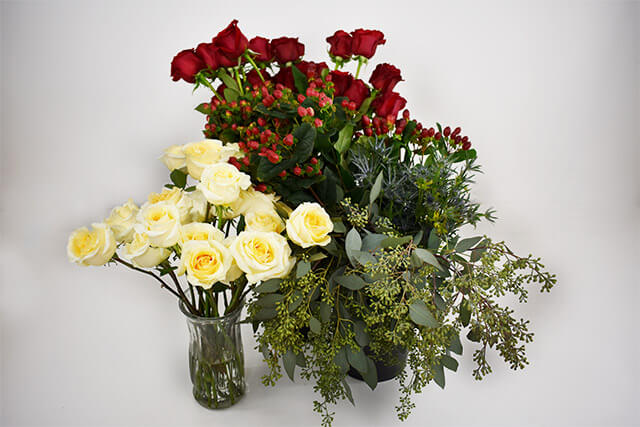
You’ll want to make sure you remove any foliage that falls below the water line. The temperature of the room can also affect how quickly they open: warmer room, the faster they open. Don’t overcrowd the flowers in the buckets while rehydrating.
For prepping your roses, remove any thorns from the roses and cleaning up stems by removing foliage that would sit underneath the water line.
All greenery also should be cut 1-2″ at a diagonal, remove all foliage that would sit under the water line.
Now your flowers are prepped and you’re ready to learn how to make your Christmas floral centerpiece!
How To Make the Floral Centerpiece
Step 1 – Soak flower foam until saturated. Cut foam to size and place-soaked foam into the gold footed vase.

Step 2 – 4 – Use your floral tape and tape the foam to the footed vase making a grid.
Step 5 – Cut your pittosporum stems approx. 8”-10.” Loosely insert your pittosporum in a circular pattern into the foam to fit the neck of your vase. Add some stems inside the middle of the foam. Place stems to create a structure that holds the arrangement up for a natural feel.

Step 6 -7 – Fill in the negative space with seeded eucalyptus around the bottom of the centerpiece. Fill a few stems in the middle. Keep in mind to create a loose natural arrangement. Add different lengths to add a romantic look.
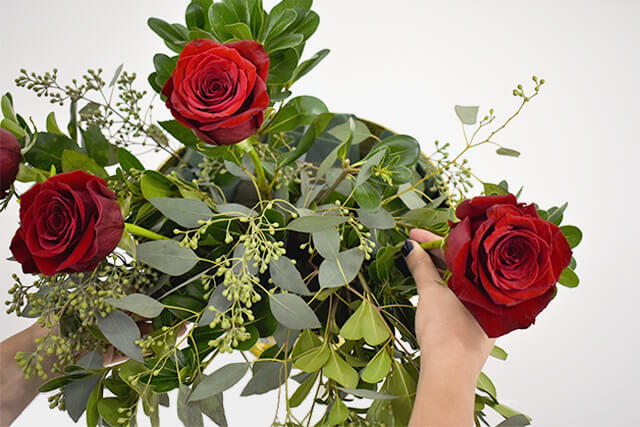
Step 8 – Proceed to cut the stems of the red freedom rose to the length needed. Place roses in-between the greenery you have added. Remember to cut the stems different lengths and be playful placing the roses in varying positions.

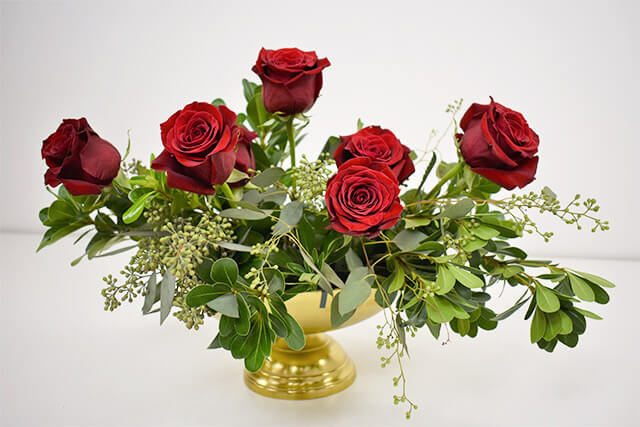
Steps 9 – 10 – Add the Creme de La Creme roses keeping them close to the red freedom roses. Keep asymmetry in mind while arranging the roses. Step back from your arrangement to check the shape you are creating.

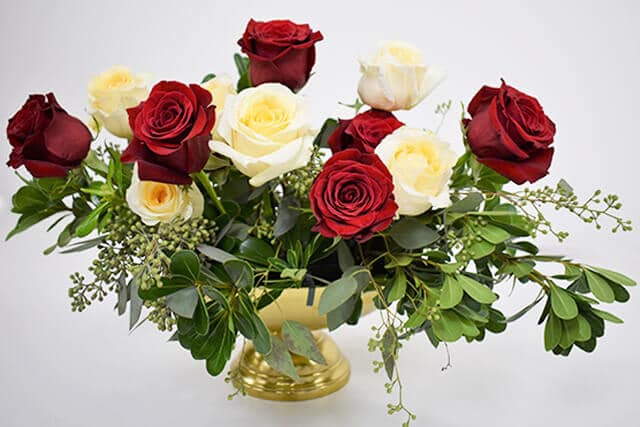

Step 11- Add the red Hypericum spiraling out a few long stems. Nestle the hypericum to fill up any gaps.

Step 12 – Time to add the thistle. Balance the blue thistle in gaps between the roses, hypericum, pittosporum and seeded eucalyptus.

Step 13 – Take time to polish your arrangement by adding more greens or flowers if needed in any open gaps. Add the dusty miller around the base of the arrangement for a winter frost look. Make sure your flowers aren’t too tightly squeezed into the arrangement.

Step 14 – Give your flower arrangement a once over tweaking the angles and positioning. Once the centerpiece is completely filled in with no gaps, it is complete!

It looks beautiful!
For more ideas like this + floral supplies for your wedding or next party, visit the website.
This is a sponsored post in collaboration with BloomsByTheBox.
Got the DIY buzz? Keep the fun going: Here’s How to Build Your Own Wedding Arch



1 comment
[…] To secure the flowers, twist the floral wire around the garland. Check out the full feature with “step-by-step” instructions on “How to” DIY Christmas Centerpiece Featured on Emmaline Bride, click on Emmaline Bride! […]
Comments are closed.