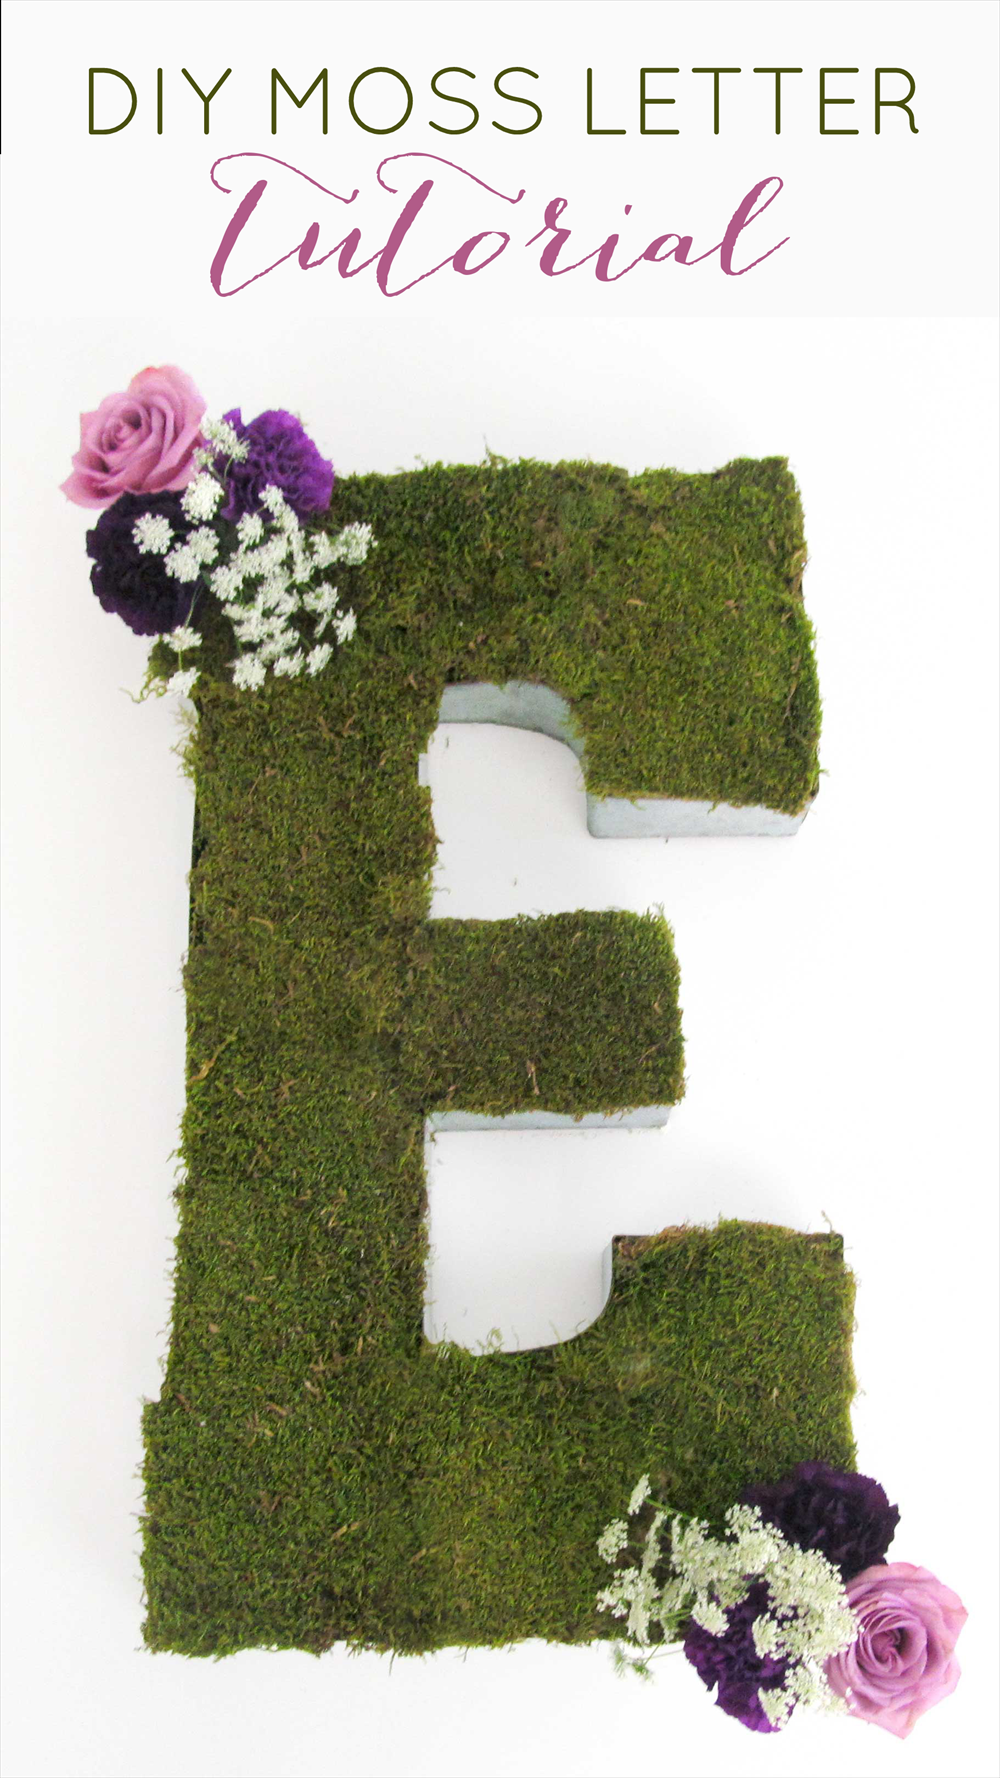
Hi, loves! Ready to roll up your sleeves and create a do-it-yourself project for your wedding? Today we’ve partnered with the team of Blooms By The Box to show you how to make a DIY moss letter! This creative monogram makes a beautiful addition to your bridal shower, ceremony, or reception decor; you can display this moss covered letter for your home, if you’d like! It’s a great way to start thinking spring. :) Check out the easy step-by-step tutorial. Take it away, Danielle!
DIY Moss Letter
First, gather your supplies. You’ll need the following:
Supplies
• Floral Foam
• Sheet Moss
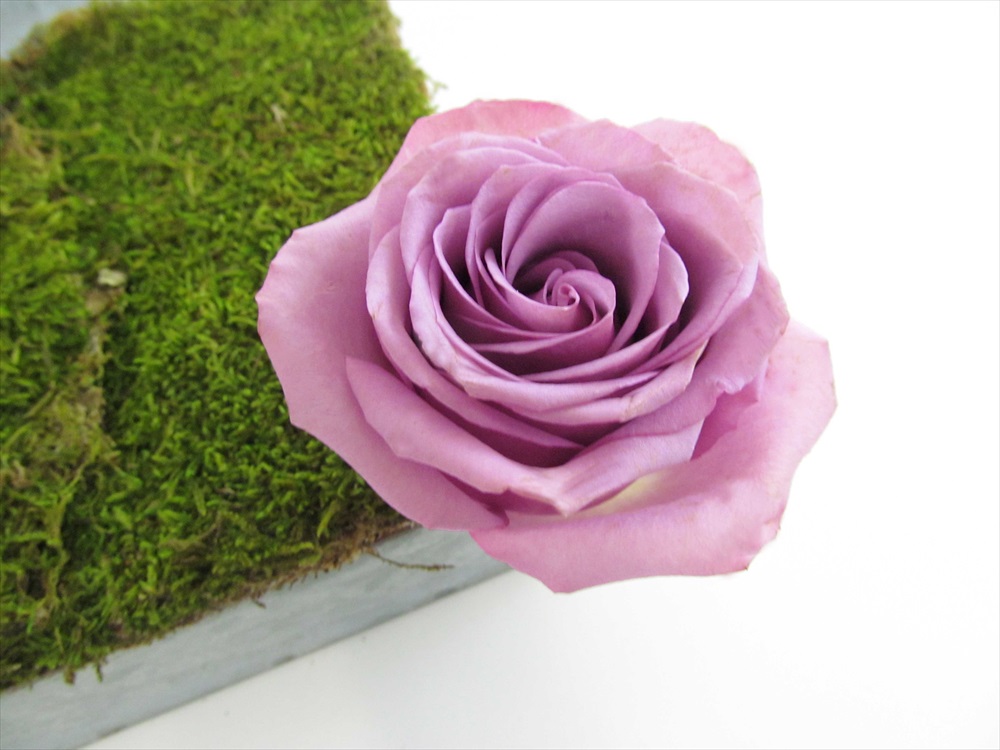
• Cool Water Lavender Rose
• Moonvista Carnation
• Queen Anne’s Lace
• Metal Letter like this or this
• Spray Adhesive
• Floral Scissors
Additional Supplies
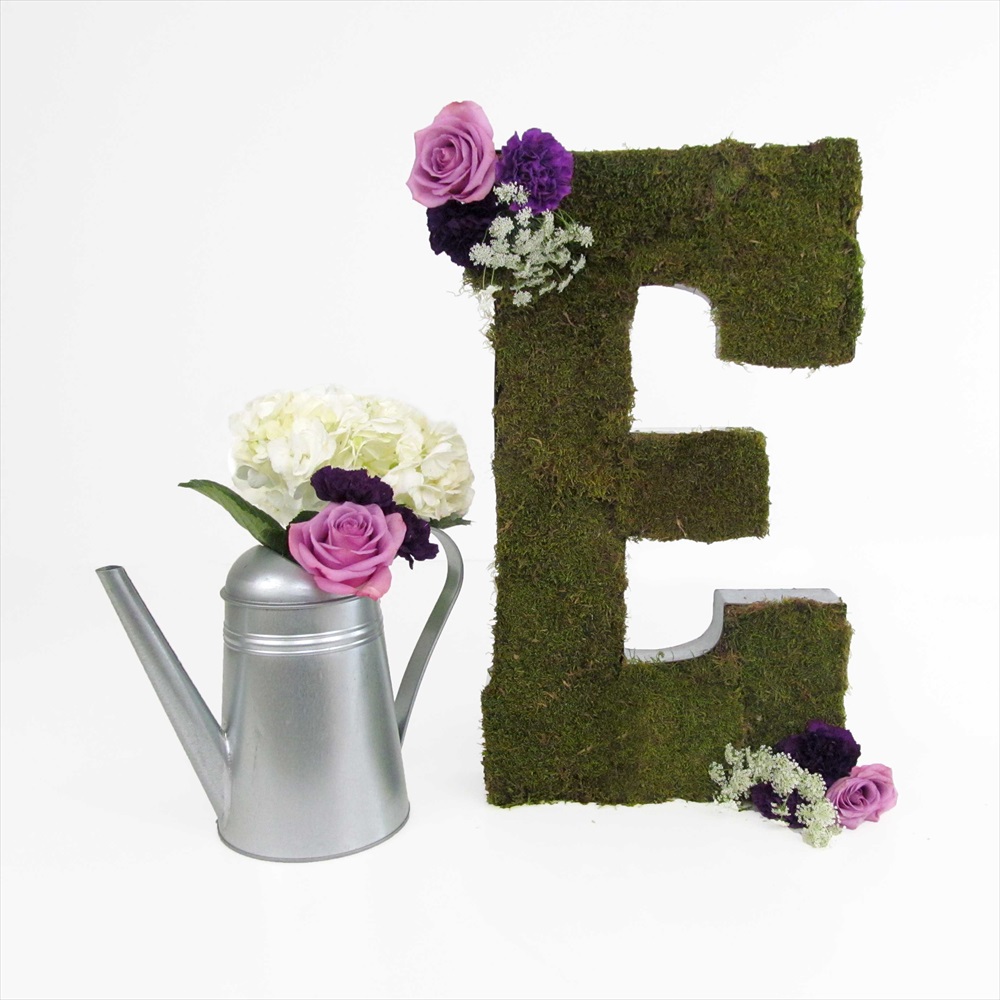
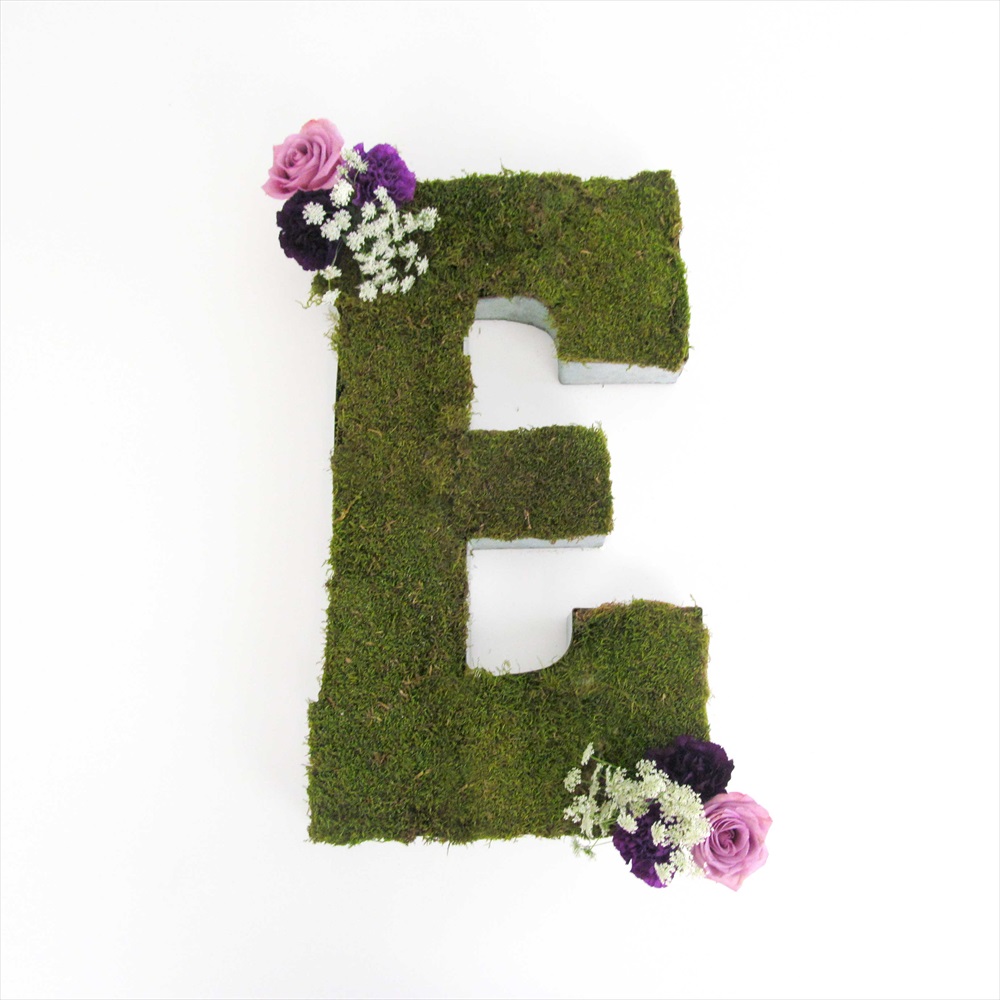
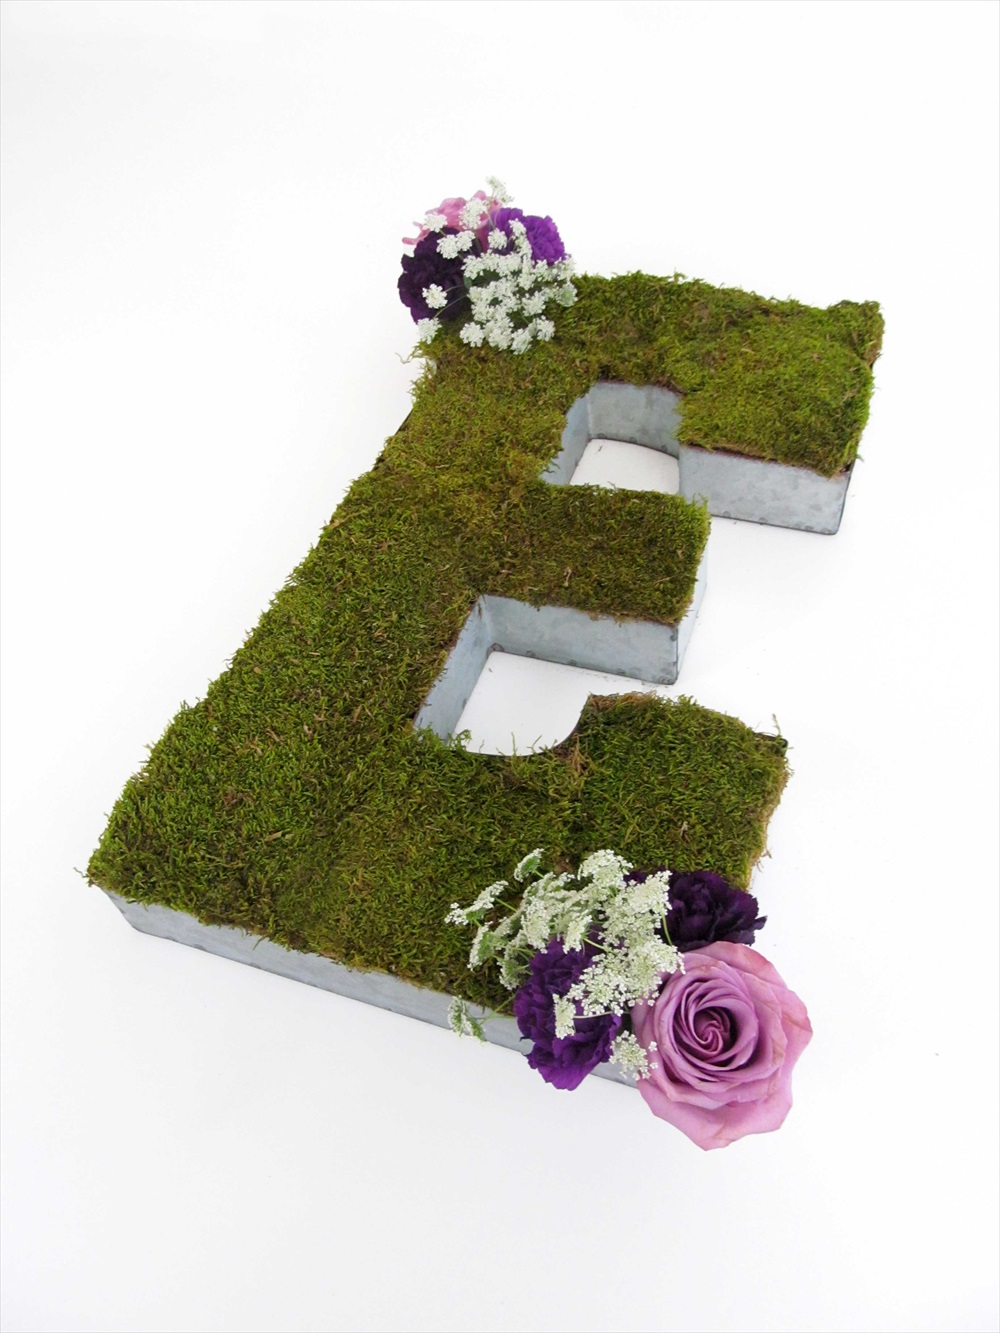
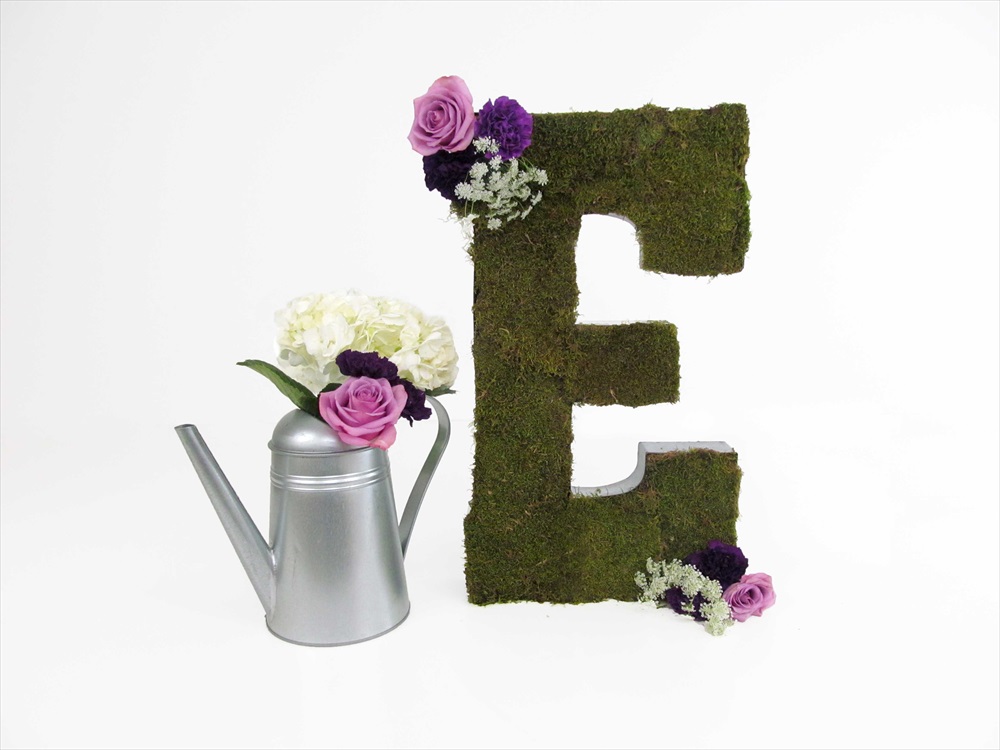
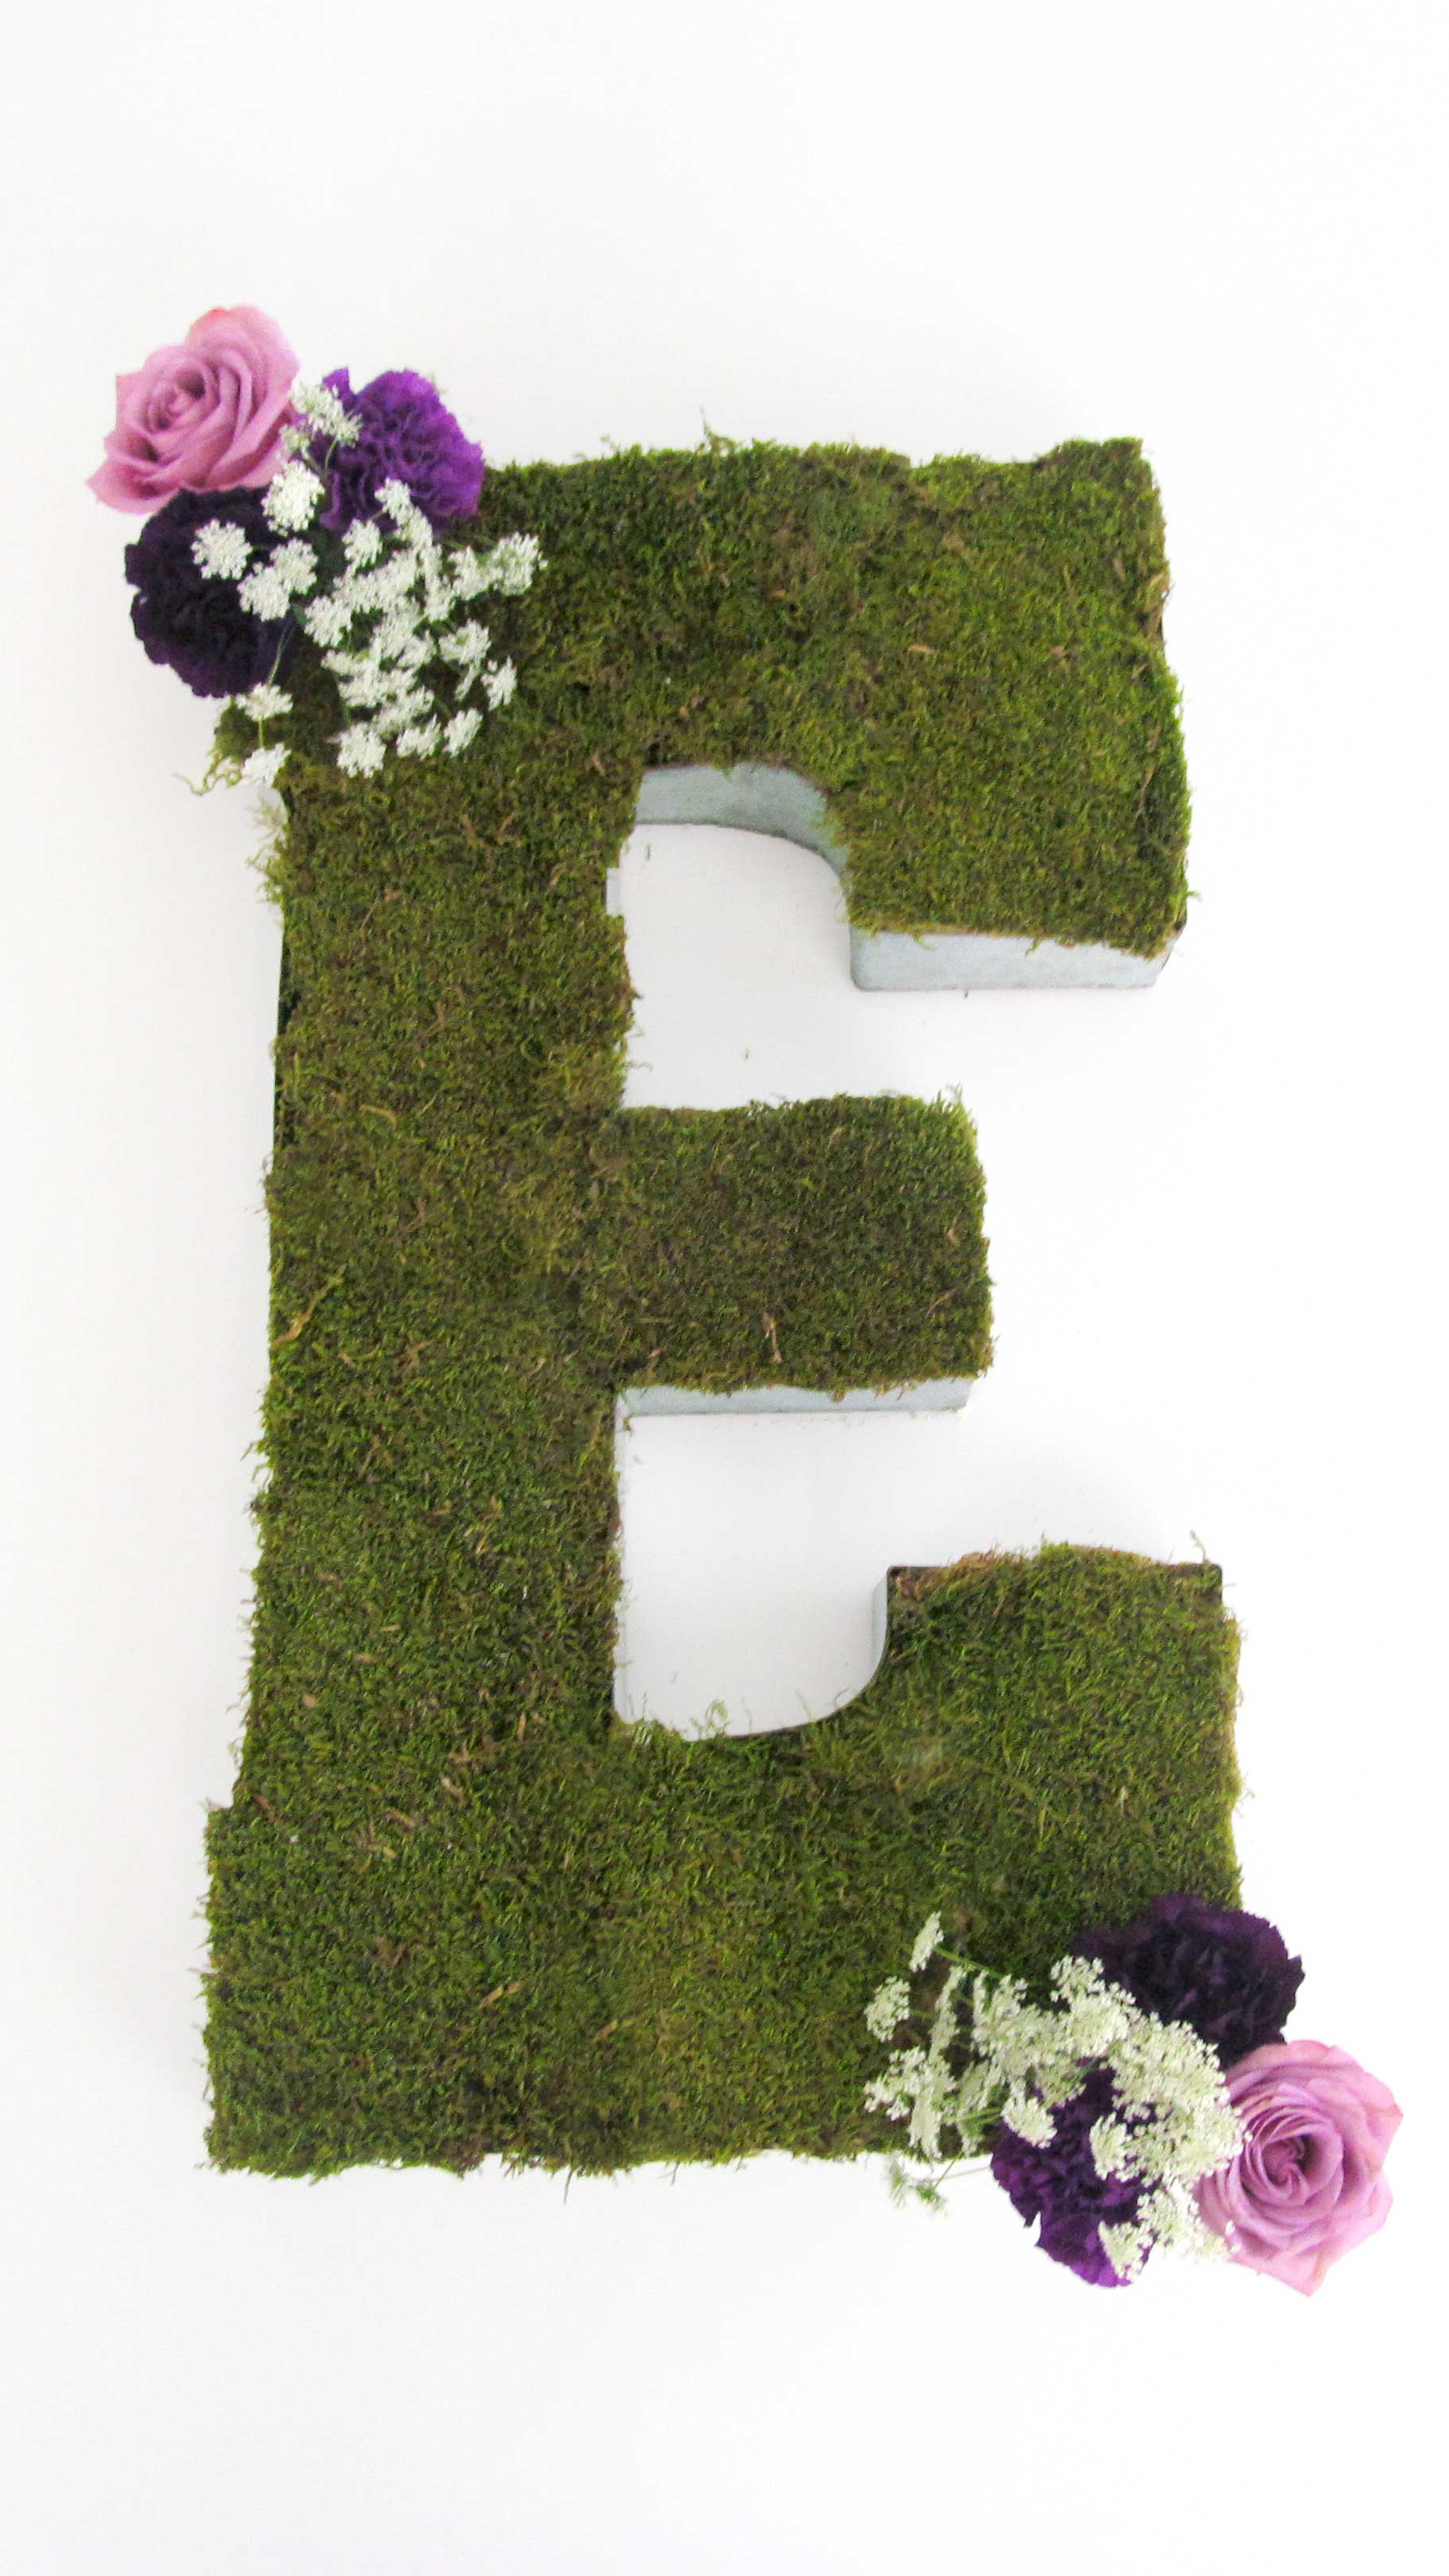
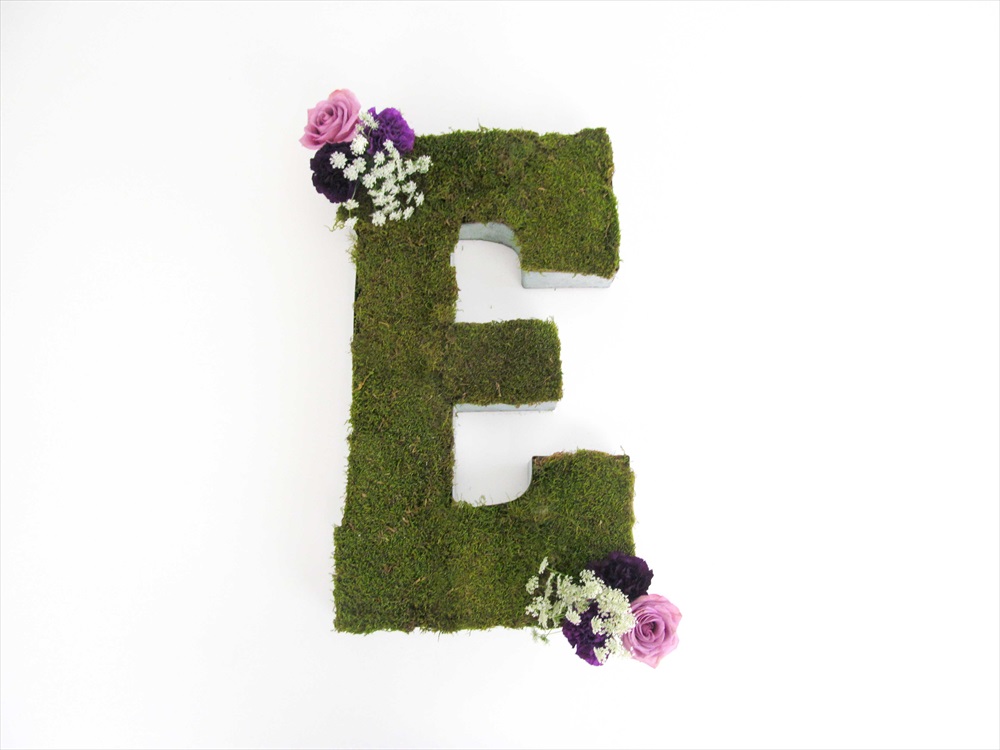
Here’s what your completed project will look like!
Instructions
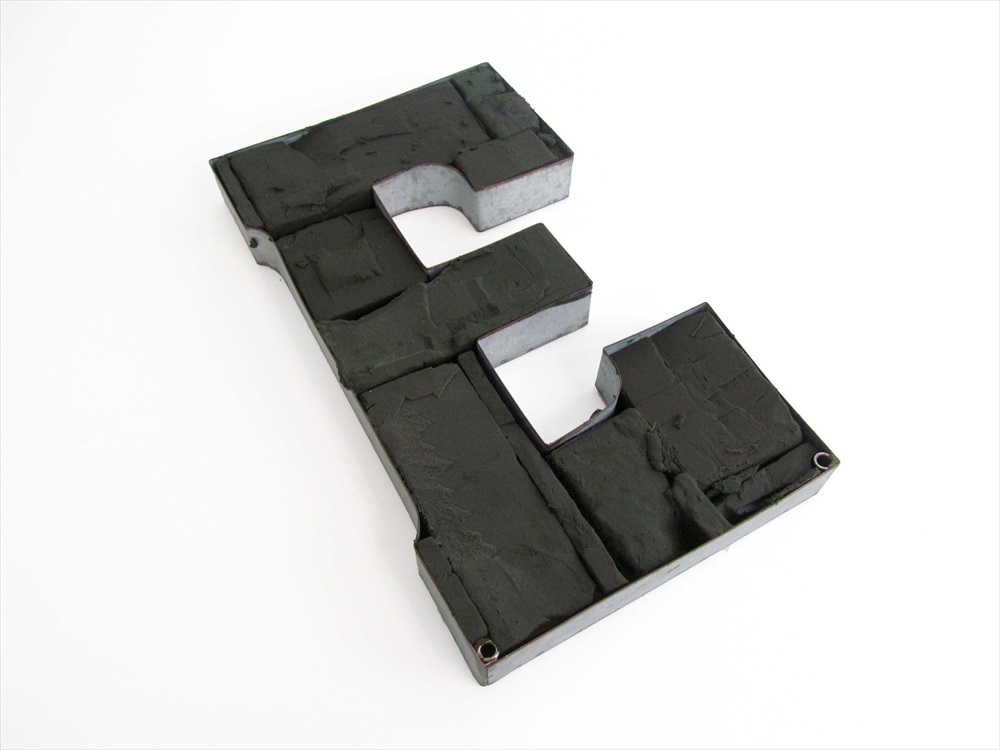
Step 1 – Cut floral foam to fit neatly within your letter, the number of bricks you’ll need will vary depending your letter, we used 4 bricks of floral foam for the letter “E”.
Step 2 – Soak your floral foam in a container with fresh water until the bricks sink to the bottom. Fully soaked floral foam ensures that your flowers and moss will stay hydrated.
Step 3 – Fit the soak pieces of foam back into the letter until it is fully filled with foam.
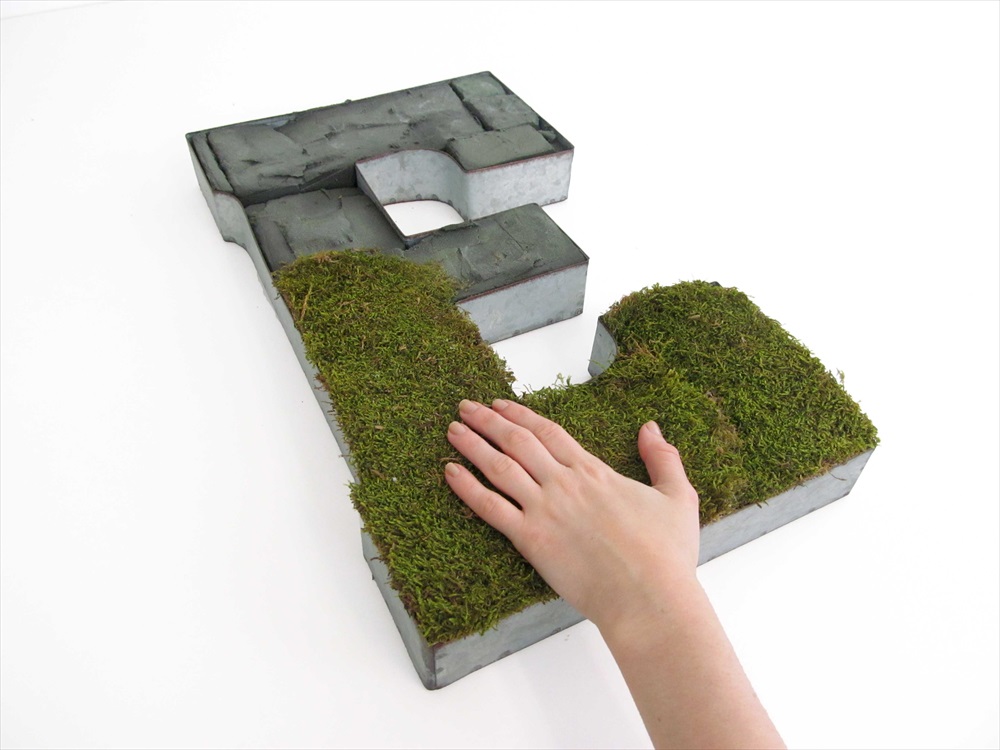
Step 4 – Grab a piece of sheet moss and measure it against the letter to ensure that it will fully cover the section. (TIP: If you’d like to plan out all of the pieces and see how it looks before gluing, use floral pins to temporarily secure the moss sheets into place)
Step 5 – Once you’re satisfied with the placement, apply a thin layer of spray adhesive to the section of floral foam you’re working on. Firmly press the moss onto the freshly sprayed foam so it sticks.
Step 6 – Trim any excess moss from the edges of the letter using floral scissors, you can use more spray adhesive or a glue gun to keep the edges of moss down.
Step 7 – Repeat the last two steps and continue applying moss to the rest of the letter. Fill in any gaps with small pieces of moss and spray glue!
Step 8 – Pick the focal point of you letter to add flowers, the corners are always a good place to start. Cut the stem of a Cool Water Lavender Rose down to 1 inch, be sure to cut the stem at a 45 degree angle to allow the rose to easily hydrate from the floral foam. Poke the stem through the floral foam and press the flower down until it sits on top of the moss.
Step 9 – Repeat this using Moon Carnations and Queen Anne’s Lace, tuck them around the rose to create a vibrant cluster of florals. It’s best to use flowers in different sizes and textures to create a dynamic floral accent.
Step 10 – Keeping adding flowers until you’re satisfied with the look of your letter! We used 8 stems on the top and bottom corners of this letter for a subtle pop of color, but you can fill the entire letter with flowers for a beautiful, blooming moss letter!
♥
You can shop beautiful flower supplies and see more tutorials at Blooms By The Box.
Happy Planning!
xo
Emma
Pin It:








1 comment
[…] had so much fun working on the DIY Moss Letter with our friends over at Emmaline Bride! This creative monogram makes a beautiful addition to your bridal shower, ceremony, or reception […]
Comments are closed.